Rooting a mango branch can be a rewarding experience, especially for beginners who wish to propagate their own fruit trees. With the right techniques and materials, you can successfully achieve this using cocopeat, a natural and eco-friendly growing medium. This article will guide you through the process step-by-step, while also addressing common questions that beginners may have.
Understanding Cocopeat
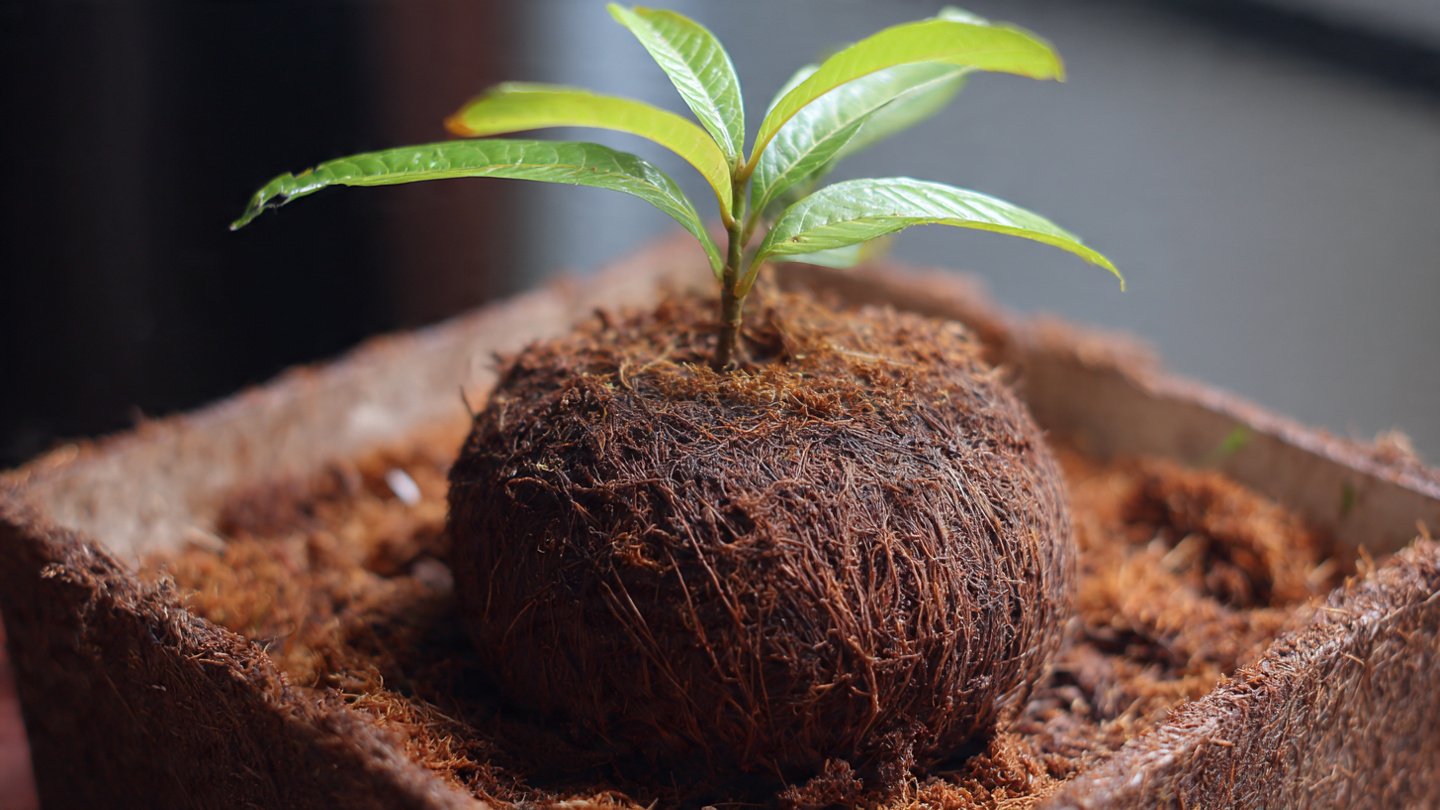
Cocopeat, derived from coconut husks, is an excellent growing medium due to its ability to hold moisture while providing good aeration for roots. It’s an ideal choice for rooting because it retains enough moisture, is sterile, and inhibits fungal growth, which is essential for healthy root development.
Latest Posts
- OnePlus 15T Smartphone Unveiled – Featuring 200MP Camera, Snapdragon 8 Elite Gen 5 and Massive Battery
- Lava Yuva 5G Unveiled – 120Hz Display and Strong Performance for Everyday Use
- Nokia 1100 Launched – Premium Keypad Phone Returns at Budget Price ₹2,500
- Motorola G96 5G Unveiled – Featuring Stylish Design, Strong Performance and Advanced Camera Tech
- Vivo Y21d Unveiled – Massive 6000mAh Battery for All-Day Everyday Use
- Nothing Phone 4 Ultra 5G Launched – 16GB RAM, AI-Powered 50MP Camera and Flagship Performance
- OnePlus 5G Smartphone Launched – 300MP AI Camera, 7000mAh Battery & 100W Fast Charging
- Nothing Phone 3a Pro – High processor smartphone for gaming lovers – battery is 5000mAH
- Realme 15 Pro – 3 days battery backup smartphone with 50MP front camera under ₹28,000
- Vivo X200 FE – 12GB RAM + 256GB Storage smartphone with HD quality camera
Benefits of Using Cocopeat for Rooting
- Moisture Retention: Cocopeat can retain water efficiently, ensuring that the cutting remains moist without being waterlogged.
- Aeration: The structure of cocopeat allows for airflow, which is necessary for healthy root development.
- Nutrient Supply: While cocopeat is low in nutrients, it provides a neutral pH, making it easy for plants to access micronutrients once they begin to root.
- Sustainability: Cocopeat is an eco-friendly alternative to peat moss, often sourced from renewable coconut substrates.
Step-by-Step Guide to Root a Mango Branch in Cocopeat
Step 1: Selecting the Right Mango Branch
- Choose the Right Time: The best time to take cuttings is during the active growing season, usually in spring or early summer.
- Selecting Healthy Cuttings: Look for a healthy branch that is approximately 6-12 inches long. It should be semi-hardwood, meaning it isn’t too young (green) or too old (woody).
Step 2: Preparing the Cutting
- Cut the Branch: Using a sharp, clean knife or clippers, cut the branch just below a node (the area where leaves attach).
- Remove Leaves: Remove the lower leaves, leaving just one or two at the top to minimize water loss while still allowing photosynthesis.
- Optional – Dip in Rooting Hormone: If you have rooting hormone, dip the cut end of the branch into it to promote root growth. This step can increase the chances of successful rooting, although it’s not essential for beginners.
Step 3: Setting Up the Cocopeat
- Prepare the Cocopeat: If you’re starting with compressed cocopeat, soak it in water for a few hours until it expands. Fluff it up, ensuring it’s moist but not soggy.
- Container Selection: Choose pots or containers with drainage holes to prevent waterlogging. You can use biodegradable pots, plastic containers, or seed-starting trays.
Step 4: Planting the Cutting
- Insert the Cutting: Make a hole in the cocopeat with your finger or a pencil and gently insert the cut end of the mango branch.
- Firm the Cocopeat: Gently firm the cocopeat around the cutting to eliminate air pockets and ensure good contact.
- Water the Cutting: Moisten the cocopeat slightly by watering it gently. Make sure it is damp but not overly saturated.
Step 5: Creating an Ideal Environment
- Humidity: Cover the pot with a plastic bag or a transparent plastic dome to create a humid environment. This method minimizes water loss and helps the cutting establish roots.
- Light: Place the container in a location with indirect sunlight. Direct sunlight can scorch the cutting, while too little light will hinder growth.
- Temperature: Maintain a warm environment, ideally between 70°F to 85°F (21°C to 29°C). You can use a heat mat if necessary.
Step 6: Caring for the Cutting
- Watering: Check the moisture level regularly. Water the cocopeat when it begins to dry out but avoid waterlogging.
- Ventilation: Open the plastic cover occasionally for ventilation and to prevent mold growth. After a few weeks, you can gradually expose the cutting to normal humidity levels.
Step 7: Checking for Roots
- Root Development: Check for roots after about 4-6 weeks by gently tugging on the cutting. If you feel resistance, it means roots are growing.
- Transplanting: Once the roots are well-developed, you can transplant the cutting into a larger pot or directly into the garden. Gradually acclimatize the plant to outdoor conditions by placing it outside for short periods each day.
Future Care for Your New Mango Plant
Once your mango cutting has successfully rooted and been transplanted, continue to care for it properly.
- Watering: Keep the soil consistently moist but avoid overwatering.
- Fertilizing: After a couple of months, begin fertilizing with a balanced fertilizer to promote growth.
- Pruning: Regularly prune the young tree to encourage bushiness and a sturdy structure.
Frequently Asked Questions (FAQs)
1. How long does it take for a mango cutting to root?
Rooting can take anywhere from 4 to 10 weeks, depending on conditions such as temperature, humidity, and the health of the cutting.
2. Do I need a rooting hormone?
While rooting hormone can promote faster and stronger root growth, it’s not strictly necessary. Many beginners successfully root cuttings without it.
3. Can I use soil instead of cocopeat?
Cocopeat is an excellent medium for rooting due to its aeration and moisture retention qualities. While soil can also work, it may retain too much water and result in rot if not monitored closely.
4. What kind of mango varieties are best for cuttings?
Varieties such as ‘Haden’, ‘Kent’, and ‘Tommy Atkins’ are popular and tend to root well from cuttings. Just ensure the cutting is from a healthy, disease-free tree.
5. How will I know if my cutting has rotted?
If the cutting becomes mushy or has a foul smell, it has likely rotted. You can check the base of the cutting by gently tugging it; if it comes out easily without resistance, it may be rotting.
6. Can I root multiple cuttings in one container?
Yes, you can root multiple cuttings in one container, but ensure that they have enough space between them to minimize competition for nutrients and prevent rot.
Conclusion
Rooting a mango branch using cocopeat is a simple yet effective way to propagate your own mango trees. By following the steps outlined above and providing proper care during the rooting process, beginners can successfully grow healthy mango plants. Not only will you enjoy the satisfaction of nurturing your own tree, but you’ll also reap the delicious rewards when it bears fruit. Happy gardening!