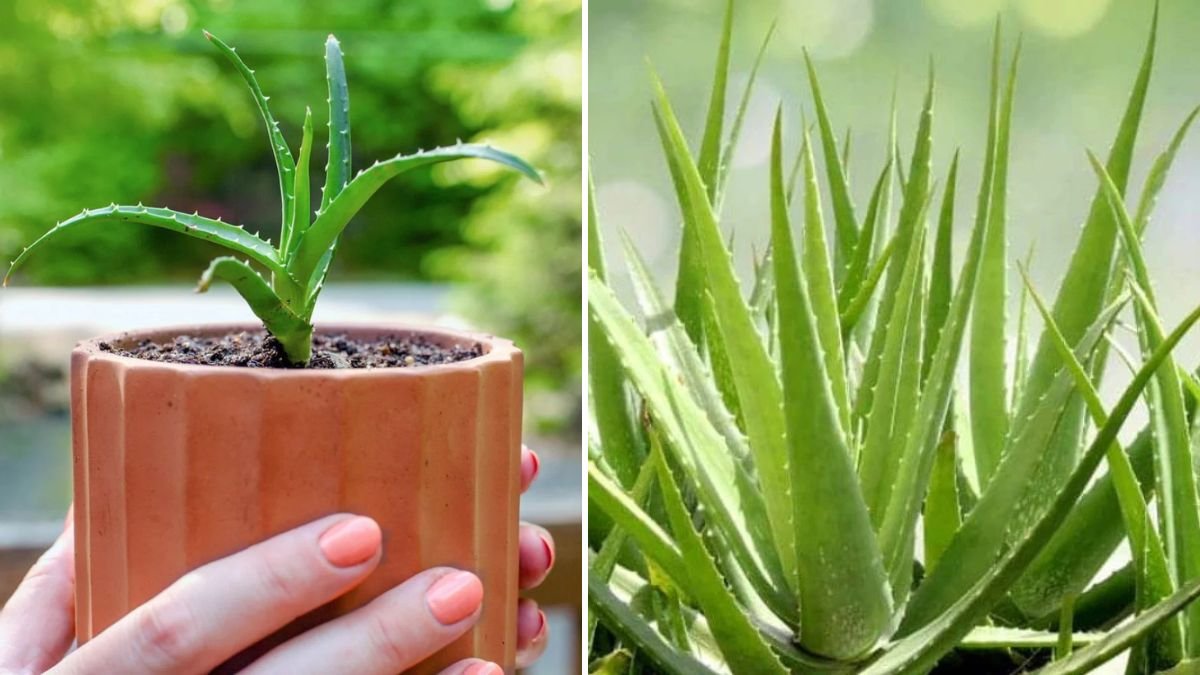
Aloe Vera is one of the easiest, hardiest, and most useful plants you can grow at home. Known for its healing properties, low maintenance requirements, and ability to thrive even in tough conditions, Aloe Vera is a must-have for every indoor and outdoor garden. Whether you’re a beginner or an experienced gardener, learning how to grow Aloe Vera the right way ensures a lush, long-living plant full of benefits.
This 1200-word guide covers everything—from choosing the right Aloe variety to planting, watering, caring, and propagating your Aloe Vera successfully.
Introduction: Why Grow Aloe Vera?
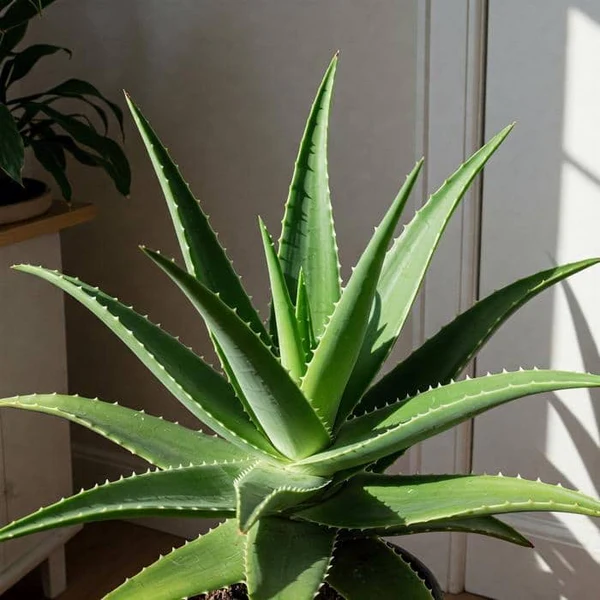
Aloe Vera (Aloe barbadensis miller) is often called the miracle plant because of its countless medicinal, cosmetic, and health uses. The thick, fleshy leaves store a soothing gel packed with nutrients, making Aloe an ideal home remedy for burns, skin irritations, and more.
Beyond its healing qualities, Aloe Vera is incredibly easy to grow:
- Requires minimal water
- Survives heat and bright sunlight
- Grows well indoors and outdoors
- Multiplies quickly
- Acts as an air purifier
For people who love low-maintenance plants, Aloe Vera is simply perfect.
Latest Posts
- OnePlus 15T Smartphone Unveiled – Featuring 200MP Camera, Snapdragon 8 Elite Gen 5 and Massive Battery
- Lava Yuva 5G Unveiled – 120Hz Display and Strong Performance for Everyday Use
- Nokia 1100 Launched – Premium Keypad Phone Returns at Budget Price ₹2,500
- Motorola G96 5G Unveiled – Featuring Stylish Design, Strong Performance and Advanced Camera Tech
- Vivo Y21d Unveiled – Massive 6000mAh Battery for All-Day Everyday Use
- Nothing Phone 4 Ultra 5G Launched – 16GB RAM, AI-Powered 50MP Camera and Flagship Performance
- OnePlus 5G Smartphone Launched – 300MP AI Camera, 7000mAh Battery & 100W Fast Charging
- Nothing Phone 3a Pro – High processor smartphone for gaming lovers – battery is 5000mAH
- Realme 15 Pro – 3 days battery backup smartphone with 50MP front camera under ₹28,000
- Vivo X200 FE – 12GB RAM + 256GB Storage smartphone with HD quality camera
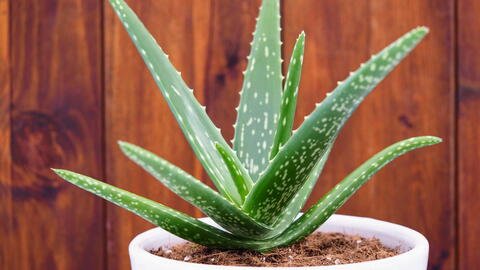
Choosing the Right Aloe Vera Plant
Before you start growing Aloe Vera, choose a healthy plant or offset (baby Aloe):
Look for:
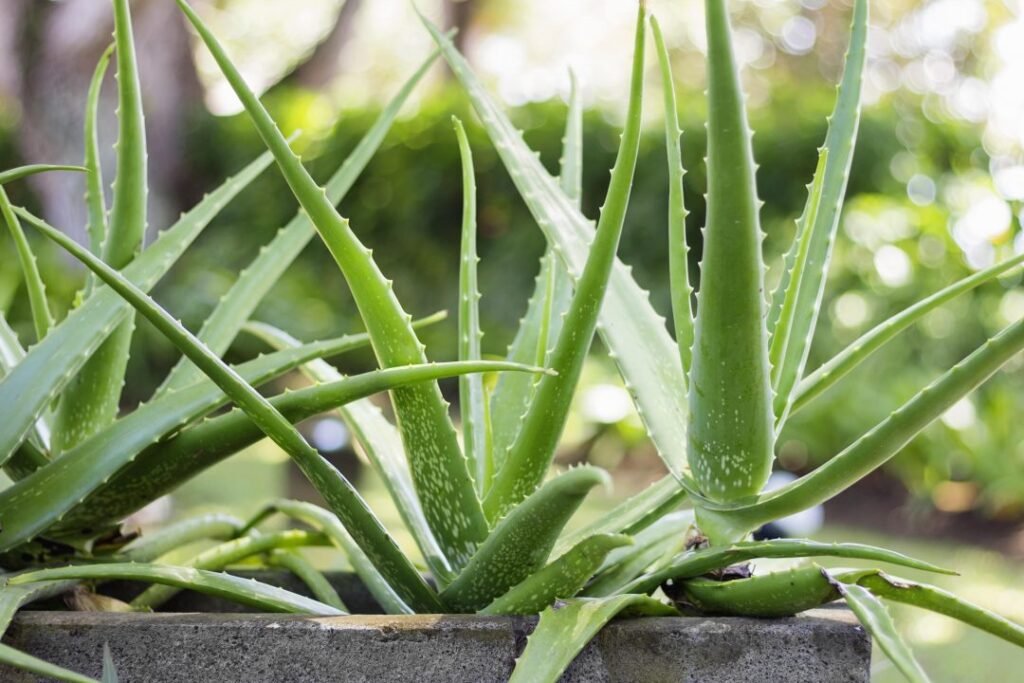
- Thick, plump leaves
- Deep green color
- No signs of rot, pests, or discoloration
- Firm base without softness
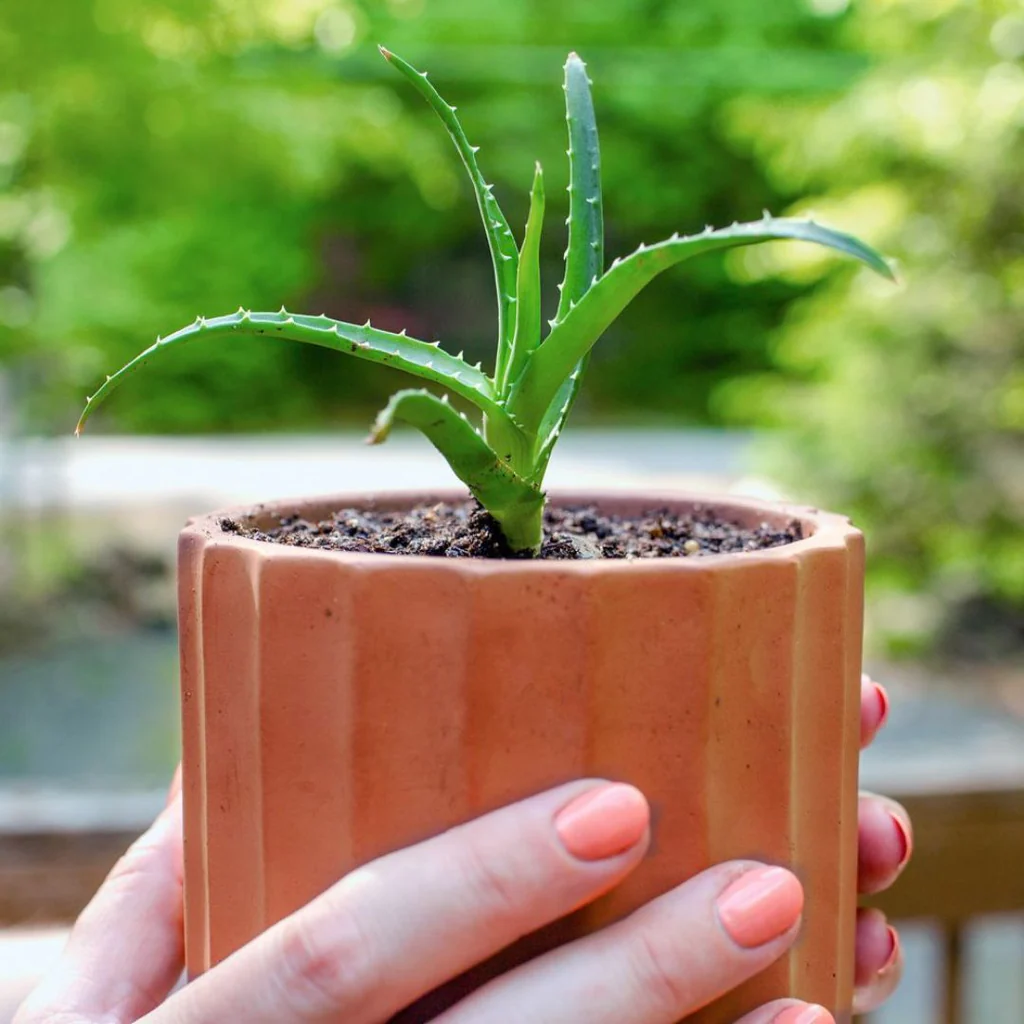
Aloe babies (called pups) are the easiest to grow because they root quickly and adapt well to new pots.
Best Climate and Conditions for Aloe Vera
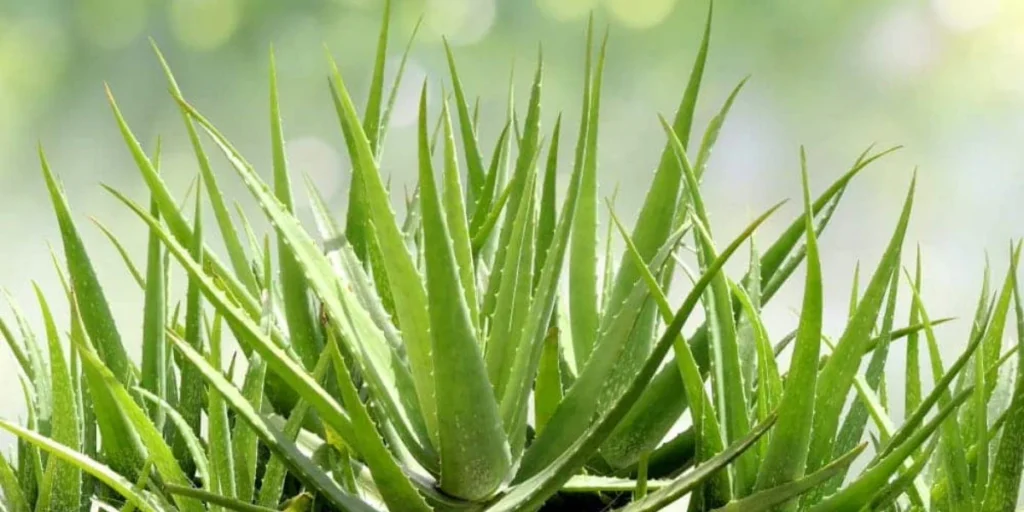
Aloe Vera thrives in warm, dry conditions similar to desert climates.
Ideal Conditions
- Temperature: 15°C to 32°C
- Light: Bright indirect sunlight or partial sun
- Humidity: Low humidity preferred
- Rain: Avoid heavy rain—Aloe dislikes sitting in water
In extremely hot climates, Aloe needs afternoon shade to avoid leaf tanning or sunburn.
🪴 Pot and Soil Selection
Aloe Vera grows best when its roots can breathe. Choosing the right pot and soil is crucial.
1. Best Pot for Aloe Vera
Use a pot with:
- Large drainage holes
- Terracotta or clay material (breathable)
- Medium size (not too big)
Terracotta pots prevent overwatering by absorbing moisture from the soil.
2. Perfect Soil Mix
Aloe Vera hates waterlogged soil. It grows best in fast-draining, sandy mixes.
Recommended Soil Mix
- 50% cactus/ succulent mix
- 25% coarse sand or perlite
- 25% garden soil or cocopeat
Avoid clay soil or heavy compost-based mixes—they retain water and cause root rot.
How to Plant Aloe Vera (Step-by-Step Guide)
Whether you’re planting a new nursery plant or transferring a pup, follow this easy method.
Step 1: Prepare the Pot
- Fill ¾ of the pot with the prepared soil mix.
- Make a small hole in the center.
Step 2: Prepare the Aloe Plant
For pups:
- Cut them from the mother plant using a clean knife.
- Make sure each pup has roots attached.
- Let the cut ends dry for 24 hours to prevent rot.
For adult plants:
- Remove old damaged leaves and check for root rot.
Step 3: Plant the Aloe
- Gently place the roots into the hole.
- Cover with soil and firm it lightly.
- Do NOT water immediately.
Let the plant settle for a day before watering to avoid fungal growth.
Watering Aloe Vera the Right Way
Improper watering is the #1 reason Aloe Vera plants die.
Basic Rule: Less Water, More Life
Aloe Vera stores water in its leaves, so it doesn’t need frequent watering.
Watering Schedule:
- Summer: Every 10–12 days
- Winter: Every 20–25 days
- Rainy season: Minimal watering (only when soil is completely dry)
Signs of Overwatering:
- Mushy, soft leaves
- Brown or black spots
- Rotting smell
- Leaves falling off easily
Signs of Underwatering:
- Thin, curling leaves
- Wrinkled appearance
Water deeply but infrequently. Always let the soil dry completely between waterings.
Light Requirements for Aloe Vera
Aloe Vera loves sunlight, but too much direct heat can damage its leaves.
Outdoor Placement
- Morning sunlight is excellent
- Provide shade in the harsh afternoon
- Avoid full-day scorching sun—it can turn leaves reddish-brown
Indoor Placement
Place near:
- South-facing windows
- East-facing bright locations
- Areas with strong filtered light
Too little light causes stretching (leggy growth) and pale leaves.
Aloe Vera Care Routine
Keeping Aloe healthy requires minimal effort, but consistency is key.
1. Fertilizing Aloe Vera
Aloe doesn’t need heavy feeding.
Best Fertilizer:
- Diluted liquid fertilizer
- Seaweed extract
- Slow-release succulent pellets
- Organic compost (very little)
Fertilize only once every 2–3 months during the growing season.
2. Pruning Aloe Vera
Cut:
- Dry leaves
- Damaged or yellowing leaves
- Brown tips
- Overgrown outer leaves (you can use the gel)
Always use clean, sharp scissors.
3. Pest Control
Aloe Vera is naturally pest-resistant but may suffer from:
- Mealybugs
- Scale insects
- Fungus gnats
- Aphids
Solution:
Spray neem oil every 15 days or wipe leaves with a damp cloth.
Propagating Aloe Vera (Multiply Your Plants!)
Aloe Vera produces many pups around its base. These pups can be removed and grown into new plants.
How to Propagate Aloe Vera from Pups
Step 1: Remove the mother plant from the pot
Gently shake off excess soil.
Step 2: Locate the pups
Identify small baby plants with their roots.
Step 3: Separate the pups
Use a clean knife if needed. Ensure each pup has a root.
Step 4: Air-dry for 24 hours
This seals the wound and prevents infection.
Step 5: Plant the pups
Follow the planting steps mentioned earlier.
Step 6: Water after 24 hours
Let the soil dry between future watering cycles.
Within weeks, new pups will begin to grow.
Common Problems and How to Fix Them
Even though Aloe Vera is hardy, you may face some issues.
1. Leaves Turning Brown or Red
Cause: Too much sunlight
Fix: Move to partial shade.
2. Leaves Becoming Mushy
Cause: Overwatering
Fix: Allow soil to dry completely, remove damaged leaves.
3. Plant Leaning or Stretching
Cause: Low light
Fix: Move to brighter area.
4. Root Rot
Cause: Poor drainage
Fix: Repot with well-draining soil, cut rotten roots.
5. Leaves Curling
Cause: Underwatering or extreme heat
Fix: Adjust watering and move to a cooler shaded spot.
Benefits of Having Aloe Vera at Home
Aloe Vera is much more than a beautiful succulent.
Medicinal Uses
- Treats burns and wounds
- Soothes acne and skin irritation
- Natural moisturizer
- Helps with sunburn
Home Uses
- Air purification
- Ornamental décor
- Easy propagation to gift others
Health Uses (Gel Consumption)
Only consume gel from edible Aloe Vera varieties and consult a professional.
Final Thoughts
Growing Aloe Vera is one of the easiest and most rewarding gardening experiences. With minimal care—bright light, occasional watering, good drainage, and proper potting—your Aloe plant will thrive for years. It will grow, multiply, and provide fresh gel whenever you need it.
Whether you want Aloe for beauty, healing, or home decoration, this hardy plant will never disappoint.