Certainly! Here’s a detailed 1500-word article on how to grow water lilies successfully in small containers, including essential tips and tricks.
How to Grow Water Lilies Successfully in Small Containers: Essential Tips and Tricks
Latest Posts
- OnePlus 15T Smartphone Unveiled – Featuring 200MP Camera, Snapdragon 8 Elite Gen 5 and Massive Battery
- Lava Yuva 5G Unveiled – 120Hz Display and Strong Performance for Everyday Use
- Nokia 1100 Launched – Premium Keypad Phone Returns at Budget Price ₹2,500
- Motorola G96 5G Unveiled – Featuring Stylish Design, Strong Performance and Advanced Camera Tech
- Vivo Y21d Unveiled – Massive 6000mAh Battery for All-Day Everyday Use
- Nothing Phone 4 Ultra 5G Launched – 16GB RAM, AI-Powered 50MP Camera and Flagship Performance
- OnePlus 5G Smartphone Launched – 300MP AI Camera, 7000mAh Battery & 100W Fast Charging
- Nothing Phone 3a Pro – High processor smartphone for gaming lovers – battery is 5000mAH
- Realme 15 Pro – 3 days battery backup smartphone with 50MP front camera under ₹28,000
- Vivo X200 FE – 12GB RAM + 256GB Storage smartphone with HD quality camera
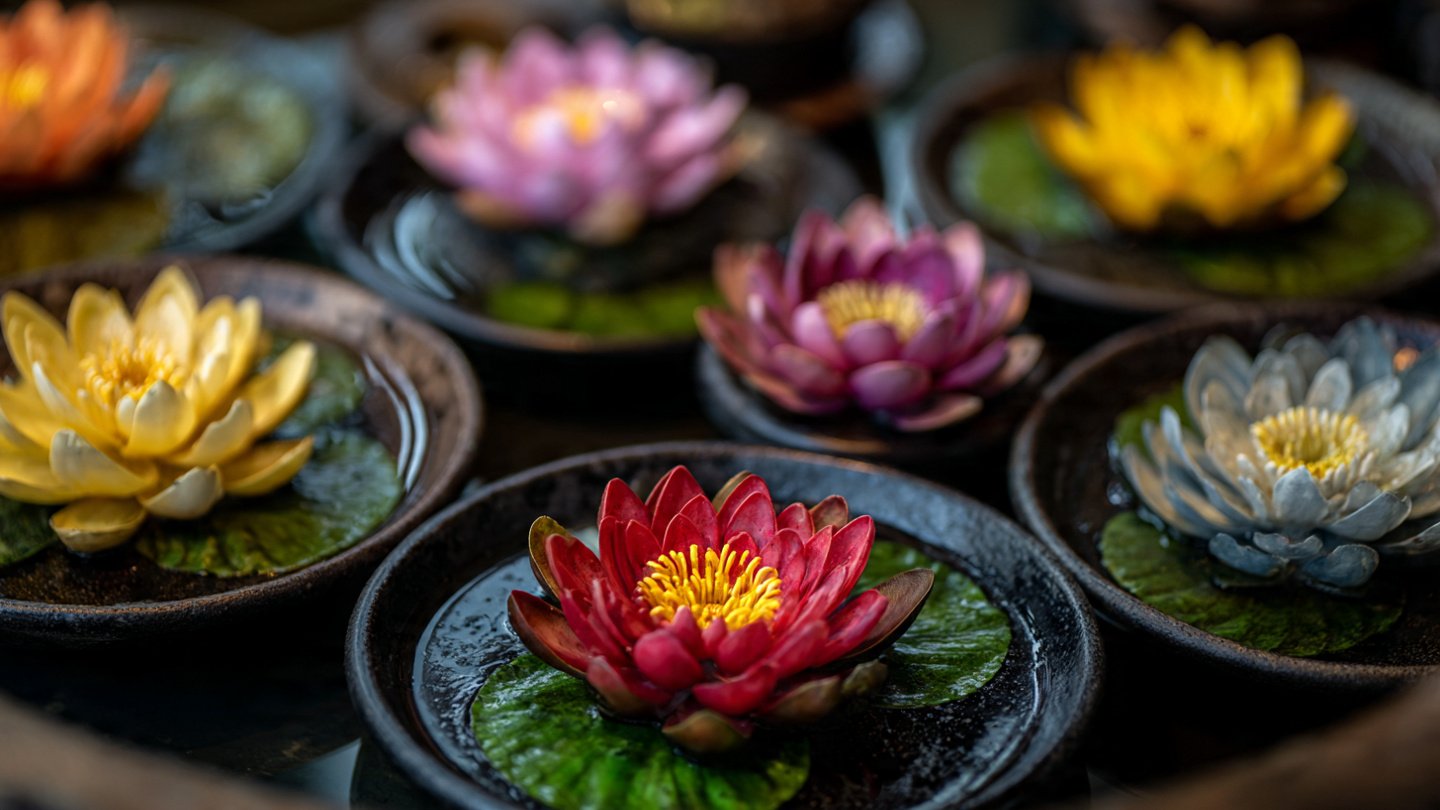
Water lilies (Nymphaea spp.) are among the most captivating aquatic plants, known for their enchanting flowers and broad, floating leaves. They bring a touch of serenity and beauty to any water garden or pond. While traditionally grown in large garden ponds, water lilies can also thrive in small containers, making them accessible for balconies, patios, or small gardens. Growing water lilies in small containers can be rewarding, but it requires special care and knowledge to ensure they thrive. This article will guide you through the essential tips and tricks to grow water lilies successfully in small containers.
1. Choosing the Right Water Lily Variety
Water lilies come in many species and hybrids, varying in size, color, and growth habits. When growing in small containers, selecting dwarf or miniature varieties is crucial, as they fit comfortably in limited spaces. These varieties typically produce smaller flowers and leaves, have slower growth rates, and require less space than larger lilies.
Some popular dwarf water lily varieties suitable for small containers include:
- Nymphaea ‘Pygmaea Helvola’: A hardy dwarf lily with small yellow flowers.
- Nymphaea ‘Tetra Leo’: A tropical dwarf variety with vivid red blooms.
- Nymphaea ‘Kenilworth’: A small white flowered water lily native to temperate zones.
When selecting a variety, consider your climate, whether it’s a hardy or tropical type, as this influences care and overwintering methods.
2. Selecting the Right Container
The container you choose plays a vital role in the success of your water lilies. Small containers need to provide enough space for root growth while retaining water and nutrients.
Container size: For small water lilies, a 12 to 16-inch diameter container is usually sufficient. The container should be at least 8 to 12 inches deep to accommodate the rhizome and water depth requirements.
Material: Choose containers made from durable, waterproof materials like plastic, glazed ceramic, or fiberglass. Avoid porous materials such as unglazed clay pots because they can absorb water, reduce water levels, and degrade over time.
Shape: Wide and shallow containers work best for water lilies since their roots tend to spread horizontally. Avoid tall, narrow pots.
Drainage: Water lily containers should not have drainage holes, as you don’t want water to leak out. Instead, you will fill the container with water to create the aquatic environment water lilies thrive in.
3. Preparing the Planting Media
Unlike most plants, water lilies require heavy, nutrient-rich soil rather than potting soil. Potting mixes are typically too light and float to the surface in water, creating a mess.
Best soil for water lilies:
- Use clay garden soil or a special aquatic planting media.
- Avoid using peat-based or sandy substrates that can cloud the water.
- You can also mix garden soil with a small amount of compost or well-rotted manure for extra nutrients.
Planting tips:
- Add a 2-3 inch layer of soil in the container.
- Place the water lily rhizome slightly angled in the soil, with growing tips exposed.
- Cover soil with a thin layer of pea gravel or coarse sand to prevent soil from floating.
4. Planting the Water Lily
When planting a water lily in a small container, follow these steps for optimal growth:
- Gently remove the water lily from its original pot or container.
- Trim any damaged or excessively long roots.
- Place the rhizome at an angle in the container soil with the growing point above the soil.
- Add soil around the rhizome, avoiding covering the growing tip.
- Cover the soil surface with pea gravel or small stones to keep soil intact.
- Submerge the container in a water body or fill it with water to the right depth.
5. Water Depth and Placement
Water depth is critical for healthy water lilies. The ideal depth depends on the variety:
- Dwarf lilies typically thrive in 6 to 12 inches of water above the soil.
- Larger varieties require up to 18 inches or more.
If you’re growing the container outdoors, position it in a spot where the lily can get at least 4-6 hours of direct sunlight daily, as adequate light is necessary for flowering.
6. Fertilizing Your Water Lilies
Water lilies are heavy feeders, especially when flowering, so proper fertilization is essential.
- Use aquatic plant fertilizer tablets or spikes specially formulated for water plants.
- Push fertilizer tablets into the soil near the roots every 4-6 weeks during the growing season.
- Avoid using standard soluble fertilizers as they can cloud the water and cause algae blooms.
7. Water Quality and Temperature
Water lilies prefer clean, still water. Avoid placing the container in areas with flowing or splashing water.
- Maintain water temperatures between 70°F to 85°F (21°C to 29°C) for tropical lilies.
- Hardy lilies can tolerate cooler temperatures but do best in warm conditions.
- Change the water occasionally if growing indoors or in a small container where water might stagnate.
- Use rainwater or dechlorinated tap water to avoid chemicals harmful to the plants.
8. Managing Pests and Diseases
Water lilies are generally hardy, but they can face some common pests and diseases:
- Aphids: These small insects can damage leaves; spray with water or insecticidal soap.
- Spider mites: Especially problematic in hot, dry conditions; maintain humidity.
- Fungal diseases: Remove any yellow or damaged leaves promptly.
- Snails and slugs: They may nibble on leaves; handpick or use non-toxic traps.
Routine inspection and cleaning of leaves and water will help keep pests and diseases at bay.
9. Pruning and Maintenance
Regular maintenance ensures your water lilies remain healthy and blooms stay vibrant:
- Remove yellow or dead leaves to prevent decay in the water.
- Trim spent flowers to encourage new blooms.
- Thin out overgrown lilies by dividing the rhizomes if the container becomes crowded.
- Check water levels frequently and replenish as needed, especially in hot weather.
10. Overwintering and Care Tips
- Hardy Water Lilies: In colder climates, hardy varieties can be left in containers outdoors if deep enough (below the frost line). Alternatively, move the container to a frost-free place like a garage or basement, maintaining cool temperatures and minimal watering.
- Tropical Water Lilies: These need to be brought indoors and kept in a warm, sunny location or treated as annuals and replaced each year.
Conclusion
Growing water lilies in small containers is a wonderful way to enjoy the beauty of these aquatic plants in limited spaces such as balconies, patios, or small gardens. By selecting the right dwarf variety, using appropriate containers and planting media, ensuring correct water depth, providing nutrients, and maintaining good care practices, you can successfully cultivate thriving water lilies with stunning blooms. Regular maintenance and monitoring will help your water lilies flourish, turning your small container into a miniature aquatic paradise filled with natural elegance and tranquility.
With these essential tips and tricks, you’re well on your way to cultivating beautiful water lilies that will enhance your space with their graceful presence. Happy gardening!