Pomelo (Citrus maxima), a large citrus fruit known for its sweet and tangy flavor, is an increasingly popular tree for both home gardeners and commercial growers. While propagating pomelo through seeds is one method, utilizing cuttings offers several advantages, including the ability to produce trees that are genetically identical to the parent. In this step-by-step guide, we will explore how to propagate pomelo from cuttings effectively, ensuring a healthy new tree ready for growth.
Understanding Pomelo and Its Benefits
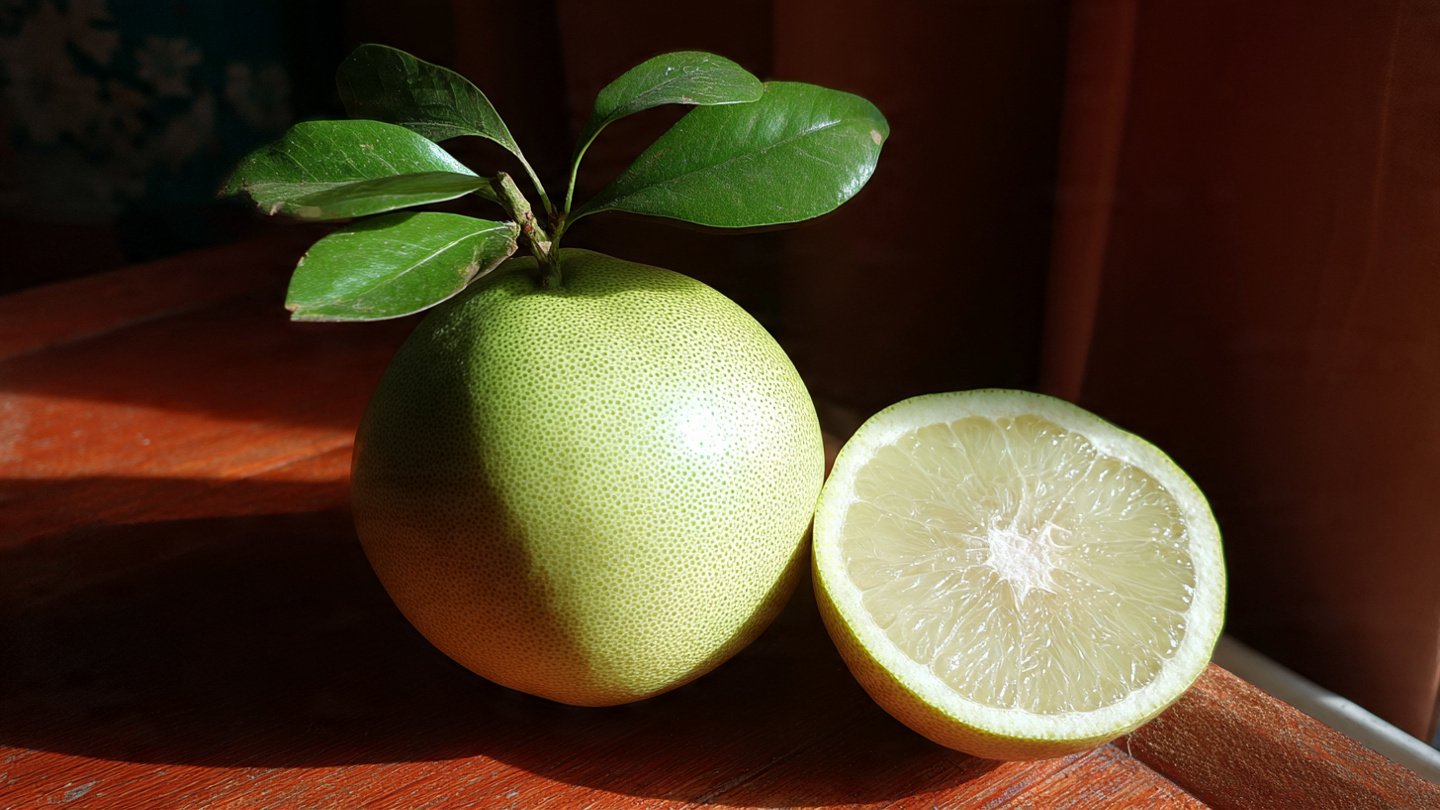
Pomelo trees are not only aesthetically pleasing with their glossy leaves and fragrant flowers, but they also produce fruits that are incredibly nutritious, rich in vitamin C and fiber. Additionally, the trees are highly adaptable and can thrive in various climates, making them suitable for a wide range of growing conditions.
Latest Posts
- OnePlus 15T Smartphone Unveiled – Featuring 200MP Camera, Snapdragon 8 Elite Gen 5 and Massive Battery
- Lava Yuva 5G Unveiled – 120Hz Display and Strong Performance for Everyday Use
- Nokia 1100 Launched – Premium Keypad Phone Returns at Budget Price ₹2,500
- Motorola G96 5G Unveiled – Featuring Stylish Design, Strong Performance and Advanced Camera Tech
- Vivo Y21d Unveiled – Massive 6000mAh Battery for All-Day Everyday Use
- Nothing Phone 4 Ultra 5G Launched – 16GB RAM, AI-Powered 50MP Camera and Flagship Performance
- OnePlus 5G Smartphone Launched – 300MP AI Camera, 7000mAh Battery & 100W Fast Charging
- Nothing Phone 3a Pro – High processor smartphone for gaming lovers – battery is 5000mAH
- Realme 15 Pro – 3 days battery backup smartphone with 50MP front camera under ₹28,000
- Vivo X200 FE – 12GB RAM + 256GB Storage smartphone with HD quality camera
Benefits of Propagating from Cuttings
- Genetic Consistency: Cuttings will produce a new plant that is identical to the parent.
- Faster Maturation: Cuttings can often produce fruit more quickly than seedlings.
- Ease of Management: Trees grown from cuttings can be more robust and disease-resistant.
Step 1: Selecting the Right Parent Tree
Choosing Your Cuttings
To ensure the best results, start with a healthy, mature pomelo tree that has been well-cared for. The parent tree should have the following characteristics:
- Health: Look for a tree free of pests and diseases.
- Age: Ideally, the tree should be at least three years old.
- Variety: Select a variety known for its desirable traits (taste, size, fruiting ability).
Step 2: Timing Your Cuttings
Best Time to Take Cuttings
The best time to take pomelo cuttings is during the warmer months, typically in late spring or early summer when the tree is in active growth. During this time, the wood is softer and more receptive to rooting.
Conditions to Avoid
Avoid taking cuttings during extreme heat or cold, or when the tree is under stress, such as during a drought or significant pest infestation.
Step 3: Preparing Your Tools
Before you start, make sure you have all the necessary tools and materials:
- Sharp Pruning Shears: For making clean cuts.
- Rooting Hormone: Optional, but can improve success rates.
- Potting Mix: A well-draining mix is essential.
- Containers: Small pots or seed trays are ideal for starting cuttings.
- Water: For misting and ensuring moisture.
- Plastic Bag or Dome: To create a humid environment (optional).
Step 4: Taking the Cuttings
Cutting Procedure
- Select Branches: Choose healthy, non-flowering branches that are about 6-8 inches long.
- Make the Cut: Use sharp pruning shears to make a clean cut just below a node (the bump on the stem where leaves are attached). This node is crucial for rooting.
- Remove Lower Leaves: Trim off the leaves from the bottom half of the cutting, leaving just a few at the top. This helps reduce moisture loss.
Step 5: Applying Rooting Hormone
Enhancing Root Development
While not essential, applying rooting hormone can significantly enhance root formation:
- Dip the Cut End: Lightly dip the cut end of the cutting into rooting hormone.
- Shake Off Excess: Gently tap the cutting to remove any excess hormone.
Step 6: Planting the Cuttings
Preparing Containers
- Fill Containers: Fill your pots or trays with a well-draining potting mix.
- Moisten the Soil: Lightly water the soil before planting the cuttings to ensure it’s evenly moist but not soggy.
Planting Process
- Make Holes: Use a pencil or your finger to create holes about 2-3 inches deep.
- Insert Cuttings: Place the cuttings into the holes and gently firm the soil around them.
- Water: Water the cuttings again lightly after planting.
Step 7: Creating a Humid Environment
Ensuring Optimal Conditions
Pomelo cuttings benefit from high humidity as they develop roots. Here are a few methods to maintain humidity:
- Plastic Dome: Cover the containers with a clear plastic dome or plastic bag to trap moisture.
- Misting: If using the plastic bag method, open it daily to mist the cuttings and prevent mold.
Step 8: Providing Light and Temperature
Finding the Right Spot
Place your newly planted cuttings in a warm area with indirect sunlight. Ideally, the temperature should be between 70°F to 85°F (21°C to 29°C) for optimal rooting.
Monitoring Conditions
- Check Moisture: Make sure the soil remains consistently moist but never soggy.
- Avoid Direct Sunlight: Direct sunlight can scorch the cuttings, so provide filtered light.
Step 9: Checking for Root Development
Signs of Successful Rooting
Within a few weeks, you should start to see new growth, which is a good indicator that the cuttings are rooting. Here are some signs to look for:
- New Leaves: Emergence of new leaves is a positive sign.
- Resistance to Tugging: When you gently pull on the cuttings, they should resist if roots have developed.
Step 10: Transplanting Your New Pomelo Plants
Timing for Transplanting
Once the cuttings have established a good root system (usually after 6-8 weeks), they are ready to be transplanted into larger pots or the garden.
Transplanting Process
- Prepare Bigger Pots: Choose pots that allow room for further growth.
- Fill with Soil: Use the same well-draining potting mix as before.
- Remove Cuttings Carefully: Gently remove each rooted cutting from its container, taking care not to damage the roots.
- Plant: Place the rooted cutting in the center of the new pot, backfill with soil, and water lightly.
Step 11: Caring for Your Pomelo Tree
Initial Care
After transplanting, the new pomelo plants will need consistent care:
- Watering: Water deeply but infrequently; let the top few inches dry out between watering.
- Fertilizing: Use a balanced fertilizer every few months to encourage growth.
- Sunlight: Ensure they receive ample sunlight, around 6-8 hours a day.
Long-Term Maintenance
- Pruning: Regularly prune to encourage bushier growth and remove any diseased or damaged branches.
- Pest Management: Keep an eye out for common pests such as aphids and scale insects. Use organic insecticidal soap for control.
- Grafting: Once your tree is mature, consider grafting to improve fruit quality and disease resistance.
Conclusion
Propagating pomelo from cuttings can be a rewarding endeavor that allows you to cultivate a beautiful and productive tree. With careful selection, proper techniques, and attentive care, you will be well on your way to enjoying your own home-grown pomelo fruits. Whether you’re planting just a few or looking to expand your citrus garden, following this step-by-step guide will ensure a successful propagation journey. Happy gardening!