
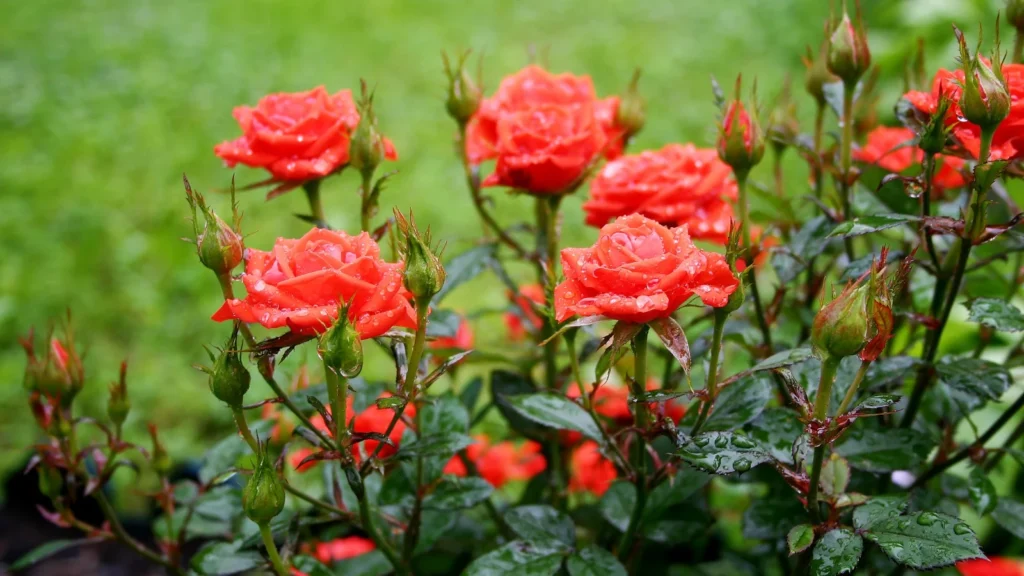
Roses are among the most adored flowering plants in the world, celebrated for their beauty, fragrance, and elegance. But buying new rose plants every time you want to expand your garden can be costly. The great news is that roses can be propagated easily at home, allowing you to create new, healthy plants from your existing ones.
Whether you are a beginner or an experienced gardener, understanding the process of rose propagation opens the door to a blooming, budget-friendly rose garden. In this comprehensive 1200-word article, you will learn everything about propagating roses—best methods, step-by-step techniques, expert tips, and the science behind successful rooting.
What Is Rose Propagation?
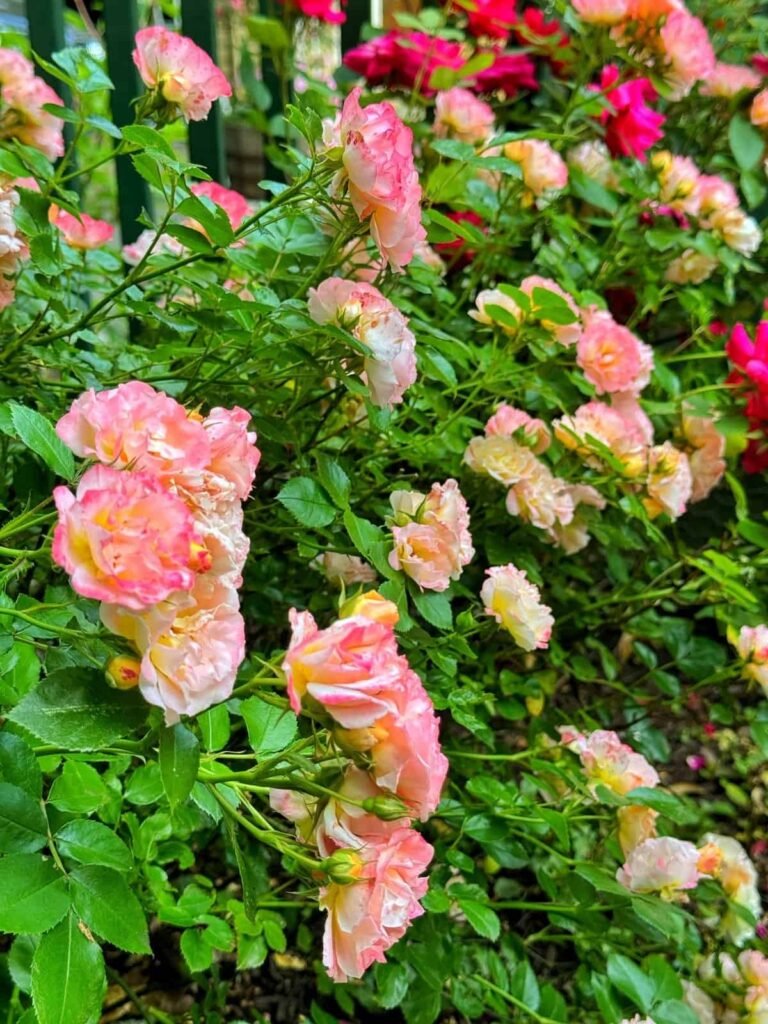
Propagation of rose simply means creating new rose plants from an existing one. Instead of growing roses from seeds—which can be slow and unpredictable—gardeners prefer vegetative propagation. This method keeps the new plant genetically identical to the parent, ensuring the same flower color, fragrance, size, and growth habit.
There are several ways to propagate roses:
- From cuttings
- By layering
- Through grafting
- Using seeds
- Through division (for some varieties)
Among these, propagation through cuttings is the easiest and most popular method for home gardeners.
Latest Posts
- OnePlus 15T Smartphone Unveiled – Featuring 200MP Camera, Snapdragon 8 Elite Gen 5 and Massive Battery
- Lava Yuva 5G Unveiled – 120Hz Display and Strong Performance for Everyday Use
- Nokia 1100 Launched – Premium Keypad Phone Returns at Budget Price ₹2,500
- Motorola G96 5G Unveiled – Featuring Stylish Design, Strong Performance and Advanced Camera Tech
- Vivo Y21d Unveiled – Massive 6000mAh Battery for All-Day Everyday Use
- Nothing Phone 4 Ultra 5G Launched – 16GB RAM, AI-Powered 50MP Camera and Flagship Performance
- OnePlus 5G Smartphone Launched – 300MP AI Camera, 7000mAh Battery & 100W Fast Charging
- Nothing Phone 3a Pro – High processor smartphone for gaming lovers – battery is 5000mAH
- Realme 15 Pro – 3 days battery backup smartphone with 50MP front camera under ₹28,000
- Vivo X200 FE – 12GB RAM + 256GB Storage smartphone with HD quality camera
Why Propagate Roses? Benefits You’ll Love
Propagating roses is not only simple but also highly rewarding. Here are some reasons it’s worth trying:
✔ Cost-Effective
A single rose plant can produce dozens of new plants, saving you money.
✔ Clone Your Favorite Varieties
You can grow exact copies of fragrant, rare, or high-performing roses.
✔ Fast Growth
Rooted cuttings grow faster than seedlings.
✔ Stronger Plants
Locally grown cuttings adapt better to your climate and soil.
✔ Perfect for Gifts
Home-propagated roses make thoughtful and beautiful gifts for friends and family.
Best Time to Propagate Roses
Timing plays a major role in the success of rose propagation. The most suitable seasons include:
Spring (February to April)
Fresh, healthy growth emerges, making it perfect for softwood cuttings.
Early Monsoon (June to July)
Humidity and warm weather encourage roots to grow quickly.
Autumn (September to October)
Hardwood cuttings taken during this time root well over winter.
Avoid propagation during extremely hot summers or cold winters, as extreme temperatures reduce rooting success.
✂ Types of Rose Cuttings
There are three main categories of cuttings used in rose propagation:
1. Softwood Cuttings
- Young, flexible, green stems
- Best taken in spring
- Roots quickly
- Requires careful moisture control
2. Semi-hardwood Cuttings
- Partially matured stems
- Taken in late summer or early fall
- Stronger and more resilient
- Good rooting ability
3. Hardwood Cuttings
- Fully matured, woody stems
- Taken when the plant is dormant
- Slow to root but highly durable
Each type works, but softwood and semi-hardwood cuttings give the fastest and most reliable results.
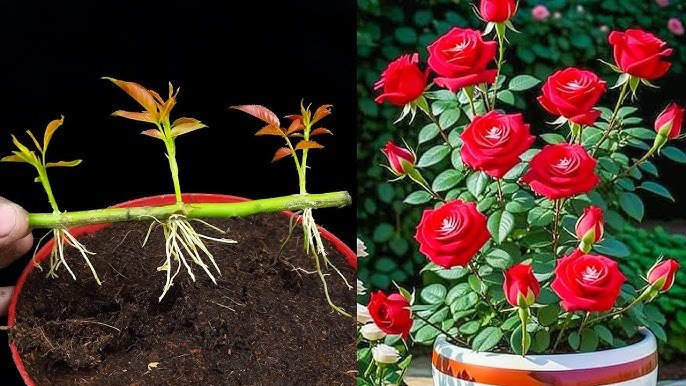
Step-by-Step Guide: How to Propagate Roses from Cuttings
Here is the complete, easy method that gardeners around the world use.
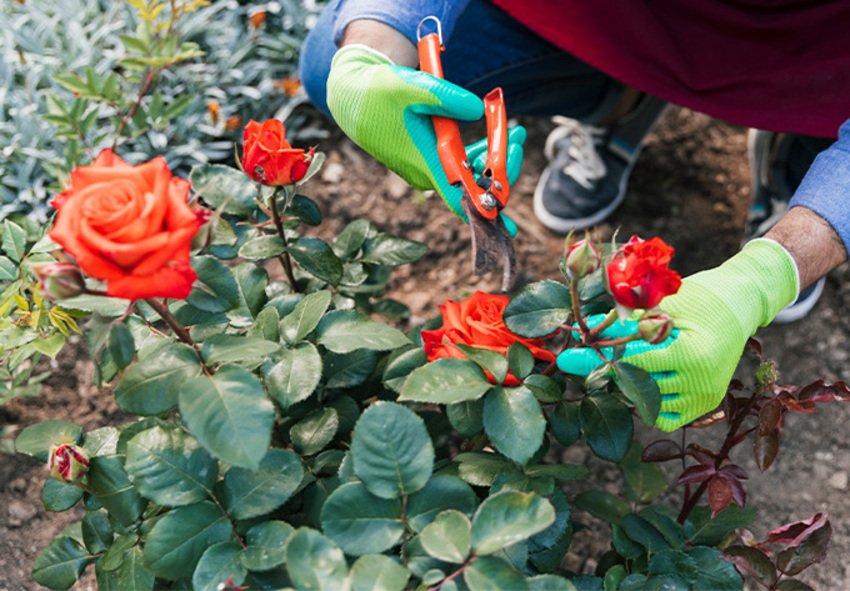
Step 1: Select the Right Stem
Choose a healthy stem that:
- Is disease-free
- Has recently bloomed
- Is 6–8 inches (15–20 cm) long
- Has 3–4 leaf nodes
- Is flexible but not too soft
Avoid stems that are too young (easily break) or too woody (slow to root).
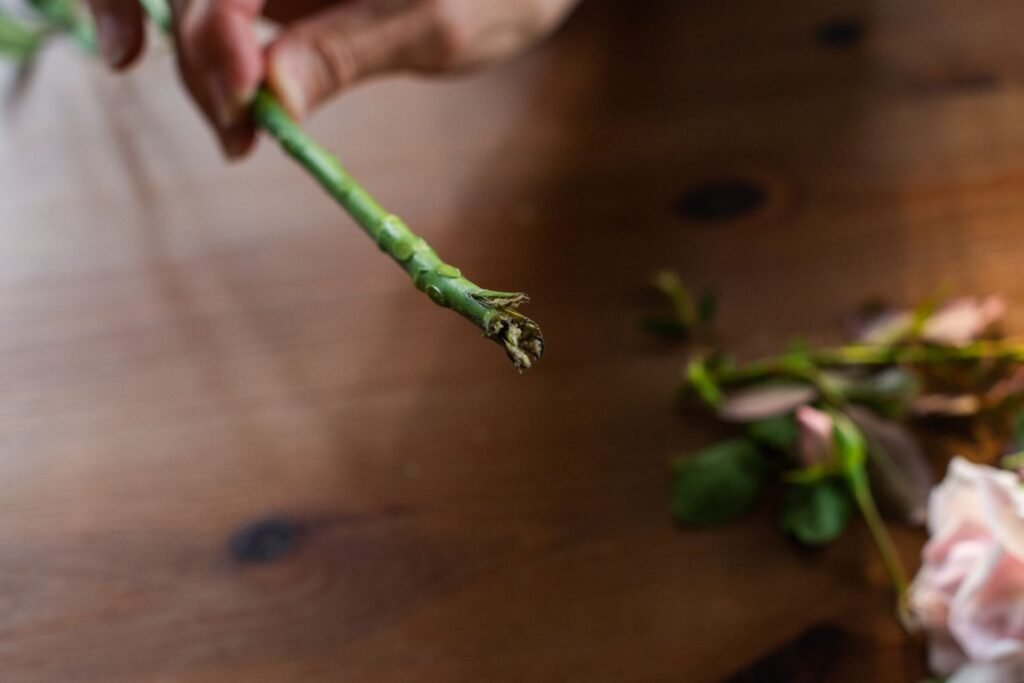
Step 2: Make a Clean Cut
Using sharp pruning shears:
- Cut the stem just below a node at a 45-degree angle
- Remove flowers and buds
- Remove all lower leaves
- Keep only the top two leaflets to support photosynthesis
Cutting at an angle increases the surface area for root development.
Step 3: Prepare the Rooting Hormone (Optional but Helpful)
Dip the bottom end of the cutting into:
- Rooting hormone powder, OR
- Honey + cinnamon (natural alternative), OR
- Willow water (natural rooting stimulant)
Rooting hormone improves success rates by up to 70%.
Step 4: Prepare the Potting Mix
The best medium for rose propagation is:
- 50% coco peat or peat moss
- 30% perlite or sand
- 20% garden soil
This mix ensures:
- Good drainage
- Proper aeration
- Moisture retention
Fill a small pot or tray with this mix and moisten it slightly.
Step 5: Plant the Cutting
- Make a small hole in the soil
- Insert the cutting 2–3 inches deep
- Firm the soil around it gently
- Make sure at least one node is buried, as roots emerge from nodes
Place 2–3 cuttings in each pot to maximize space.
Step 6: Create a Mini Greenhouse
Cuttings root best in high humidity. You can create a simple greenhouse by:
- Covering the pot with a plastic bag
- Placing a transparent bottle top over the cutting
- Keeping the setup in indirect sunlight
This traps moisture and prevents the cutting from drying out.
Step 7: Water Carefully
Keep the soil consistently moist but not soggy.
- Overwatering causes stem rot
- Underwatering dries out the cutting
Mist lightly every 2–3 days or as needed.
Step 8: Provide Proper Light
Cuttings need:
- Bright, indirect light
- Partial shade
- Avoid harsh afternoon sun
Direct sunlight can overheat and dry the cutting, reducing success.
Step 9: Wait for Root Development
Rooting usually takes:
- 2–3 weeks for softwood cuttings
- 4–6 weeks for hardwood cuttings
Signs your cutting has rooted:
- New leaf growth
- Resistance when gently pulled
- Thicker stems
- Strong green color
Once roots are established, remove the plastic cover gradually.
Step 10: Transplanting the Rooted Cuttings
After 6–8 weeks, transplant the cutting into a bigger pot or directly into the garden.
Use nutrient-rich soil:
- 40% garden soil
- 30% compost
- 20% coco peat
- 10% sand
Place in partial shade for one week before exposing to full sun.
Alternative Propagation Methods
Cuttings are the easiest, but you can also propagate roses using:
1. Air Layering
Best for stubborn varieties that do not root easily.
Steps:
- Select a mature stem
- Remove bark (ring method)
- Apply rooting hormone
- Wrap with moist sphagnum moss
- Cover with plastic
Roots appear in 4–8 weeks.
2. Simple Ground Layering
- Bend a low branch to the ground
- Cover a node with soil
- Keep the tip exposed
- Roots develop at the buried node
This is extremely easy and highly successful.
3. Grafting or Budding
Used mainly by professionals to:
- Combine two varieties
- Improve disease resistance
- Increase flower production
Common techniques include T-budding and cleft grafting.
4. Growing Roses from Seeds
This is slow and unpredictable:
- Plants may differ from the parent
- Takes several years to bloom
- Mainly used for breeding new rose varieties
Common Problems During Rose Propagation and How to Fix Them
Stem Rot
Cause: Overwatering
Fix: Improve drainage, reduce watering
Drying Cuttings
Cause: Low humidity
Fix: Use humidity dome/plastic cover
No Root Growth
Cause: Weak or diseased cuttings
Fix: Select stronger stems, use rooting hormone
Fungal Issues
Cause: Excess moisture
Fix: Use antifungal dust or neem extract
Tips for 100% Success in Rose Propagation
- Always use clean, sharp pruning tools
- Choose healthy, disease-free mother plants
- Keep soil moist but never wet
- Maintain humidity levels above 60%
- Avoid direct sunlight during the rooting period
- Be patient—some cuttings take longer than others
Final Thoughts
Propagating roses is an incredibly rewarding gardening activity. With a single parent plant, you can create a flourishing collection of new rose bushes that retain the same beauty, color, and fragrance. Whether you choose to propagate through cuttings, layering, or grafting, the techniques described in this guide ensure high success rates and strong, healthy new plants.
Remember, rose propagation is not just about growing plants—it’s about sharing beauty, expanding your garden, and connecting more deeply with nature.