
Gardening is not just a hobby—it’s a way to bring fresh, nutritious vegetables to your table, even in small spaces. But one common challenge gardeners face is limited soil and containers, especially when growing in urban environments. Fortunately, you don’t always need fresh soil to cultivate healthy vegetables. With a simple soil-reuse hack, you can recycle your old soil to grow more vegetables in plastic bottles, reducing waste, saving money, and maximizing productivity. This step-by-step guide will show you how to reuse soil effectively to create a thriving container garden.
Why Reuse Soil in Gardening?
Reusing soil is more than just an eco-friendly practice; it comes with several benefits:
1. Cost-Effective
- Saves money on buying fresh potting soil repeatedly.
- Maximizes the use of your garden resources.
2. Sustainable and Eco-Friendly
- Reduces waste by recycling used soil instead of discarding it.
- Supports a circular gardening system that benefits the environment.
3. Nutrient-Rich Soil
- With proper treatment, old soil retains nutrients and beneficial microbes for plant growth.
4. Space-Saving
- Ideal for small-space gardening in plastic bottles, balcony gardens, or urban spaces.
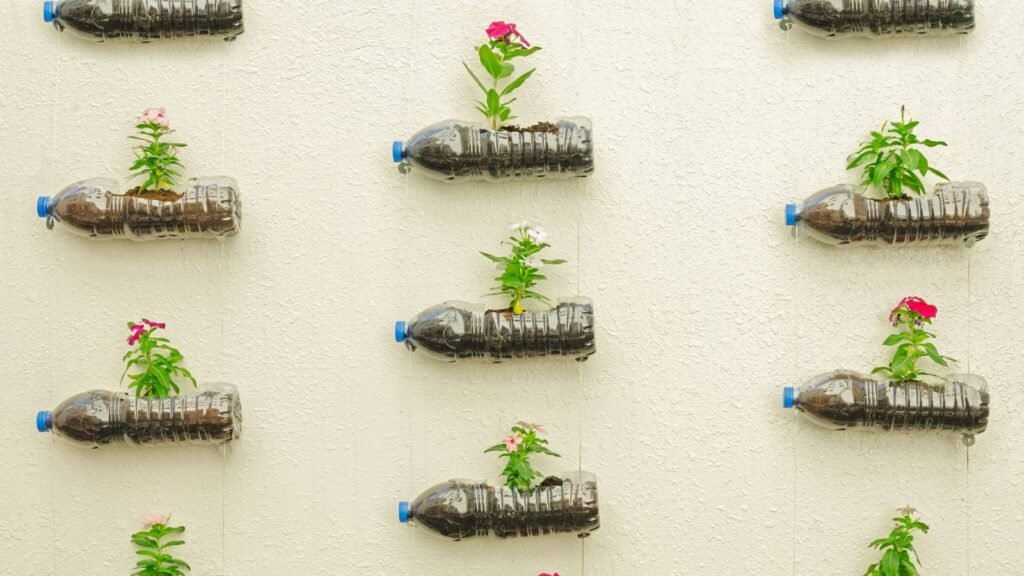
Step 1: Choosing Plastic Bottles
Plastic bottles are versatile, affordable, and perfect for container gardening:
Bottle Selection
- Use 1–2 liter plastic bottles for individual plants.
- For larger vegetables, consider 3–5 liter bottles.
- Ensure bottles are clean and free from residues.
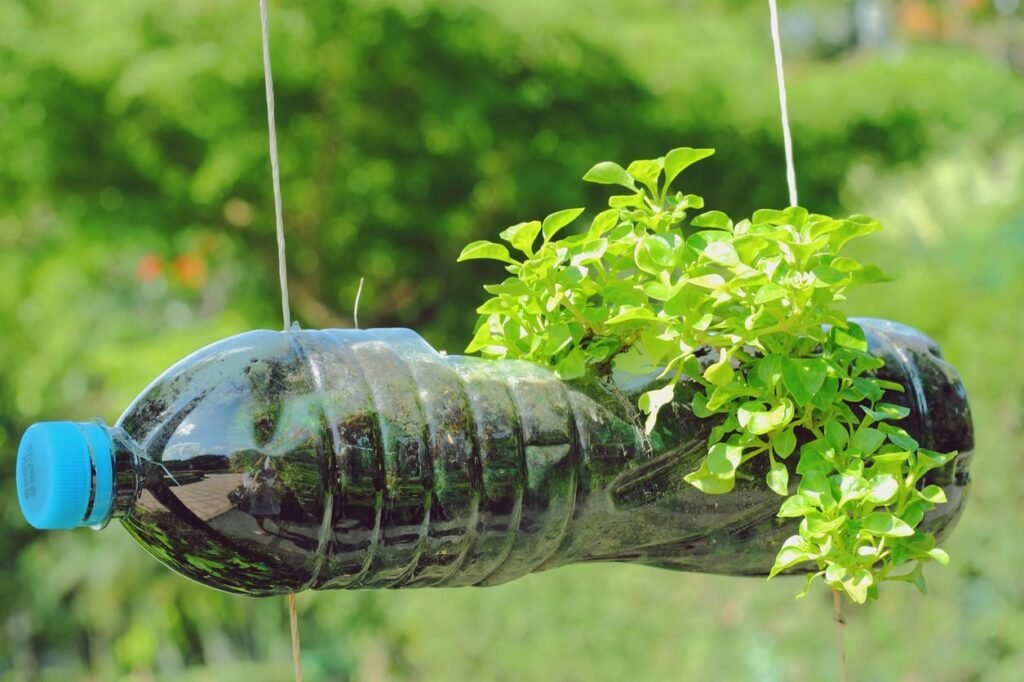
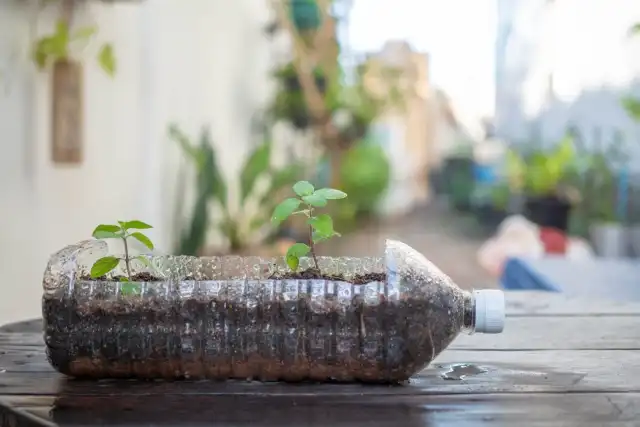
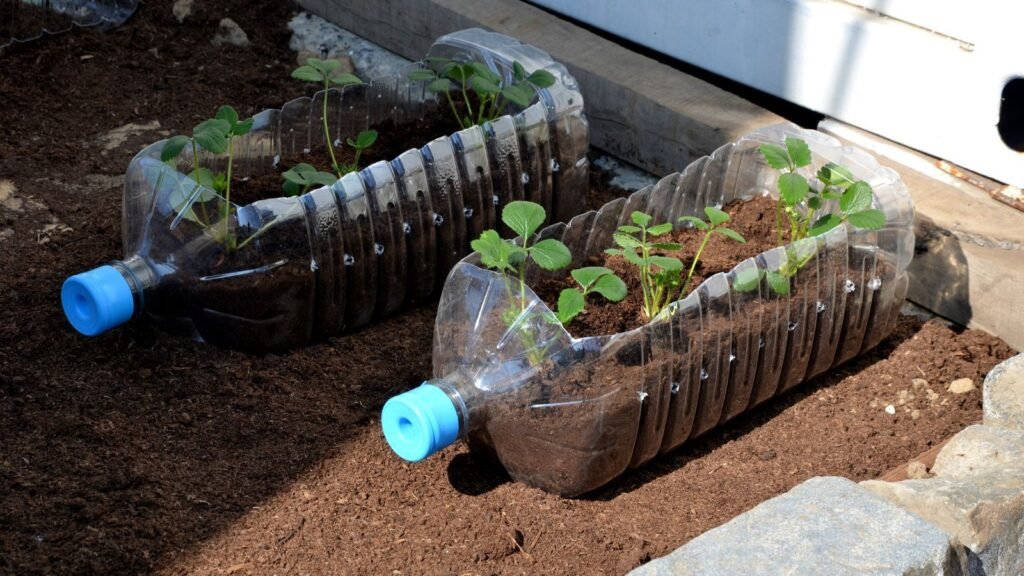
Preparing the Bottles
- Cut a large opening on the side for planting or use the top after removing the cap.
- Poke drainage holes at the bottom to prevent waterlogging.
- Optional: Paint the outside white to reflect sunlight and reduce soil temperature.
Step 2: Collecting and Preparing Old Soil
Not all used soil is ready for reuse. Proper preparation is essential.
Collect Soil From
- Spent vegetable pots
- Flowering plants
- Balcony or terrace container gardens
Steps to Revive Old Soil
- Remove Plant Debris: Pick out old roots, stems, and any decayed matter.
- Break Clumps: Loosen compacted soil for better aeration.
- Sterilize (Optional): To remove pests or pathogens, bake soil at 180°F for 30 minutes or leave it in the sun for 3–4 days.
- Add Nutrients: Mix in compost, vermicompost, or cow manure to restore fertility.
- Enhance Aeration: Add sand, cocopeat, or perlite to improve drainage and reduce compaction.
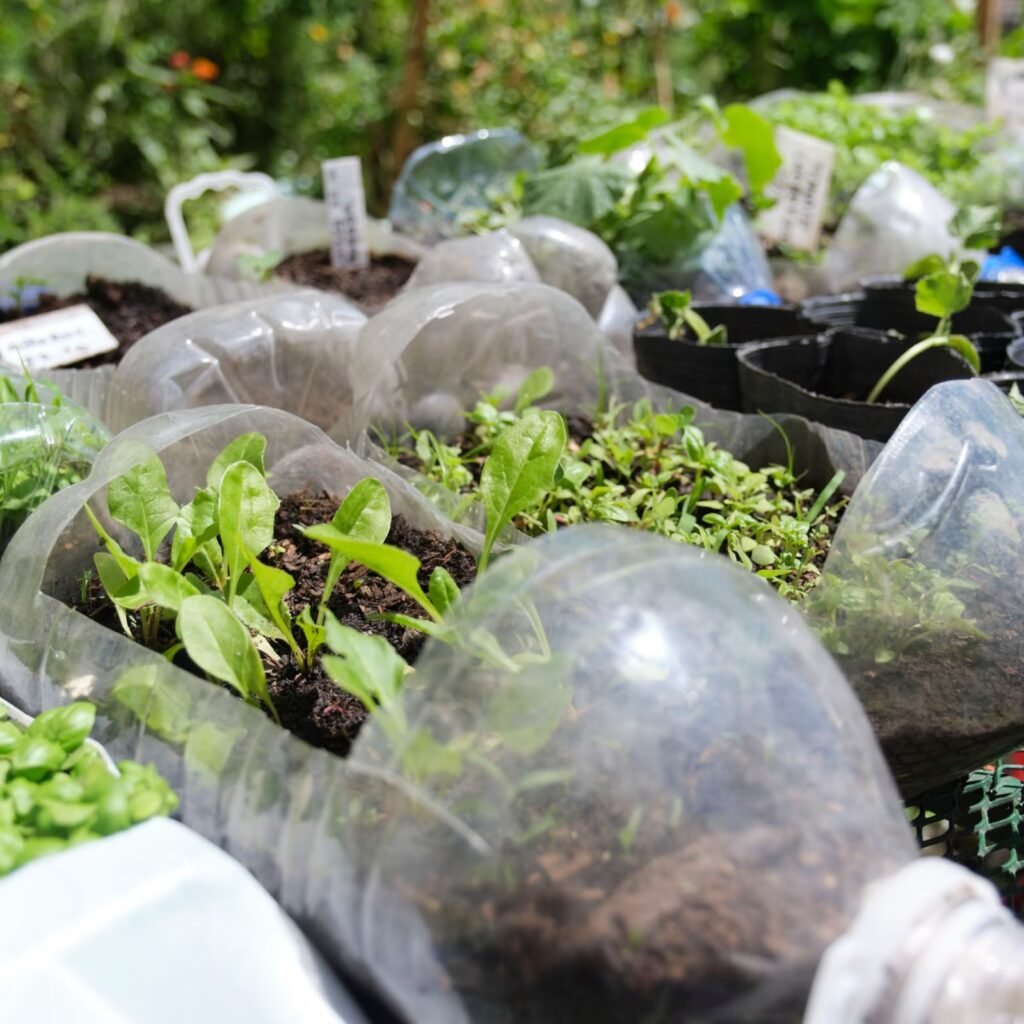
Step 3: Choosing Vegetables for Plastic Bottle Gardening
Plastic bottles are ideal for growing small or medium-sized vegetables.
Latest Posts
- OnePlus 15T Smartphone Unveiled – Featuring 200MP Camera, Snapdragon 8 Elite Gen 5 and Massive Battery
- Lava Yuva 5G Unveiled – 120Hz Display and Strong Performance for Everyday Use
- Nokia 1100 Launched – Premium Keypad Phone Returns at Budget Price ₹2,500
- Motorola G96 5G Unveiled – Featuring Stylish Design, Strong Performance and Advanced Camera Tech
- Vivo Y21d Unveiled – Massive 6000mAh Battery for All-Day Everyday Use
- Nothing Phone 4 Ultra 5G Launched – 16GB RAM, AI-Powered 50MP Camera and Flagship Performance
- OnePlus 5G Smartphone Launched – 300MP AI Camera, 7000mAh Battery & 100W Fast Charging
- Nothing Phone 3a Pro – High processor smartphone for gaming lovers – battery is 5000mAH
- Realme 15 Pro – 3 days battery backup smartphone with 50MP front camera under ₹28,000
- Vivo X200 FE – 12GB RAM + 256GB Storage smartphone with HD quality camera
Best Options
- Leafy greens: Lettuce, spinach, kale
- Herbs: Basil, mint, coriander
- Small fruits: Cherry tomatoes, chili peppers
- Root vegetables: Radish, green onions
Planting Seeds or Seedlings
- Fill the prepared bottle with the reused soil mixture.
- Sow seeds according to package instructions or transplant seedlings gently.
- Water lightly to help seeds settle.
Step 4: Watering and Moisture Management
Reused soil may retain some nutrients but requires careful watering:
Watering Tips
- Keep the soil evenly moist, but not soggy.
- Use a small watering can or spray bottle to avoid washing away seeds.
- Water in the morning to reduce fungal growth.
Mulching
- Apply a thin layer of straw or dried leaves on top to conserve moisture.
- Benefits: Reduces evaporation and suppresses weeds in bottles.
Step 5: Sunlight and Temperature
Most vegetables grown in bottles require adequate sunlight:
- Place bottles where they receive 4–6 hours of sunlight daily.
- Leafy greens tolerate partial shade, but fruiting plants like peppers or tomatoes need full sun.
- Rotate bottles periodically for even exposure.
Step 6: Fertilizing Reused Soil
Even with added compost, reused soil may need extra nutrients:
Fertilizer Options
- Organic: Vermicompost tea, cow dung slurry, compost
- Balanced NPK fertilizer: 10:10:10 at half-strength
- Natural boosters: Fish emulsion, banana peel powder, wood ash
Fertilizing Schedule
- Seedling stage: Light feeding once every 10–14 days
- Vegetative stage: Moderate feeding for leaf growth
- Fruiting stage: Potassium-rich fertilizer for flowers and fruits
Step 7: Supporting Vegetables in Bottles
Some vegetables may need support for optimal growth:
- Cherry tomatoes, peppers, or climbing beans may require small sticks or trellises.
- Leafy greens or herbs generally do not need support.
- Use soft ties or bamboo sticks to avoid damaging stems.
Step 8: Pest and Disease Management
Even in recycled soil, pests can appear. Monitoring and preventive measures are key:
Common Pests
- Aphids: Spray neem oil or mild soap solution
- Whiteflies: Yellow sticky traps
- Slugs: Hand-pick or use organic barriers
Common Diseases
- Fungal infections: Avoid waterlogged soil, ensure proper drainage
- Damping-off: Maintain good airflow and avoid overcrowding seedlings
- Leaf spots: Remove affected leaves and improve sunlight exposure
Step 9: Harvesting Vegetables from Bottles
With proper care, vegetables grown in bottles can provide a continuous harvest:
Leafy Greens
- Harvest outer leaves regularly, allowing inner leaves to grow.
- Continuous harvesting encourages new growth.
Fruiting Plants
- Pick fruits when fully ripe to encourage further production.
- Regular harvesting prevents overloading the plant.
Root Vegetables
- Harvest radishes or green onions when roots are fully developed.
Benefits of Reusing Soil in Plastic Bottles
- Saves Money: Reduces the need for new potting soil.
- Eco-Friendly: Minimizes waste and promotes sustainability.
- Maximizes Yield: Multiple crops from the same soil.
- Space-Saving: Perfect for urban gardening and small balconies.
- Easy to Maintain: Containers simplify watering, pest control, and harvesting.
Bonus Tips for Success
- Refresh reused soil by mixing fresh compost each planting cycle.
- Rotate crops to prevent soil depletion and reduce pests.
- Use slow-release fertilizers to keep nutrients steady.
- Ensure drainage holes remain unclogged for healthy root development.
- Group bottles according to plant type for easier care.
Conclusion
Reusing soil is a simple, practical, and sustainable gardening hack. By revitalizing old soil with compost and aeration, you can grow healthy vegetables in plastic bottles without the need for new soil each time. This method saves money, reduces waste, and maximizes productivity, making it perfect for small-space or urban gardening.
With careful planting, watering, fertilization, and pest management, your recycled soil can support multiple crops throughout the year. Leafy greens, herbs, small fruits, and even root vegetables thrive in plastic bottles, allowing you to enjoy fresh, home-grown produce all year long.
Start reusing your soil today and transform discarded bottles into a productive, eco-friendly vegetable garden!