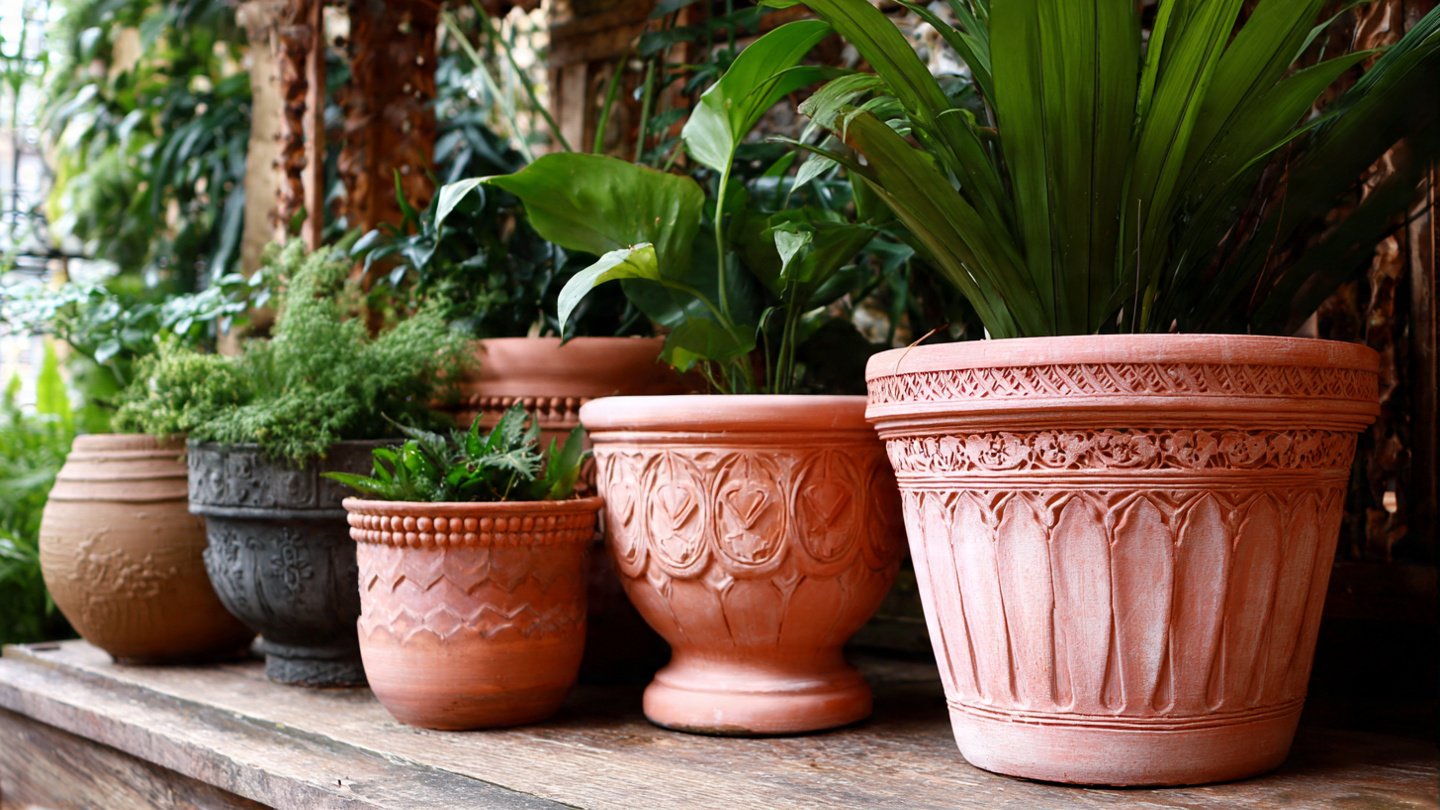
Plastic pots are an affordable and widely used option for gardeners and plant enthusiasts alike. However, they often lack the classic charm and aesthetic appeal of terracotta pots. Fortunately, with a bit of creativity and effort, these inexpensive plastic pots can be transformed into elegant terracotta-like containers that enhance the beauty of your plants and your home. This guide will take you through the steps, materials, and techniques to achieve a stunning transformation.
Why Choose Plastic Pots?
When it comes to gardening, plastic pots offer many advantages:
Latest Posts
- OnePlus 15T Smartphone Unveiled – Featuring 200MP Camera, Snapdragon 8 Elite Gen 5 and Massive Battery
- Lava Yuva 5G Unveiled – 120Hz Display and Strong Performance for Everyday Use
- Nokia 1100 Launched – Premium Keypad Phone Returns at Budget Price ₹2,500
- Motorola G96 5G Unveiled – Featuring Stylish Design, Strong Performance and Advanced Camera Tech
- Vivo Y21d Unveiled – Massive 6000mAh Battery for All-Day Everyday Use
- Nothing Phone 4 Ultra 5G Launched – 16GB RAM, AI-Powered 50MP Camera and Flagship Performance
- OnePlus 5G Smartphone Launched – 300MP AI Camera, 7000mAh Battery & 100W Fast Charging
- Nothing Phone 3a Pro – High processor smartphone for gaming lovers – battery is 5000mAH
- Realme 15 Pro – 3 days battery backup smartphone with 50MP front camera under ₹28,000
- Vivo X200 FE – 12GB RAM + 256GB Storage smartphone with HD quality camera
- Cost-effective: They are much cheaper than terracotta pots, making them accessible for everyone.
- Lightweight: Plastic pots are easy to move around, which is especially useful for larger plants.
- Diverse Sizes: They come in a variety of sizes, accommodating different plant types.
- Drainage: Many plastic pots have drainage holes to prevent overwatering.
While the appeal of plastic pots is evident, their aesthetic shortcomings can be frustrating for many gardeners. The good news is that transforming these humble containers into beautiful terracotta-inspired pots is within reach!
Materials Needed
To successfully transform your plastic pots, you will need the following materials:
- Plastic pots (your choice of size)
- Sandpaper (fine-grit)
- Acrylic paint (terracotta color or a similar shade)
- Paintbrushes (various sizes)
- Mod Podge or exterior sealant (for a protective finish)
- Texturing materials (optional, such as sponges or brushes for effects)
- Designer stamps or stencils (for added designs)
- Optional: Fake moss or decorative stones for the final touch
Step-by-Step Transformation Process
Step 1: Preparing the Pots
Start by cleaning the plastic pots thoroughly. This step is vital to ensure that the paint adheres properly. Once clean, use fine-grit sandpaper to lightly sand the surface of the pots. This creates a texture that helps the paint stick better, resulting in a more durable finish.
Step 2: Painting the Pots
Once the pots are prepped, it’s time to apply the base coat. Use an acrylic paint in a terracotta color or your desired shade. Apply the first coat with a medium-sized brush, ensuring even coverage. Allow the first coat to dry completely before applying a second coat for a richer color.
Step 3: Texturing (Optional)
If you want to achieve a more authentic terracotta appearance, consider adding texture. You can use sponges or a dry brush technique with a lighter shade of paint to create depth and dimension. Experiment with varying techniques, using different pressures to achieve diverse effects.
Step 4: Stenciling and Detailing
To further enhance your pots, consider adding designs using stencils or stamps. This could include patterns inspired by traditional terracotta designs or personal touches that reflect your style. Use a small, fine brush to carefully paint within the stencils, or press the stamp onto the pot for a unique look.
Step 5: Sealing the Pots
Once all painting and detailing are complete, allow the pots to dry. After dried, apply a coat of Mod Podge or an exterior sealant to protect your artwork. Choose a matte or glossy finish depending on your preference. This step is essential for ensuring the longevity of your design, especially for outdoor use.
Step 6: Incorporating Decorative Touches
For an extra touch of elegance, consider adding decorative elements. Fake moss, intricate stones, or even miniature garden figures can elevate the overall aesthetic of your newly transformed pots. You might also want to arrange your plants thoughtfully to complement the new look.
Where to Use Your Transformed Pots
Once your plastic pots are transformed, they can be incorporated into various settings:
- Indoor Spaces: Use them to brighten up your living room, kitchen, or office.
- Outdoor Gardens: They can make great accents in flower beds, patios, or balconies.
- Events and Parties: Channel your creativity and use them as centerpieces for gatherings.
Maintenance Tips
To keep your transformed pots looking their best, here are a few maintenance tips:
- Regularly check for chips or scratches in the paint and touch up as necessary.
- Keep the pots clean by wiping them down with a damp cloth periodically.
- Avoid placing heavy objects in the pots to prevent damage.
Conclusion
Transforming cheap plastic pots into elegant terracotta-inspired containers is a rewarding project that enhances both the style of your plants and your space. With a few materials, some creativity, and patience, you can create stunning pieces that rival the beauty of traditional terracotta pots. By following the steps outlined in this guide, you will not only enjoy the aesthetic benefits but also have a fulfilling DIY experience.
FAQs
1. How long will the paint take to dry?
The drying time can vary based on the paint type and environmental conditions. Generally, acrylic paint dries within 30 minutes to an hour; however, it’s best to wait a couple of hours before applying a second coat.
2. Can I use regular paint instead of acrylic paint?
Using acrylic paint is recommended due to its flexibility and adhesion properties on plastic surfaces. Regular paint may not adhere well and could chip easily.
3. Are these pots suitable for outdoor use?
Yes! By sealing your pots with an exterior sealant, they can withstand outdoor elements. However, direct sunlight and extreme weather conditions may affect their durability over time.
4. Can I use other colors aside from terracotta?
Absolutely! You can personalize your pots with any color that matches your decor or preference. Just ensure you apply enough coats for even coverage.
5. Is this a sustainable practice?
Yes! By repurposing plastic pots, you’re contributing to sustainability by reducing waste and promoting the idea of upcycling in gardening.