Growing sweet corn at home is a rewarding experience, especially when you watch your tiny seeds transform into vibrant seedlings ready for transplanting. While sweet corn may seem like a crop reserved for large farms, anyone with a bit of space, patience, and guidance can successfully grow it. This step-by-step guide is designed for beginners, making it easy to understand and follow the process of growing healthy sweet corn seedlings from scratch.
1. Understanding Sweet Corn and Its Requirements
Before planting, it’s important to understand the basic needs of sweet corn. Sweet corn thrives in:
- Full Sunlight: At least 6–8 hours of direct sunlight daily.
- Warm Soil: Ideal soil temperature for germination is between 18–24°C (65–75°F).
- Well-Drained Soil: Corn roots require aeration to grow properly.
- Moisture: Consistent watering helps germination and early growth.
Sweet corn is a fast-growing plant that produces tender, sweet kernels, making it a favorite for home gardens and backyard farms. Starting seedlings indoors or in a controlled environment gives young plants a head start, increasing survival and yield when transplanted outdoors.
2. Choosing the Right Sweet Corn Variety
For beginners, selecting the right variety is crucial. Sweet corn types include:
- Sugary (Su) Varieties: Classic sweetness, tender kernels, fast-maturing.
- Sugary Enhanced (SE) Varieties: Extra sweet, good storage quality.
- Supersweet (Sh2) Varieties: Very sweet, longer shelf life, but slower to germinate.
Choose a variety suitable for your climate and growing season. For beginners, SE varieties are often recommended because they combine sweetness with ease of cultivation.
Latest Posts
- OnePlus 15T Smartphone Unveiled – Featuring 200MP Camera, Snapdragon 8 Elite Gen 5 and Massive Battery
- Lava Yuva 5G Unveiled – 120Hz Display and Strong Performance for Everyday Use
- Nokia 1100 Launched – Premium Keypad Phone Returns at Budget Price ₹2,500
- Motorola G96 5G Unveiled – Featuring Stylish Design, Strong Performance and Advanced Camera Tech
- Vivo Y21d Unveiled – Massive 6000mAh Battery for All-Day Everyday Use
- Nothing Phone 4 Ultra 5G Launched – 16GB RAM, AI-Powered 50MP Camera and Flagship Performance
- OnePlus 5G Smartphone Launched – 300MP AI Camera, 7000mAh Battery & 100W Fast Charging
- Nothing Phone 3a Pro – High processor smartphone for gaming lovers – battery is 5000mAH
- Realme 15 Pro – 3 days battery backup smartphone with 50MP front camera under ₹28,000
- Vivo X200 FE – 12GB RAM + 256GB Storage smartphone with HD quality camera
3. Preparing Seeds for Germination
Seed preparation increases germination success. Here’s how:
- Inspect Seeds: Remove broken or damaged seeds.
- Soak Seeds: Soak seeds in lukewarm water for 12–24 hours to soften the seed coat and kickstart germination.
- Optional Pre-Sprouting: Place seeds between moist paper towels for 2–3 days until tiny roots appear. This ensures faster and uniform germination.
4. Selecting Containers and Soil
Healthy seedlings begin with the right growing medium:
- Containers: Seed trays, small pots, or even biodegradable cups work well. Ensure containers have drainage holes.
- Soil Mix: Use a light, well-draining seed-starting mix. A good mix includes:
- 50% peat moss or coco peat
- 30% vermiculite or perlite
- 20% compost or organic matter
Avoid garden soil for seedlings, as it may contain pathogens that can stunt growth.
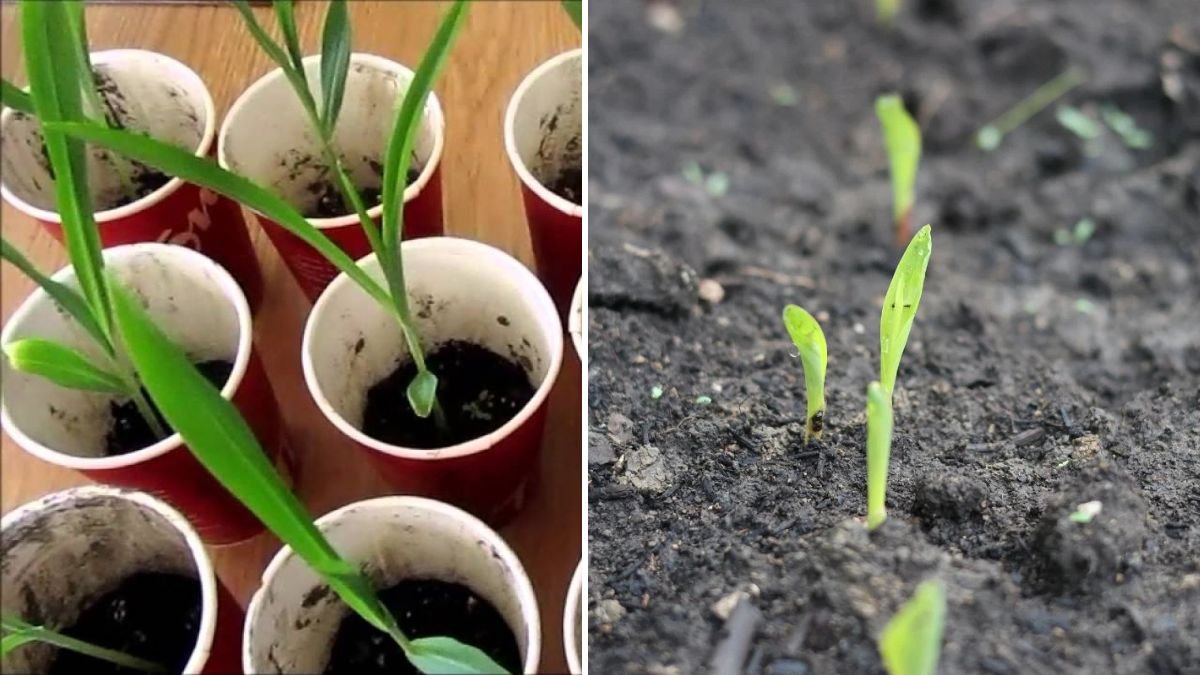
5. Sowing the Seeds
Sowing sweet corn seeds requires care:
- Fill the containers with seed-starting mix.
- Plant each seed 1–2 cm deep.
- Space seeds at least 2–3 cm apart to prevent overcrowding.
- Gently water to moisten the soil without washing away the seeds.
- Cover the trays lightly with a plastic sheet or humidity dome to retain moisture until germination.
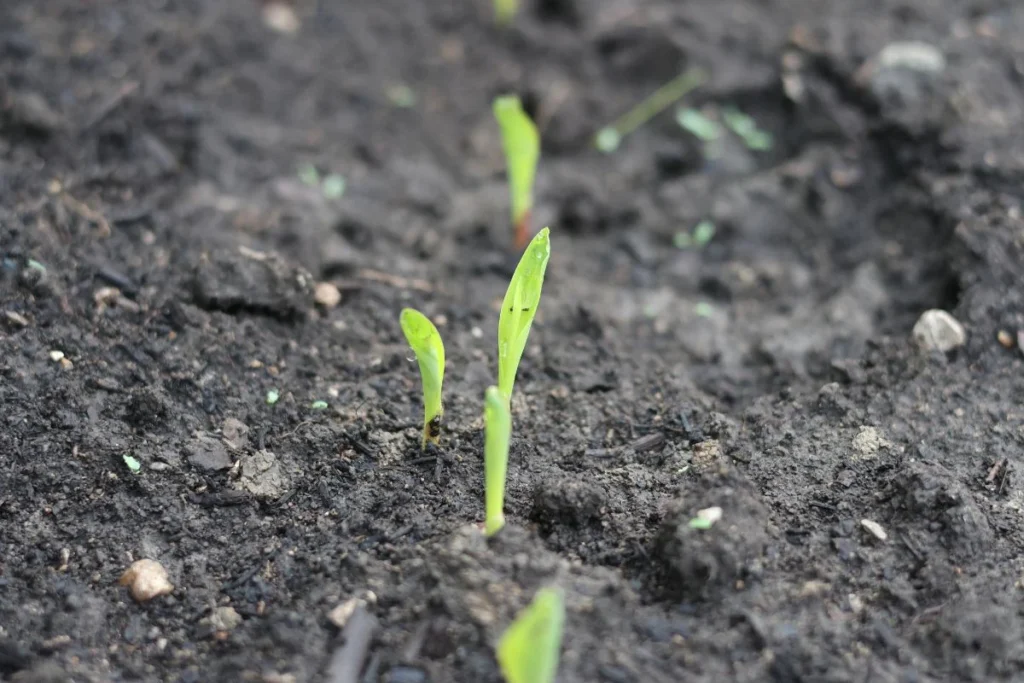
Tip: Sweet corn seeds usually germinate within 5–10 days under optimal conditions.
6. Caring for Young Seedlings
Once seeds sprout, your role shifts to nurturing young plants:
- Light: Place seedlings in a sunny window or under grow lights for 12–16 hours daily. Insufficient light leads to leggy, weak seedlings.
- Watering: Keep the soil consistently moist but not soggy. Overwatering can cause root rot.
- Temperature: Maintain a warm environment; cool conditions slow growth.
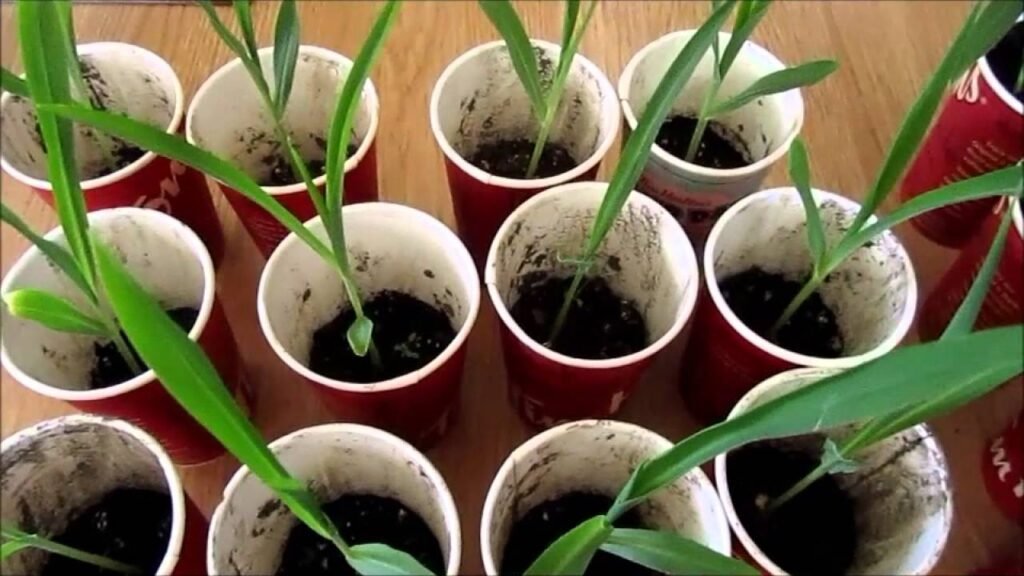
- Thinning: Once seedlings develop two sets of true leaves, thin them to one per cell by snipping weaker seedlings at the base. Avoid pulling, as this can disturb roots.
- Fertilization: Use a diluted liquid fertilizer once seedlings have their first true leaves to encourage strong growth.
7. Hardening Off Seedlings
Before transplanting outdoors, seedlings must acclimate to natural conditions:
- Start by placing seedlings outside in a shaded area for 1–2 hours a day.
- Gradually increase exposure to sunlight and wind over 7–10 days.
- Reduce watering slightly to strengthen roots.
Hardening off reduces transplant shock and improves survival rates when seedlings are planted in the garden.
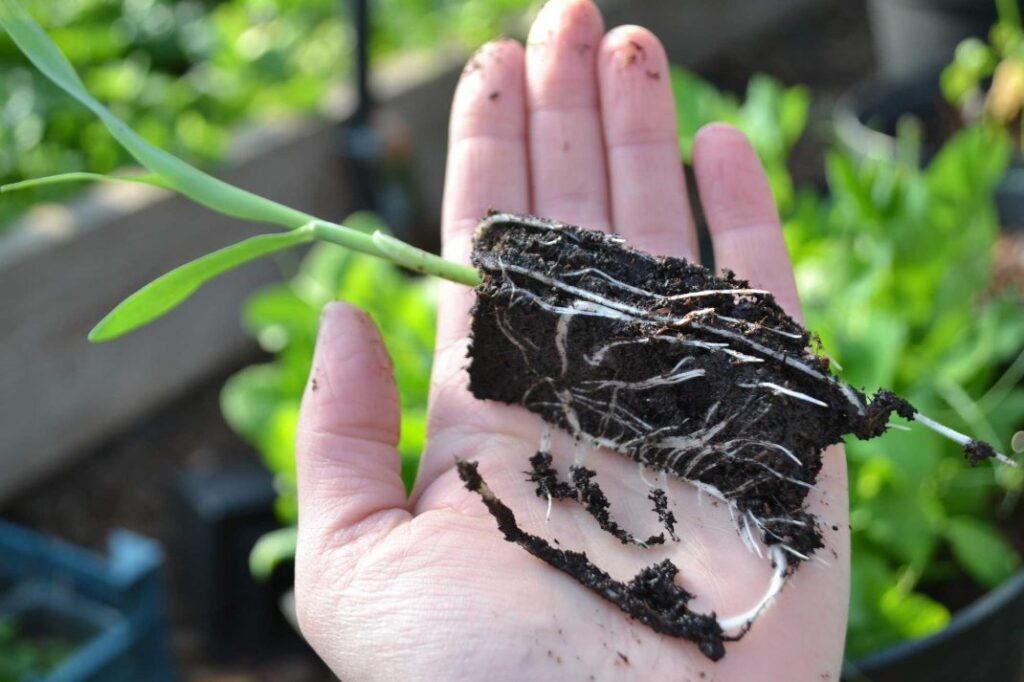
8. Transplanting Seedlings
When seedlings are ready, typically 3–4 weeks after germination, they can be moved to the garden or larger containers:
- Choose a sunny location with well-drained, fertile soil.
- Space plants 25–30 cm apart, with 60–75 cm between rows. Corn grows best in blocks rather than single rows for better pollination.
- Dig holes slightly larger than the root ball of each seedling.
- Carefully remove seedlings from trays, keeping the root system intact.
- Plant seedlings at the same depth they were growing in trays.
- Water immediately after transplanting to settle the soil around roots.
9. Ongoing Care for Transplanted Corn
After transplanting, the focus shifts to maintaining healthy growth:
- Watering: Provide 2.5–5 cm of water per week, depending on rainfall.
- Fertilizing: Apply balanced fertilizer every 3–4 weeks. High nitrogen promotes strong leafy growth.
- Mulching: Mulch around plants to retain moisture, suppress weeds, and regulate soil temperature.
- Pest Control: Watch for pests like corn borers or aphids. Use organic solutions such as neem oil or insecticidal soap when necessary.
10. Supporting Pollination for Better Yield
Sweet corn relies on wind pollination. To ensure kernels develop:
- Gently shake the tassels (male flowers) to release pollen onto silks (female flowers).
- Plant corn in blocks rather than single long rows to improve pollination efficiency.
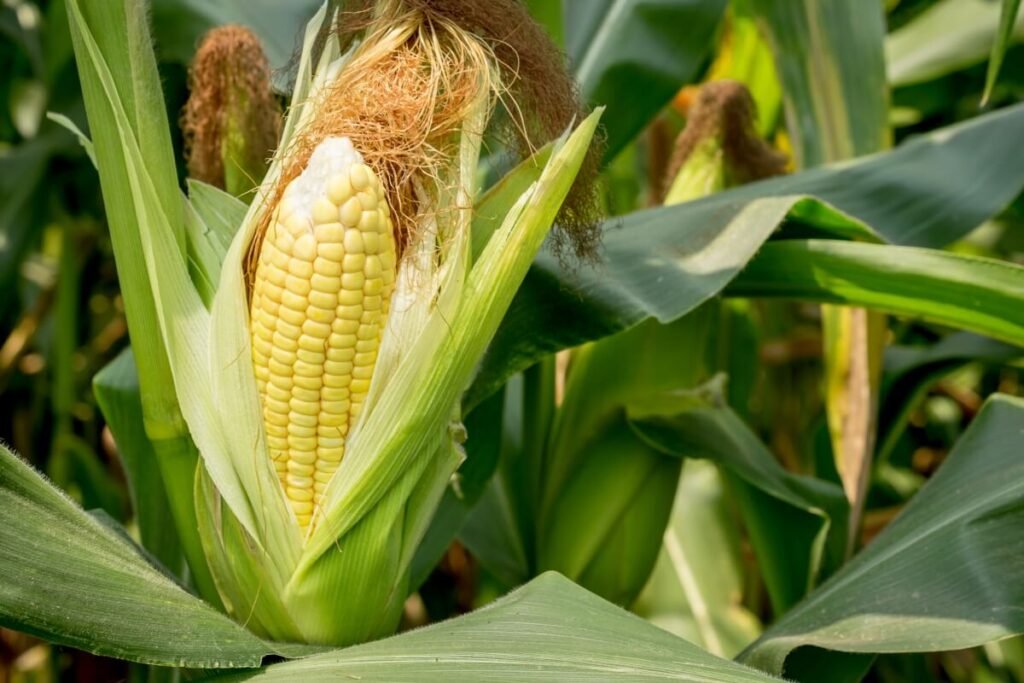
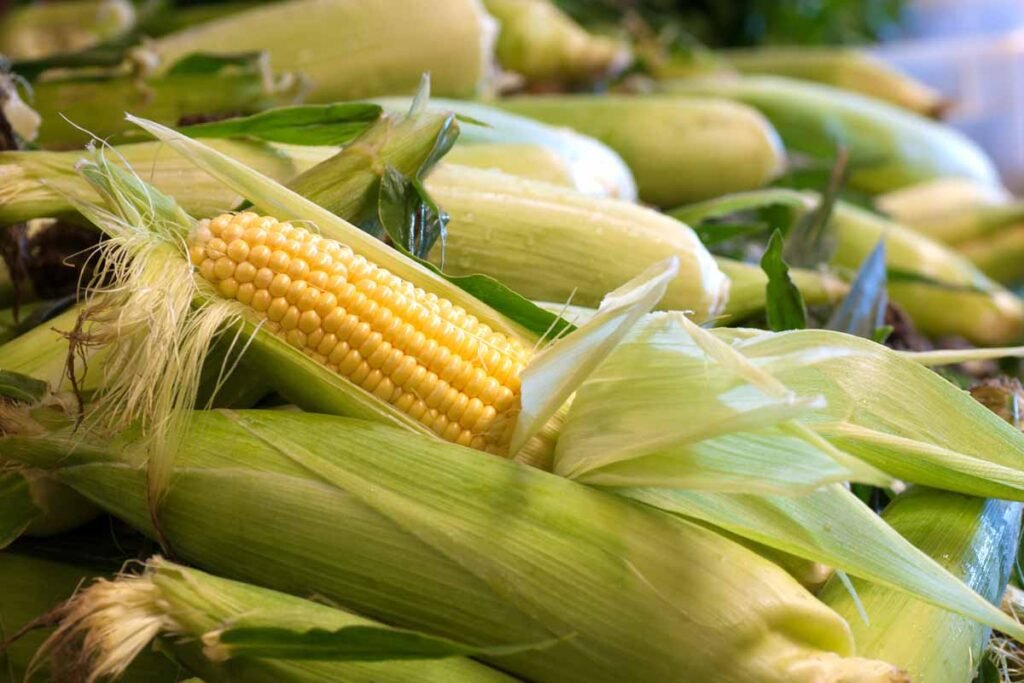
11. Harvesting Sweet Corn
Sweet corn is ready for harvest about 60–100 days after sowing, depending on variety. Signs of readiness include:
- Silks turn brown but are still slightly moist.
- Kernels are plump and milky when pierced.
Harvest early in the morning for the sweetest flavor, and enjoy fresh or cook immediately.
12. Common Problems and Solutions
Beginners often face challenges, but most are preventable:
- Poor Germination: Caused by old seeds or cold soil. Use fresh seeds and warm soil.
- Leggy Seedlings: Caused by insufficient light. Use grow lights or move to a brighter area.
- Yellow Leaves: May indicate nitrogen deficiency; feed seedlings with a balanced fertilizer.
- Pests: Regular inspection and organic pest management help protect young plants.
13. Tips for Beginner Success
- Start with fewer seedlings to learn the process before scaling up.
- Keep a garden journal to track planting dates, growth progress, and observations.
- Be patient—corn grows quickly, but careful attention in the seedling stage sets the foundation for a successful harvest.
Conclusion
Growing sweet corn seedlings is a fun and educational gardening project. By following this step-by-step guide, beginners can cultivate strong, healthy seedlings ready for transplantation, leading to a bountiful harvest of sweet, juicy corn. With proper care, attention to light, water, and soil, and a bit of patience, anyone can enjoy the satisfaction of watching their sweet corn grow from tiny seeds to thriving plants. Whether you’re a novice gardener or a homegrown enthusiast, starting with seedlings ensures a stronger start and a sweeter reward at the end of the season.