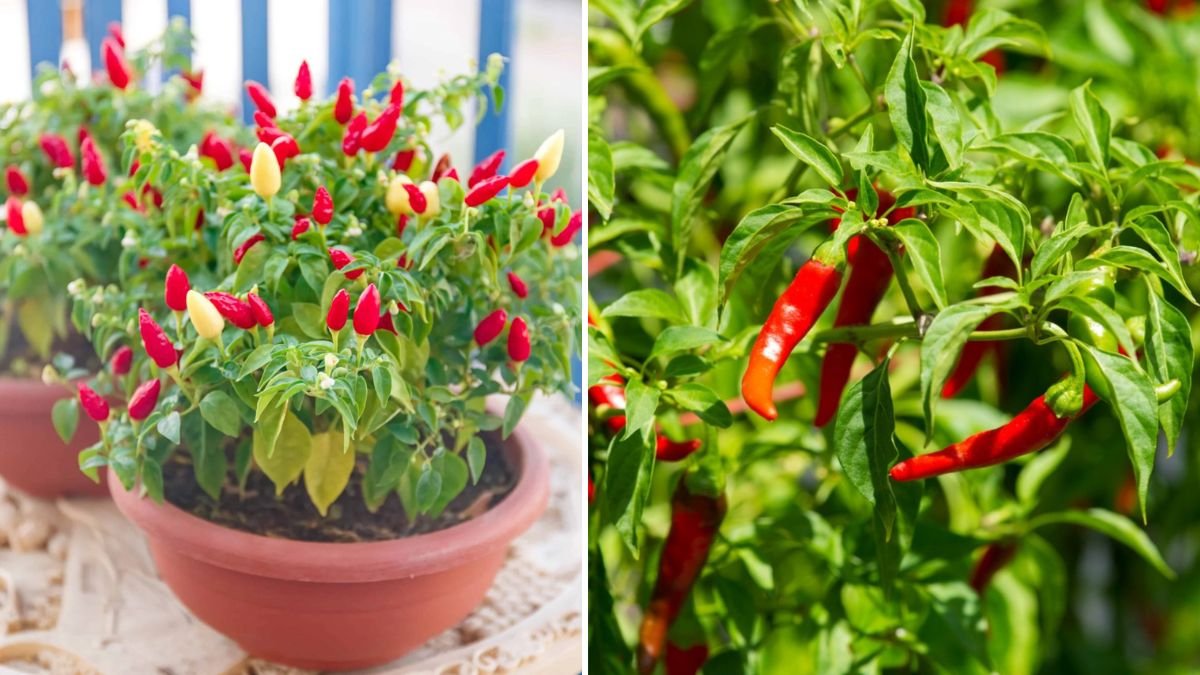
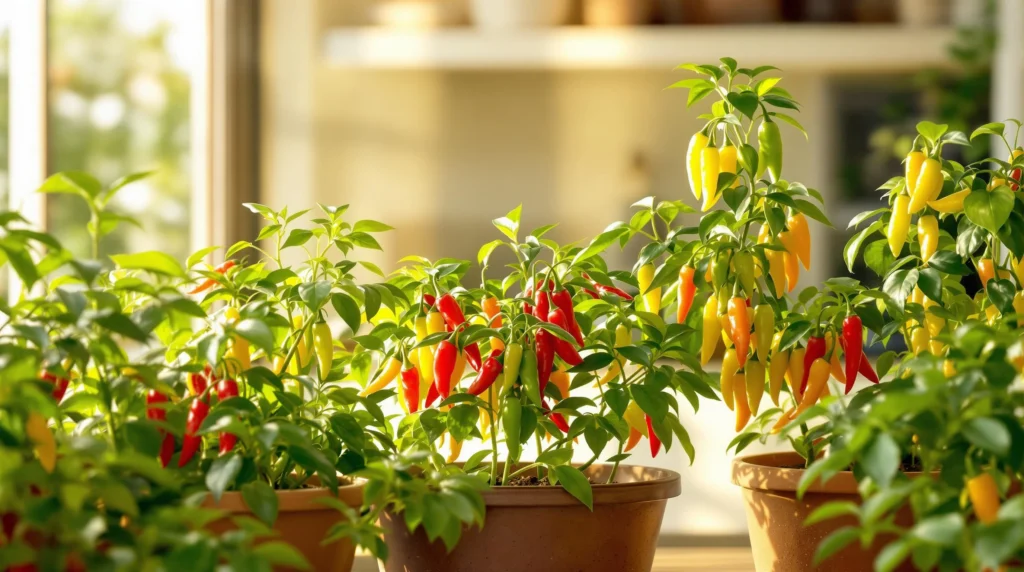
Chili peppers are a favorite among gardeners and home cooks alike. Not only do they add spice and flavor to dishes, but they are also rich in vitamins and antioxidants. Growing chili peppers in containers is an ideal solution for urban gardeners or anyone with limited space. Container gardening allows you to control soil, water, and sunlight while reducing pest and disease problems. With proper care, you can enjoy fresh, home-grown chili peppers from seed to harvest right on your balcony or terrace. This guide provides a step-by-step approach to growing chili peppers in containers successfully.
Why Grow Chili Peppers in Containers?
Growing chili peppers in containers offers several advantages:
1. Space Efficiency
- Perfect for balconies, patios, or small terraces.
- You can grow multiple plants in a small area.
2. Soil and Nutrient Control
- Easy to manage soil type and nutrient levels for optimal growth.
- Reduces the risk of soil-borne diseases.
3. Mobility
- Containers can be moved to catch sunlight, protect plants from harsh weather, or adjust for seasonal changes.
4. Pest and Disease Management
- Easier to monitor and prevent pest infestations compared to open garden beds.
5. Continuous Harvest
- Regular pruning and harvesting encourage more flowers and fruits, giving you a continuous supply of chili peppers.
Step 1: Choosing the Right Container
Chili peppers need containers that support root growth and provide stability for fruiting plants.
Container Recommendations
- Size: Minimum 12–16 inches deep and wide per plant.
- Material: Plastic, clay, or fabric pots with proper drainage holes.
- Drainage: Ensure multiple holes at the bottom to prevent waterlogging.
Tip: Use a saucer underneath to catch excess water and prevent mess, especially if placing pots indoors or on balconies.
Step 2: Preparing the Soil Mix
Chili peppers thrive in nutrient-rich, well-draining soil.
Recommended Soil Mix
- 40% garden soil
- 30% compost or well-rotted manure
- 20% cocopeat or sand for aeration
- 10% vermicompost
Soil Boosters
- Bone meal: Promotes strong root development
- Wood ash: Provides potassium for healthy fruiting
- Neem cake: Protects against soil pests and improves fertility
Mix the ingredients thoroughly to create a loose, fertile medium for planting.
Latest Posts
- OnePlus 15T Smartphone Unveiled – Featuring 200MP Camera, Snapdragon 8 Elite Gen 5 and Massive Battery
- Lava Yuva 5G Unveiled – 120Hz Display and Strong Performance for Everyday Use
- Nokia 1100 Launched – Premium Keypad Phone Returns at Budget Price ₹2,500
- Motorola G96 5G Unveiled – Featuring Stylish Design, Strong Performance and Advanced Camera Tech
- Vivo Y21d Unveiled – Massive 6000mAh Battery for All-Day Everyday Use
- Nothing Phone 4 Ultra 5G Launched – 16GB RAM, AI-Powered 50MP Camera and Flagship Performance
- OnePlus 5G Smartphone Launched – 300MP AI Camera, 7000mAh Battery & 100W Fast Charging
- Nothing Phone 3a Pro – High processor smartphone for gaming lovers – battery is 5000mAH
- Realme 15 Pro – 3 days battery backup smartphone with 50MP front camera under ₹28,000
- Vivo X200 FE – 12GB RAM + 256GB Storage smartphone with HD quality camera
Step 3: Selecting and Preparing Seeds
Choose healthy seeds from trusted sources for better germination and strong plants.
Seed Options
- Bell chili peppers (mild)
- Cayenne or bird’s eye chili (spicy)
- Compact varieties suitable for container growth
Seed Preparation
- Soak seeds in warm water for 6–12 hours to speed up germination.
- Optional: Treat seeds with a mild fungicide solution to prevent early fungal infections.
Sowing Seeds
- Fill containers with the prepared soil mix, leaving 1–2 inches at the top.
- Plant 2–3 seeds per container about ¼–½ inch deep.
- Cover lightly with soil and water gently.
Germination
- Seeds usually sprout within 7–14 days, depending on temperature and moisture.
- Thin seedlings to one strong plant per container once 2–3 true leaves develop.
Step 4: Sunlight Requirements
Chili peppers need plenty of sunlight for healthy growth:
- Provide 6–8 hours of direct sunlight daily.
- In extremely hot climates, provide light afternoon shade to prevent leaf scorching.
- Rotate containers occasionally for even sun exposure.
Tip: Insufficient sunlight can result in weak, leggy plants and reduced fruiting.
Step 5: Watering Chili Peppers
Proper watering is crucial for root health and fruit production:
Watering Guidelines
- Keep the soil evenly moist, not soggy.
- Water at the base to avoid wetting leaves, which reduces fungal infections.
- Water in the morning for best absorption and to reduce disease risk.
Mulching
- Apply a thin layer of straw, dried leaves, or cocopeat to retain moisture and regulate soil temperature.
- Mulching also suppresses weeds and keeps roots cool.
Step 6: Fertilizing Chili Peppers
Chili peppers are heavy feeders, especially during flowering and fruiting:
Fertilizer Recommendations
- Organic: Vermicompost tea, cow dung slurry, compost
- Balanced NPK fertilizer (10:10:10) at half-strength
- Natural boosters: Fish emulsion, banana peel powder, wood ash
Fertilizing Schedule
- Seedling stage (0–4 weeks): Light feeding for root and leaf development
- Vegetative stage (4–8 weeks): Moderate feeding for robust growth
- Flowering and Fruiting stage (8+ weeks): Potassium-rich fertilizer for bigger, healthier fruits
Step 7: Supporting Plants
Some chili pepper varieties grow tall or produce heavy fruits and may require support:
- Stakes: Tie main stems loosely with soft ties.
- Cages: Ideal for bushy or taller varieties.
- Trellis or Netting: For climbing or vining types.
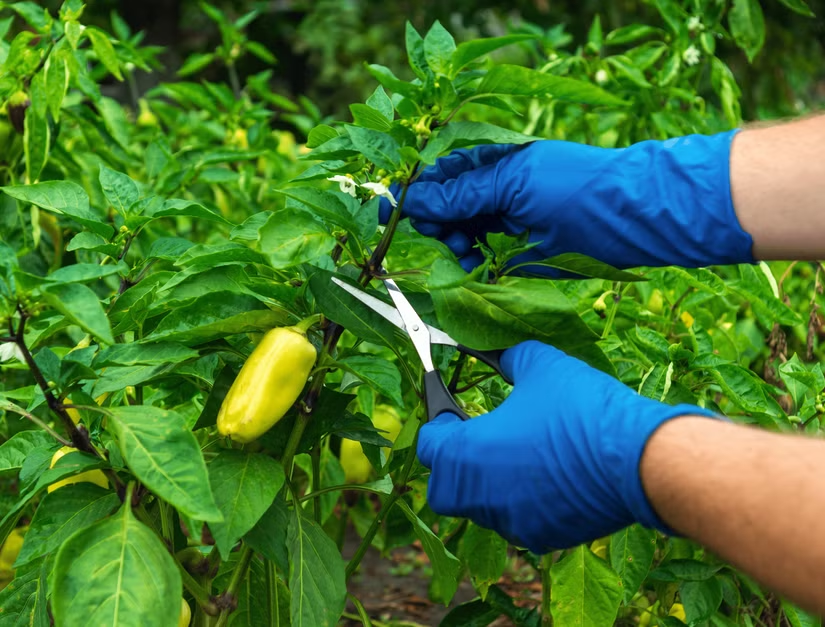
Pruning
- Remove yellow or dead leaves to improve airflow.
- Pinch early flowers if necessary to strengthen young plants before fruiting begins.
Step 8: Pest and Disease Management
Even container-grown chili peppers can face pests and diseases:
Common Pests
- Aphids: Spray neem oil or mild soap solution
- Whiteflies: Use yellow sticky traps
- Spider mites: Neem or garlic spray
Common Diseases
- Fungal infections: Ensure good air circulation and avoid waterlogged soil
- Damping-off: Prevent by maintaining proper drainage and avoiding overcrowding
- Leaf spot: Remove affected leaves and maintain sunlight exposure
Step 9: Flowering and Fruit Development
Chili peppers produce flowers that eventually turn into fruits:
Pollination Tips
- Most varieties are self-pollinating, but insects like bees improve fruit set.
- In indoor settings, gently shake flowers or use a small brush to transfer pollen.
Fruit Management
- Limit initial fruit load if necessary to allow the plant to develop strong stems.
- Gradually allow more flowers to mature as the plant strengthens.
Step 10: Harvesting Chili Peppers
Chili peppers are usually ready to harvest 60–90 days after sowing, depending on variety:
Signs of Ripeness
- Color changes according to variety (green, red, yellow, or orange)
- Firm texture and glossy skin
- Fruits detach easily when gently lifted
Harvesting Tips
- Use a sharp knife or scissors to cut fruits from the stem.
- Harvest regularly to encourage continuous flowering and fruiting.
- Handle fruits gently to avoid bruising.
Storage
- Store freshly harvested peppers in a cool, dry place for a few days.
- Refrigerate for longer storage or dry for preservation.
Benefits of Growing Chili Peppers in Containers
- Space-Saving: Perfect for balconies and small terraces.
- Controlled Growth: Soil, water, and nutrients are easy to manage.
- Reduced Pest and Disease Risk: Easier to monitor and care for plants.
- Continuous Harvest: Regular care ensures peppers for months.
- Fresh and Flavorful: Home-grown chili peppers are more nutritious and flavorful than store-bought.
Bonus Tips for Success
- Rotate containers for even sunlight exposure.
- Use slow-release fertilizers for steady nutrient supply.
- Water in the morning to prevent fungal infections.
- Support plants early to prevent breakage under heavy fruits.
- Mulch heavily to conserve moisture and reduce weeds.
Conclusion
Growing chili peppers in containers is practical, rewarding, and beginner-friendly. By selecting high-quality seeds, preparing nutrient-rich soil, providing adequate sunlight, watering properly, fertilizing, supporting plants, and managing pests, you can enjoy a bountiful harvest of fresh chili peppers at home.
Container gardening allows you to control growing conditions, reduce pest and disease pressure, and grow healthy, flavorful peppers even in limited spaces. With patience and consistent care, a single container can produce multiple chili peppers throughout the season, adding spice and nutrition to your kitchen.
Start your container chili garden today, and experience the joy of harvesting your very own home-grown, fiery peppers from seed to harvest!