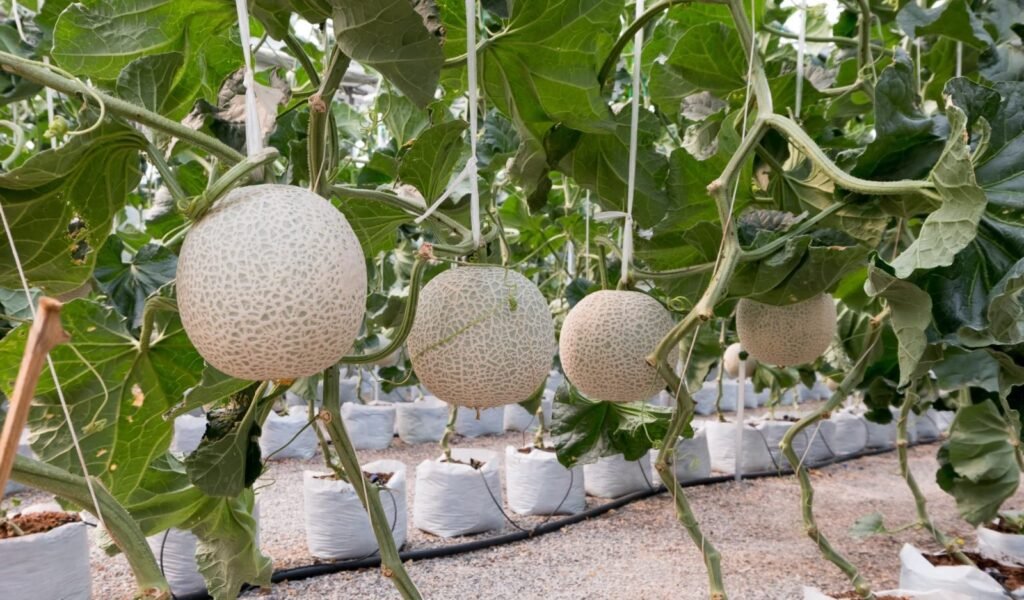
Melons are sweet, juicy, and highly rewarding to grow at home. Traditionally cultivated in large garden beds, melons can also thrive in buckets, making them perfect for urban gardeners, balconies, or small spaces. With the right care, a single melon plant in a bucket can produce multiple delicious fruits, giving you a fresh, home-grown supply throughout the season. This guide provides a step-by-step method to grow melons in buckets, from seed sowing to harvesting abundant fruits.
Why Grow Melons in Buckets?
Growing melons in buckets offers several benefits:
1. Space Efficiency
- Ideal for urban spaces, terraces, or balconies.
- Allows gardeners with limited soil access to enjoy fresh melons.
2. Soil and Nutrient Control
- Buckets provide a contained environment where you can manage soil fertility, pH, and drainage.
3. Reduced Pest Pressure
- Elevated containers reduce exposure to soil-borne pests and diseases.
4. Mobility
- Buckets can be moved to follow sunlight or protect plants from harsh conditions.
5. High Yield
- With proper care, pruning, and fertilization, you can grow multiple fruits from a single plant.
Step 1: Choosing the Right Bucket
Melons have large root systems, so choosing the right bucket is essential for healthy growth.
Bucket Requirements
- Size: Minimum 20–25 liters per plant
- Depth: At least 12–15 inches to accommodate roots
- Material: Plastic or sturdy fabric buckets with drainage holes
- Drainage: Ensure 4–6 holes at the bottom to prevent waterlogging
Tip: Use a saucer under the bucket to catch excess water if growing indoors or on terraces.
Step 2: Preparing the Soil Mix
Melons need nutrient-rich, well-draining soil for maximum fruit production.
Ideal Soil Mix
- 40% garden soil
- 30% compost or well-rotted manure
- 20% cocopeat or sand for aeration
- 10% vermicompost
Nutrient Boosters
- Bone meal or rock phosphate: Supports strong root development
- Wood ash: Provides potassium for sweeter fruits
- Neem cake: Protects against soil pests and enhances fertility
Mix thoroughly to ensure a light, airy, and fertile medium.
Latest Posts
- OnePlus 15T Smartphone Unveiled – Featuring 200MP Camera, Snapdragon 8 Elite Gen 5 and Massive Battery
- Lava Yuva 5G Unveiled – 120Hz Display and Strong Performance for Everyday Use
- Nokia 1100 Launched – Premium Keypad Phone Returns at Budget Price ₹2,500
- Motorola G96 5G Unveiled – Featuring Stylish Design, Strong Performance and Advanced Camera Tech
- Vivo Y21d Unveiled – Massive 6000mAh Battery for All-Day Everyday Use
- Nothing Phone 4 Ultra 5G Launched – 16GB RAM, AI-Powered 50MP Camera and Flagship Performance
- OnePlus 5G Smartphone Launched – 300MP AI Camera, 7000mAh Battery & 100W Fast Charging
- Nothing Phone 3a Pro – High processor smartphone for gaming lovers – battery is 5000mAH
- Realme 15 Pro – 3 days battery backup smartphone with 50MP front camera under ₹28,000
- Vivo X200 FE – 12GB RAM + 256GB Storage smartphone with HD quality camera
Step 3: Choosing Melon Seeds and Sowing
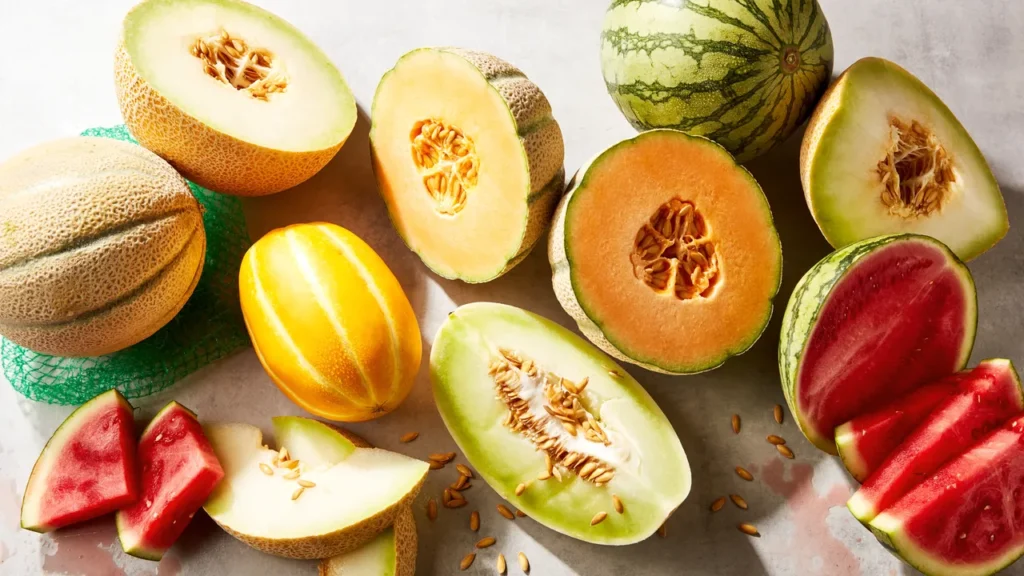
Select high-yielding melon varieties suitable for container growth, such as cantaloupe, honeydew, or small watermelon types.
Seed Preparation
- Soak seeds in warm water for 6–12 hours to improve germination.
- Optionally, treat seeds with a mild fungicide to prevent early fungal infections.
Sowing Seeds in Buckets
- Fill the bucket with the prepared soil mix, leaving 2–3 inches at the top.
- Plant 2–3 seeds per bucket about 1 inch deep.
- Cover lightly with soil and water gently.
Germination
- Seeds typically sprout within 7–10 days.
- Thin seedlings to one strong plant per bucket after 3–4 true leaves appear.
Step 4: Sunlight Requirements
Melons are sun-loving plants and require plenty of light for flowering and fruiting:
- Provide 6–8 hours of direct sunlight daily.
- In hot climates, provide afternoon shade to prevent leaf scorch.
- Rotate buckets occasionally for even sunlight exposure.
Tip: Insufficient sunlight can result in weak growth and fewer fruits.
Step 5: Watering Melon Plants in Buckets
Proper watering is key to fruit development:
Watering Guidelines
- Keep the soil evenly moist, but avoid waterlogging.
- Water deeply at the base of the plant to encourage strong root development.
- Water in the morning to prevent fungal infections.
Mulching
- Apply straw or dried leaves on top of the soil to conserve moisture, regulate temperature, and suppress weeds.
Step 6: Fertilizing for Maximum Fruits
Melons are heavy feeders, especially when producing multiple fruits.
Fertilizer Recommendations
- Organic: Vermicompost tea, cow dung slurry, compost
- Balanced NPK fertilizer (10:10:10) at half-strength
- Natural boosters: Banana peel powder, fish emulsion, wood ash
Fertilizing Schedule
- Vegetative stage (0–30 days): Nitrogen-rich fertilizers for leaves and vine growth
- Flowering stage (30–60 days): Balanced fertilizers for flower and vine development
- Fruiting stage (60+ days): Potassium-rich fertilizers to promote sweet, healthy fruits
Step 7: Supporting Melon Vines
Melons are trailing plants and need support to maximize fruit production:
Support Options
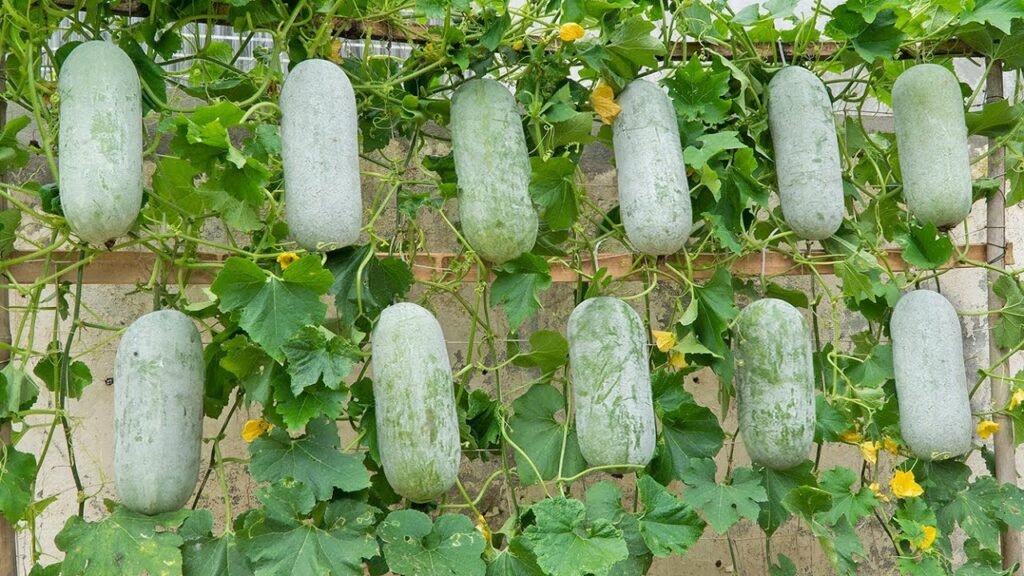
- Trellis or netting: Train vines vertically to save space and improve air circulation
- Ground support: Let lateral branches spread if space allows
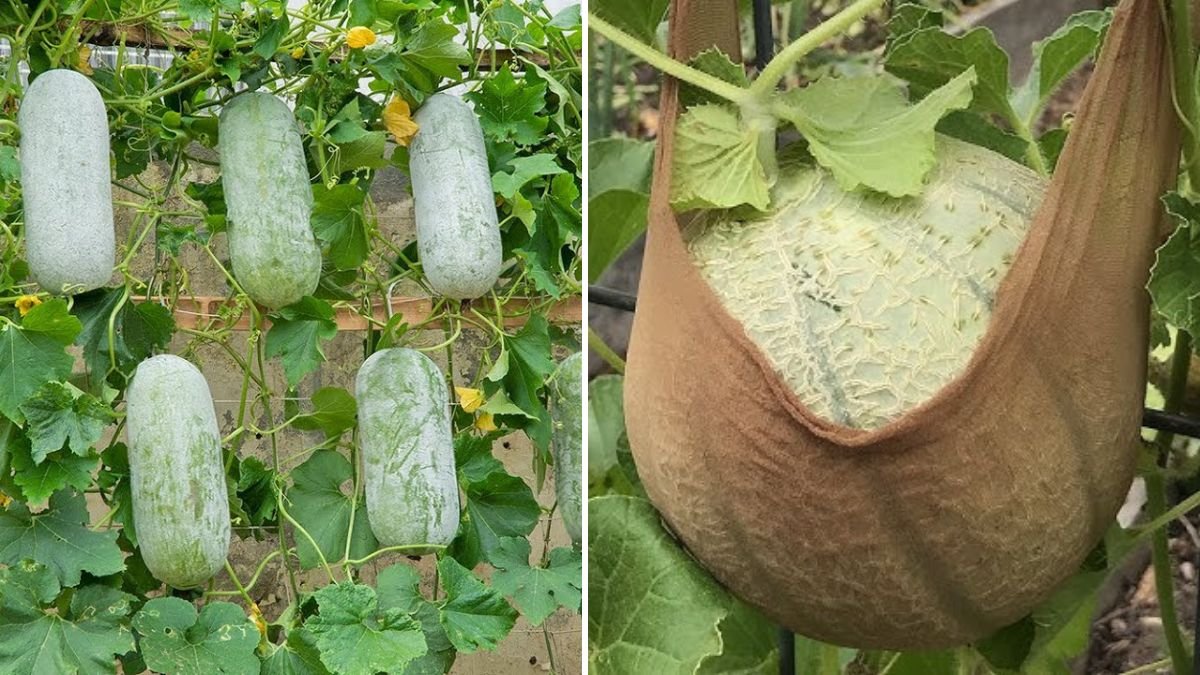
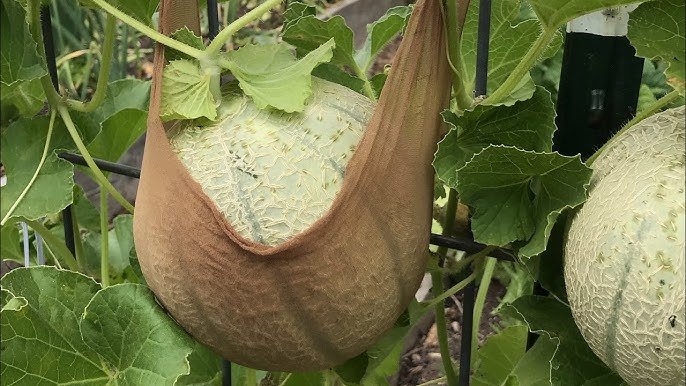
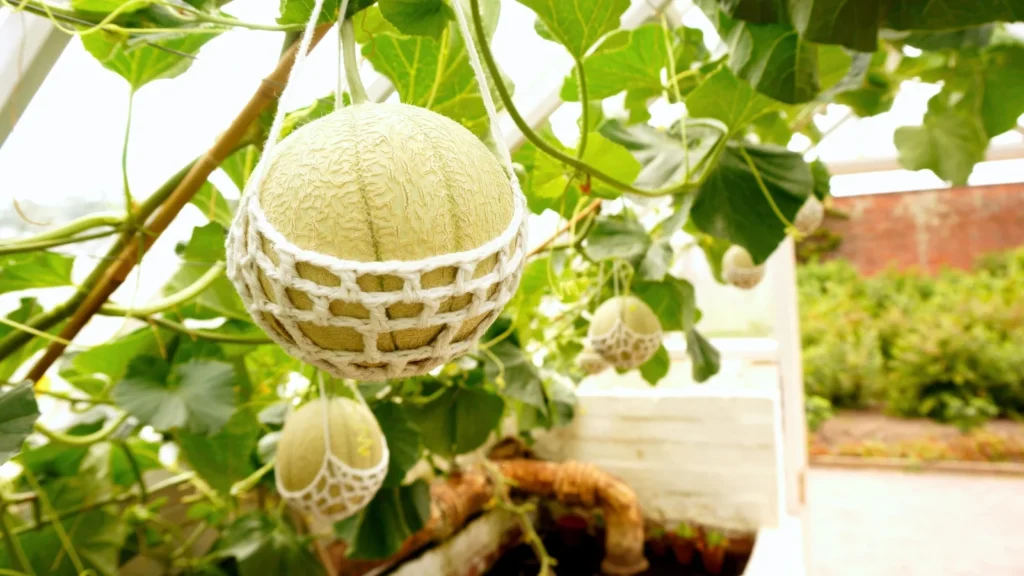
- Fruit slings: Use soft cloth to support heavy fruits and prevent breakage
Pruning Tips
- Remove excess lateral shoots to focus energy on fruit development.
- Trim yellow or diseased leaves to improve airflow and prevent infections.
Step 8: Pollination for Abundant Fruits
Melons require pollination to produce fruits:
Pollination Tips
- Natural pollination by bees or insects usually works well.
- In indoor or low-pollinator areas, hand-pollinate using a soft brush to transfer pollen from male to female flowers.
Proper pollination significantly increases the number of fruits per plant.
Step 9: Pest and Disease Management
Even in buckets, melons can attract pests and diseases:
Common Pests
- Aphids: Spray neem oil or mild soap solution
- Red mites: Neem or garlic spray
- Fruit flies: Cover young fruits with soft cloth
Common Diseases
- Powdery mildew: Ensure good air circulation and avoid wet leaves
- Fusarium wilt: Prevent overwatering and use disease-free soil
- Leaf spot: Remove affected leaves promptly to prevent spread
Step 10: Harvesting Melons
Melons are ready for harvest 70–90 days after sowing, depending on the variety:
Signs of Ripeness
- Color changes according to variety (skin becomes lighter or develops characteristic spots)
- Sweet aroma is detectable near the fruit
- Tendril near the fruit dries naturally
- Fruit detaches easily when gently lifted
Harvesting Tips
- Use a sharp knife to cut fruits from the vine.
- Leave a short stem attached to extend shelf life.
- Handle fruits carefully to avoid bruising.
Staggered Harvest
- Sow seeds in intervals or prune selectively to maintain a continuous supply of melons.
Benefits of Growing Melons in Buckets
- Space-Efficient: Perfect for urban gardeners or small terraces
- Controlled Growth: Soil, water, and nutrients can be easily managed
- Reduced Pest and Disease Risk: Easier to monitor and maintain plant health
- High Yield: With pruning, pollination, and proper care, multiple fruits per plant are possible
- Fresh and Nutritious: Home-grown melons are sweet, chemical-free, and highly satisfying
Bonus Tips for Success
- Rotate buckets periodically for even sunlight exposure.
- Use slow-release fertilizers for steady nutrient supply.
- Mulch heavily to conserve moisture and keep soil cool.
- Support fruits early to prevent breakage under weight.
- Refresh soil yearly or mix in fresh compost for sustained fertility.
Conclusion
Growing melons in buckets is simple, practical, and highly rewarding. By selecting the right bucket, preparing fertile soil, choosing high-quality seeds, providing adequate sunlight and water, fertilizing properly, supporting vines, and ensuring proper pollination, you can enjoy a bountiful harvest of juicy melons from a single plant.
Bucket gardening allows urban and small-space gardeners to grow melons successfully while controlling environmental conditions, reducing pest and disease risks, and maximizing fruit production. With patience and consistent care, your bucket-grown melon plant can produce multiple sweet and delicious fruits, adding freshness and nutrition to your table.
Start growing melons in buckets today, and experience the joy of harvesting home-grown, juicy melons right from your balcony or terrace!