Cultivating hardy pear varieties can seem daunting for those living in regions with short growing seasons. However, with thoughtful planning and strategic practices, even novice orchardists can enjoy bountiful harvests of sweet, succulent pears. This comprehensive guide outlines effective strategies for successful pear cultivation, especially in challenging climates.
Understanding Hardy Pear Varieties
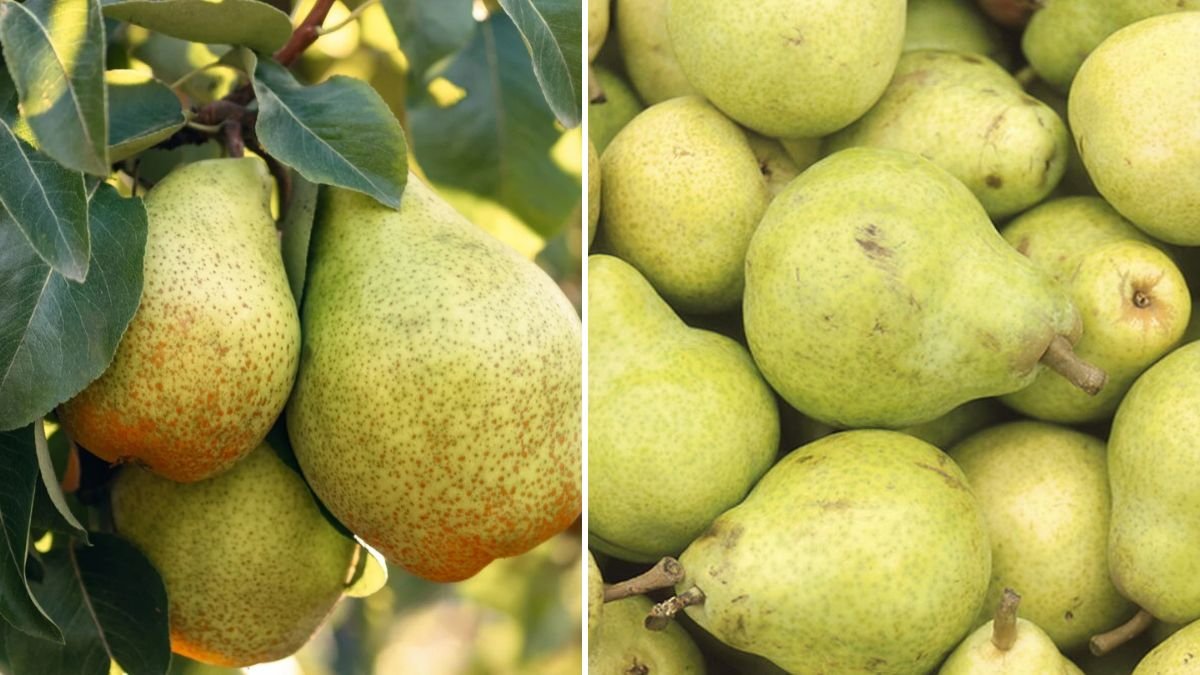
Hardy pear varieties, including ‘Bartlett,’ ‘Bosc,’ ‘Kieffer,’ and ‘Seckel,’ are particularly well-suited to cooler climates. These varieties have adapted to withstand colder temperatures and can thrive in regions with shorter growing seasons.
Latest Posts
- OnePlus 15T Smartphone Unveiled – Featuring 200MP Camera, Snapdragon 8 Elite Gen 5 and Massive Battery
- Lava Yuva 5G Unveiled – 120Hz Display and Strong Performance for Everyday Use
- Nokia 1100 Launched – Premium Keypad Phone Returns at Budget Price ₹2,500
- Motorola G96 5G Unveiled – Featuring Stylish Design, Strong Performance and Advanced Camera Tech
- Vivo Y21d Unveiled – Massive 6000mAh Battery for All-Day Everyday Use
- Nothing Phone 4 Ultra 5G Launched – 16GB RAM, AI-Powered 50MP Camera and Flagship Performance
- OnePlus 5G Smartphone Launched – 300MP AI Camera, 7000mAh Battery & 100W Fast Charging
- Nothing Phone 3a Pro – High processor smartphone for gaming lovers – battery is 5000mAH
- Realme 15 Pro – 3 days battery backup smartphone with 50MP front camera under ₹28,000
- Vivo X200 FE – 12GB RAM + 256GB Storage smartphone with HD quality camera
Key Characteristics
-
Cold Hardiness: Hardy pears can tolerate winter temperatures as low as -25°F.
-
Early Ripening: Many hardy varieties develop and ripen their fruit earlier than more delicate types.
-
Disease Resistance: Certain hardy pears show resistance to common diseases, making them easier to manage.
-
Natural Pollination: Some hardy varieties are self-pollinating, while others benefit from cross-pollination, typically requiring another compatible variety nearby.
Understanding these characteristics is crucial for successful cultivation in colder regions.
Soil Preparation
Soil Testing
The first step in soil preparation involves testing your soil to determine pH and nutrient levels. Pear trees thrive in slightly acidic to neutral soil with a pH level of 6.0 to 7.0. If your soil is too acidic, you can add lime; if it is too alkaline, sulfur can help balance pH levels.
Amendments
After testing, make necessary amendments to improve soil quality. Pears prefer well-drained soils rich in organic matter. Consider the following:
- Compost: Incorporate well-aged compost to enhance soil structure and nutrient content.
- Mulch: Organic materials like wood chips retain moisture and suppress weeds, giving young trees a competitive edge in their formative years.
Selecting the Right Location
Sunlight Exposure
Choose a site that receives full sunlight for at least six to eight hours daily. Adequate sunlight is vital for photosynthesis, impacting both growth and fruit quality.
Wind Protection
In regions with harsh winds, consider planting pears near natural windbreaks, such as fences and trees, to mitigate stress on young trees.
Avoiding Frost Pockets
Planting on higher elevations can help prevent frost damage. Frost pockets—low-lying areas where cold air settles—should be avoided, as they can lead to fruit and flower loss.
Planting Strategies
Timing
In regions with short growing seasons, timing is everything. The best time to plant pear trees is in early spring, just as the ground warms up. In colder climates, late fall may also be suitable if the ground isn’t too frozen.
Spacing
When planting, space the trees adequately, typically about 15-20 feet apart. This allows for good airflow and reduces disease risk.
Depth
Plant pear trees at the same depth they were grown in the nursery. Planting too deep can lead to root rot, while planting too shallow may expose roots to the elements.
Care and Maintenance
Watering
Young trees require consistent moisture. Water them regularly, especially during dry spells. Drip irrigation systems can conserve water and deliver moisture directly to the roots.
Pruning
Pruning is essential for developing strong structure and promoting air circulation. Focus on removing:
- Dead or diseased wood
- Suckers (shoots growing from the base of the trunk)
- Crossing branches that may rub against each other
Pruning should typically occur in late winter or early spring before blooming.
Fertilization
After the first year, a balanced fertilizer can be applied. Look for a fertilizer high in nitrogen during the growth phase and one richer in potassium as fruit starts to develop.
Pest and Disease Management
Hardy pears can still be susceptible to pests and diseases:
- Pests: Common pests include pear psylla and codling moths. Using organic insecticides or introducing beneficial insects can help manage infestations.
- Diseases: Monitor for signs of fire blight and scab. Avoid overhead watering to reduce disease spread, and consider removing infected branches immediately.
Mulching
As mentioned earlier, mulching around the base of trees can help retain soil moisture, suppress weeds, and improve overall soil health.
Harvesting Techniques
Timing
Knowing when to harvest is crucial. Pears can be tricky, as they ripen off the tree. Harvesting typically occurs when pears have reached their full size but are still firm.
Techniques
Utilize proper harvesting methods to avoid bruising:
- Use a gentle twisting motion to detach fruit from the branch.
- Collect and handle pears with care, storing them in cushioned containers to prevent damage.
Ripening
After harvest, store pears in a cool, dark place to hasten ripening. Some people prefer to store them in paper bags to control the ethylene gas produced, promoting even ripening.
Seasonal Care
Each season presents unique challenges and opportunities for pear cultivation.
Spring
- Complete any last-minute pruning.
- Begin fertilization and ensure proper watering.
Summer
- Monitor for pests and diseases.
- Water consistently, particularly during fruit development.
Fall
- Harvest pears and prepare trees for winter.
- Apply a layer of mulch to protect roots from freezing.
Winter
- Protect trees by wrapping trunks or using tree guards if necessary.
- Check for winter damage and prune out any dead or damaged wood.
FAQs
1. What are the best hardy pear varieties for short growing seasons?
Some top varieties include ‘Kieffer,’ ‘Bosc,’ and ‘Seckel.’ These varieties have shown adaptability in colder climates.
2. How can I improve drainage in my soil?
If you have heavy clay soil, consider incorporating organic matter such as compost and planting on raised beds to improve drainage.
3. How often should I water my pear trees?
Water young pear trees regularly—about once a week—but adjust based on rainfall. Mature trees may need less frequent watering.
4. When should I fertilize my pear trees?
Fertilization should occur in spring, following the first growth of leaves. Balanced fertilizers work well, especially those high in nitrogen.
5. How can I prevent frost damage to blossoms?
Use row covers or frost cloths to protect blooms during unexpected late frosts, especially in spring.
6. What is the best method for pruning pear trees?
Focus on removing dead and diseased branches first, followed by thinning crowded areas to maintain good airflow. Aim to create an open center to maximize light penetration.
7. What should I do if my pear trees do not bear fruit?
Assess potential issues such as lack of cross-pollination, inadequate sunlight, or poor soil quality, and make adjustments accordingly.
8. Can I grow pear trees in containers?
Yes, if space is limited or soil conditions are poor, dwarf pear varieties can thrive in containers, allowing for greater control over soil quality and water.
By employing these strategies, even those in challenging climates can enjoy a successful pear harvest. With proper care, dedication, and the right conditions, your garden can flourish with robust, delicious fruit for years to come. Happy farming!