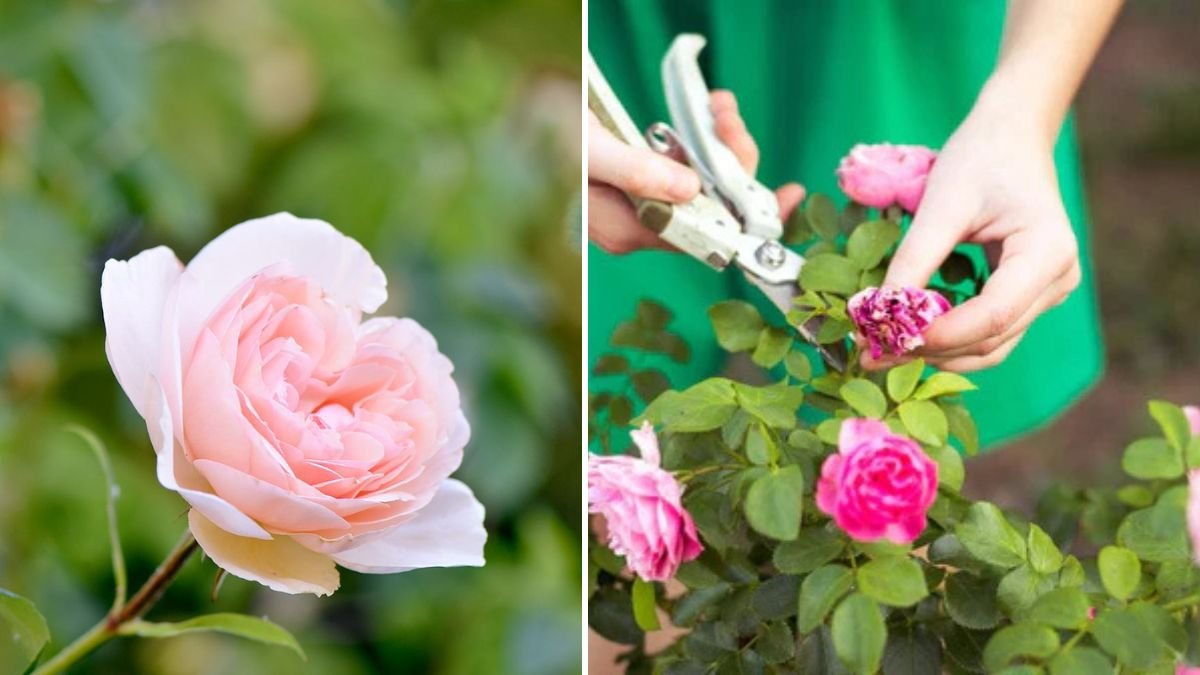
Growing roses from cuttings is one of the most satisfying ways to multiply your favorite varieties without spending much money. Unlike grafted nursery plants, roses grown from cuttings preserve the exact characteristics of the parent plant—its color, fragrance, and growth pattern. With the right technique, even beginners can turn a single stem into a flourishing rose bush.
In this comprehensive 1200-word guide, you’ll learn everything about growing roses from cuttings—step-by-step methods, the best seasons, common mistakes to avoid, and pro tips for faster rooting.
Introduction: Why Grow Roses from Cuttings?
Roses are timeless beauties, symbolizing love, elegance, and passion. Many gardeners struggle to maintain expensive nursery-bought rose plants, but growing roses from cuttings offers several advantages:
- Cost-effective: One healthy mother plant can produce dozens of new rose bushes.
- True-to-type propagation: Your new roses will be identical to the parent plant.
- Faster growth: Cuttings often establish quicker than seeds.
- High success rate: With correct care, the majority of cuttings root beautifully.
Whether you’re an enthusiastic gardener or simply looking to expand your rose collection, propagation from cuttings is a rewarding and reliable method.
Best Time to Grow Roses from Cuttings
Timing plays a significant role in successful propagation. You can root rose cuttings in three seasons, each with its benefits:
Latest Posts
- OnePlus 15T Smartphone Unveiled – Featuring 200MP Camera, Snapdragon 8 Elite Gen 5 and Massive Battery
- Lava Yuva 5G Unveiled – 120Hz Display and Strong Performance for Everyday Use
- Nokia 1100 Launched – Premium Keypad Phone Returns at Budget Price ₹2,500
- Motorola G96 5G Unveiled – Featuring Stylish Design, Strong Performance and Advanced Camera Tech
- Vivo Y21d Unveiled – Massive 6000mAh Battery for All-Day Everyday Use
- Nothing Phone 4 Ultra 5G Launched – 16GB RAM, AI-Powered 50MP Camera and Flagship Performance
- OnePlus 5G Smartphone Launched – 300MP AI Camera, 7000mAh Battery & 100W Fast Charging
- Nothing Phone 3a Pro – High processor smartphone for gaming lovers – battery is 5000mAH
- Realme 15 Pro – 3 days battery backup smartphone with 50MP front camera under ₹28,000
- Vivo X200 FE – 12GB RAM + 256GB Storage smartphone with HD quality camera
Spring (Ideal)
New growth is flexible, quick to root, and responds well to moisture.
Early Summer
Semi-hardwood stems root well and become ready for transplanting before winter.
Late Monsoon/Early Autumn
Moist air helps keep the cuttings hydrated, reducing shock.
Avoid harsh winter months or extremely hot dry summers, as these stress the cuttings.
Selecting the Perfect Cutting
Choosing the right stem increases rooting success drastically. Here’s what to pick:
- A healthy, disease-free stem from a vigorously growing plant.
- A stem that is pencil-thick and 6–8 inches long.
- A cutting taken from a stem that has just finished flowering (semi-hardwood).
- Avoid very soft new growth or very old woody stems.
Step-by-Step Guide: How to Grow Roses from Cuttings

Let’s break down the process in a simple and effective method so you can follow it easily.
STEP 1: Prepare Your Tools and Materials
You will need:
- Sharp pruning scissors
- Rooting hormone (optional but boosts success)
- A clean pot with drainage holes
- Potting mix (coco peat + garden soil + sand OR perlite mix)
- A transparent plastic bag or bottle (for humidity dome)
- Watering can
Sterilize your scissors with rubbing alcohol to prevent infections.
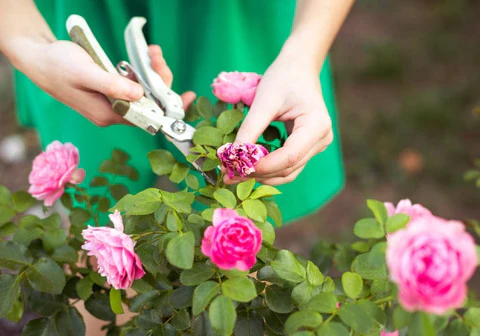
STEP 2: Cutting Preparation
- Cut a 6–8 inch long stem just below a leaf node.
- Remove all leaves except the top two small ones to reduce water loss.
- Remove all flowers or buds—they drain energy needed for rooting.
- Make a slanted cut at the bottom to increase rooting surface.
- Gently scratch the lower 1 inch of the bark to expose the cambium layer.
- Dip the bottom in rooting hormone (optional but recommended).
Rooting hormone reduces fungus, speeds root growth, and increases success rate.
STEP 3: Preparing the Potting Mix
Roses root best in well-draining and well-aerated growing mediums. A perfect mix is:
Option 1 (Highly Recommended):
- 50% Coco peat
- 25% Perlite
- 25% Sand
Option 2 (Garden Soil Mix):
- 40% Garden soil
- 30% Sand
- 30% Compost
The aim is to keep the medium moist but not soggy.
Fill a small pot with this mix and water lightly.
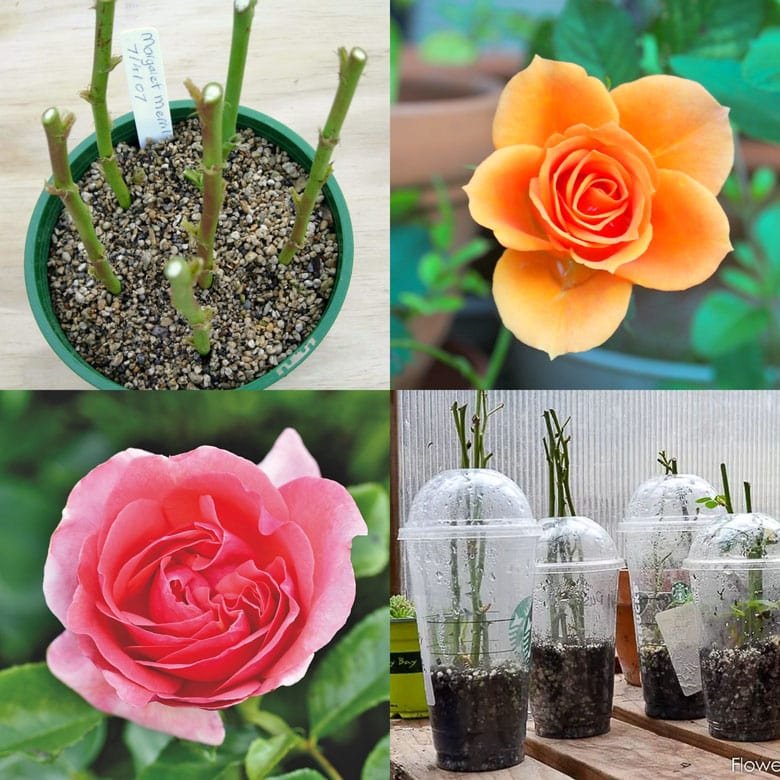
STEP 4: Planting the Cutting

- Make a hole in the potting mix using a stick.
- Insert the cutting 2–3 inches deep, ensuring at least 1 node is underground.
- Firm the soil around the cutting to remove air pockets.
- Cover the pot with a transparent plastic bag or cut plastic bottle to create a mini greenhouse.
This humidity dome maintains moisture and prevents the cutting from drying out.
STEP 5: Placing the Cutting in the Right Environment
- Keep the pot in bright, indirect sunlight—not direct sun.
- Keep the soil moist but never waterlogged.
- Temperature should stay around 18–28°C for best rooting.
- Avoid wind, heavy rain, and harsh heat.
Within 3–6 weeks, roots will begin to develop.
How to Check If Your Rose Cutting Has Rooted
Here’s how to know your cutting has rooted:
- New leaves start developing.
- Stem remains firm and green (not brown or mushy).
- A gentle tug meets resistance—that’s the roots holding the soil.
Do not disturb the cutting before 4 weeks.
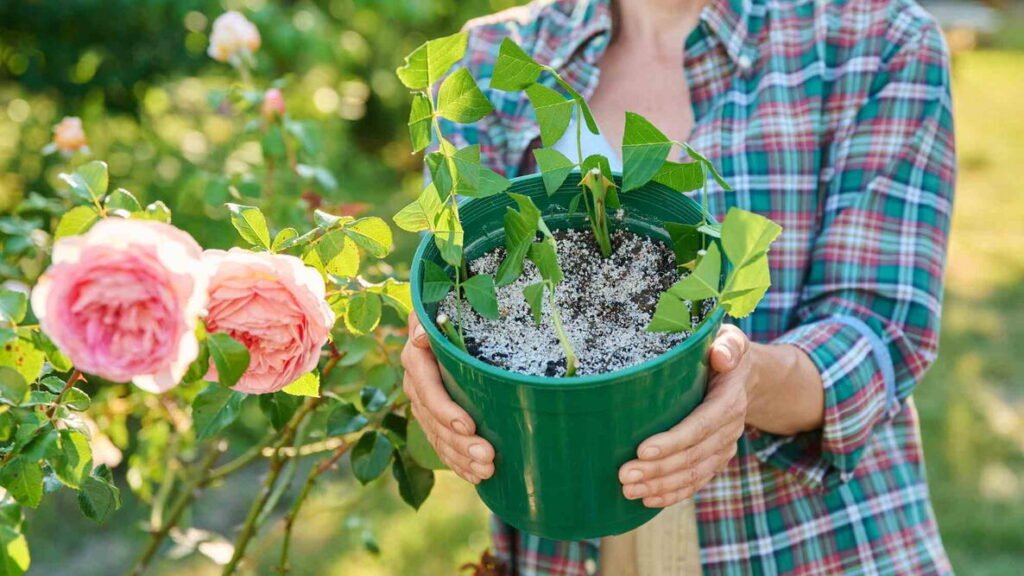
STEP 6: Transplanting the Rooted Cutting
Once the cutting has good root growth (6–8 weeks), it’s ready for transplanting.
Transplanting Tips:
- Use a bigger pot or plant directly in the garden.
- Add compost or organic manure for richer soil.
- Water immediately after transplanting.
- Keep the plant shaded for the first 3–4 days after transplanting.
Caring for Your Newly Rooted Rose Plant
After transplanting, proper care ensures strong growth.
1. Sunlight
4–6 hours of morning sunlight is ideal for early growth.
2. Watering
- Water when the top soil feels dry.
- Avoid overwatering to prevent root rot.
3. Fertilizing
After 30 days of transplanting, start feeding:
- Liquid seaweed or organic fertilizer every 15 days.
- Compost or decomposed cow dung every 45 days.
4. Pruning
Trim weak or diseased branches to encourage bushy growth.
5. Pest Control
Watch out for:
- Aphids
- Mealybugs
- Spider mites
Use neem oil spray every 10 days as prevention.
Common Mistakes to Avoid When Growing Roses from Cuttings
Even experienced gardeners make mistakes. Avoid these:
- Using very soft or very woody stems
- Overwatering—the #1 cause of failure
- Placing cuttings in direct sunlight
- Not removing flowers
- Using infected or weak mother plants
- Skipping the humidity dome
- Touching or checking roots too early
Follow the steps carefully and you’ll see amazing success.
Pro Tips for Faster Rooting
Want professional-level rooting speed? Try these:
- Dip the cutting in honey if rooting hormone is unavailable (natural anti-fungal).
- Use aloe vera gel as a rooting booster.
- Add a little cinnamon powder around the cut to block fungal infection.
- Keep the cutting in semi-shade for the first month.
- Avoid disturbing the soil frequently.
These small techniques significantly improve rooting success.
Final Thoughts
Growing roses from cuttings is an easy, affordable, and fulfilling gardening technique. With the right stem selection, proper soil preparation, and consistent humidity, your cuttings will soon transform into thriving rose bushes bursting with blooms.
Whether you’re propagating your favorite rose variety or gifting homegrown plants to loved ones, this method ensures success. Be patient, follow the steps, and enjoy watching your garden flourish with vibrant roses.