Growing microgreens has become an increasingly popular hobby and a lucrative business venture. These tiny, nutrient-packed greens are not only delicious but also easy to cultivate, even in small spaces. This comprehensive guide will detail how to successfully grow microgreens in a tray, sharing the best methods for optimal growth and harvest.
What are Microgreens?
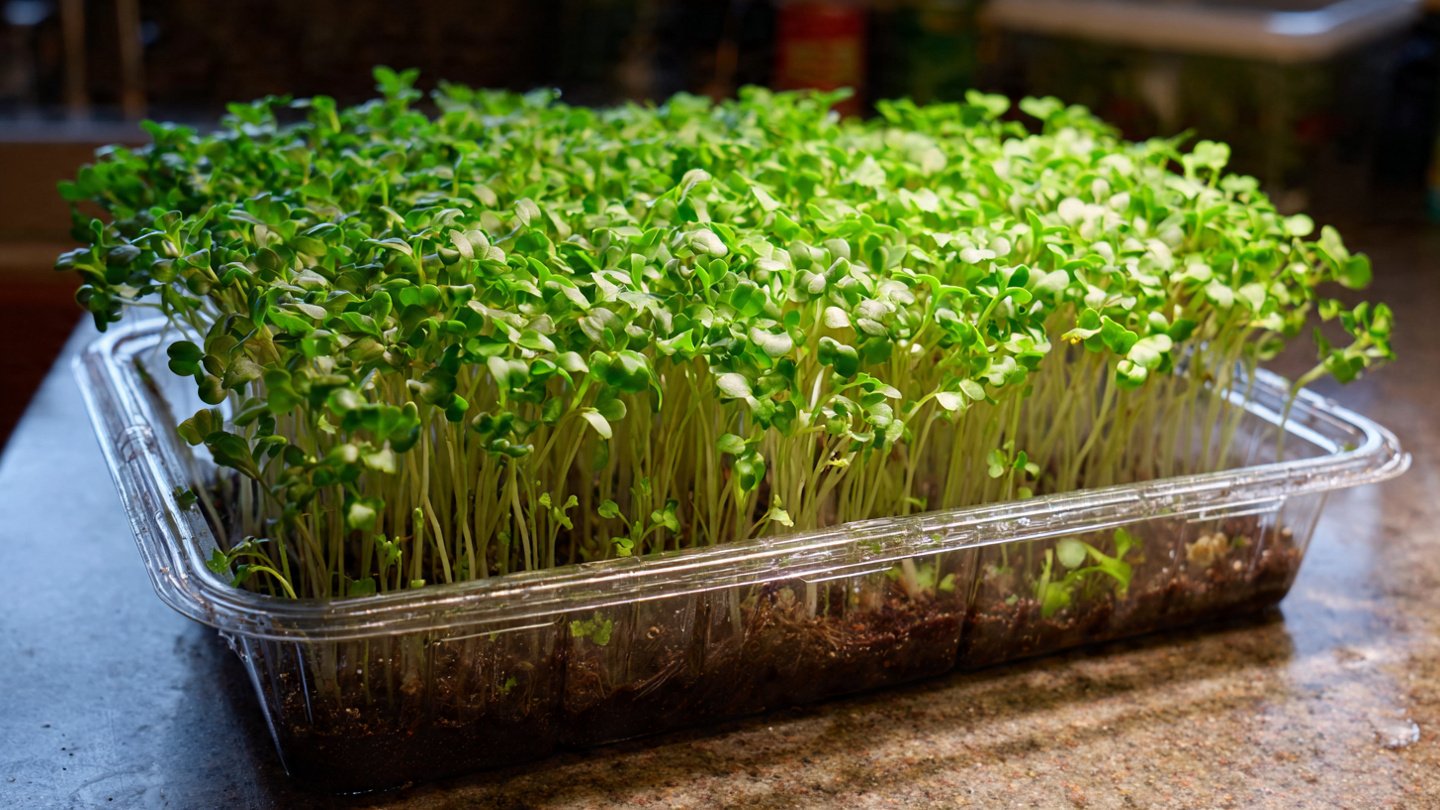
Microgreens are young seedlings of edible vegetables and herbs, harvested just after the first true leaves appear. Varieties include basil, arugula, radish, kale, and many more. They are commonly used in salads, garnishes, and sandwiches due to their intense flavor and nutritional profile.
Latest Posts
- OnePlus 15T Smartphone Unveiled – Featuring 200MP Camera, Snapdragon 8 Elite Gen 5 and Massive Battery
- Lava Yuva 5G Unveiled – 120Hz Display and Strong Performance for Everyday Use
- Nokia 1100 Launched – Premium Keypad Phone Returns at Budget Price ₹2,500
- Motorola G96 5G Unveiled – Featuring Stylish Design, Strong Performance and Advanced Camera Tech
- Vivo Y21d Unveiled – Massive 6000mAh Battery for All-Day Everyday Use
- Nothing Phone 4 Ultra 5G Launched – 16GB RAM, AI-Powered 50MP Camera and Flagship Performance
- OnePlus 5G Smartphone Launched – 300MP AI Camera, 7000mAh Battery & 100W Fast Charging
- Nothing Phone 3a Pro – High processor smartphone for gaming lovers – battery is 5000mAH
- Realme 15 Pro – 3 days battery backup smartphone with 50MP front camera under ₹28,000
- Vivo X200 FE – 12GB RAM + 256GB Storage smartphone with HD quality camera
Nutritional Benefits
Microgreens are often richer in vitamins and antioxidants than their mature counterparts. For instance, studies show that microgreens can contain up to 40 times the nutrients of mature vegetables. As a result, integrating them into your diet can enhance overall health and wellness.
Choosing the Right Microgreens
When starting your microgreen garden, it’s important to choose the right varieties. Here are some popular options:
- Radish: Quick germination and a peppery flavor.
- Basil: Aromatic and flavorful, great for various dishes.
- Kale: Nutrient-dense and versatile.
- Sunflower: Nutty flavor and large leaves.
- Pea Shoots: Sweet and crunchy, perfect for salads.
Tips for Choosing Varieties
- Germination time: Some seeds germinate faster than others. For beginners, look for fast-growing varieties like radish or mustard.
- Flavor profile: Choose microgreens that complement your cooking style.
- Nutritional content: Research which microgreens offer the most nutritional benefits for your needs.
Equipment Needed
Growing microgreens in a tray requires minimal equipment, making it a cost-effective endeavor. Here’s what you’ll need:
- Growing trays: Shallow seed trays (1-2 inches deep) with drainage holes are recommended.
- Growing medium: Soil, coconut coir, or specialized microgreen soil mixes work well.
- Seeds: Ensure you use high-quality seeds specifically for microgreens.
- Watering can or spray bottle: For gentle watering.
- Light source: Natural sunlight or grow lights to ensure adequate lighting.
- Plastic cover or humidity dome: To maintain moisture during germination.
Where to Source Your Supplies
- Local gardening centers: Often carry seeds and soil mixes tailored for microgreens.
- Online retailers: Websites specializing in gardening supplies offer a wider variety of options.
- Farmers’ markets: You may find locally grown seeds and other resources.
Step-by-Step Guide to Planting Microgreens
Step 1: Prepare Your Trays
- Clean your trays: Ensure your trays are sanitized to prevent diseases.
- Fill with growing medium: Add about 1-2 inches of your chosen growing medium. Lightly compact it but avoid pressing too hard.
Step 2: Sow Your Seeds
- Distribute seeds evenly: Sprinkle seeds over the surface of the growing medium. Aim for around 10,000 seeds per square foot for denser growth.
- Cover with a thin layer of medium: Gently invert the soil over the seeds; the thickness should be around 1/8 inch.
Step 3: Watering
- Initial watering: Use a spray bottle to mist the surface gently until moist but not soggy.
- Cover with humidity dome: This helps retain moisture and creates a mini-greenhouse effect.
Step 4: Provide Adequate Light
- Position your trays under natural sunlight or use grow lights. Aim for about 12-16 hours of light per day.
- If using grow lights, keep them 2-4 inches above the seedlings and adjust as they grow.
Step 5: Maintain Moisture
- Check daily for moisture levels. Mist again if the surface begins to dry out.
- Remove the humidity dome after the seeds have germinated (usually 3-7 days).
Step 6: Harvesting
- Microgreens are typically ready to harvest in 7-21 days, depending on the variety.
- To harvest, use scissors to cut just above the growing medium. Wash gently and use immediately or store in the fridge for up to a week.
Best Practices for Successful Microgreen Growth
1. Temperature Control
Microgreens thrive in temperatures between 60°F to 75°F (15°C to 24°C). Ensure your growing environment remains within this range for optimal growth.
2. Air Circulation
Good air circulation prevents mold and mildew. Place your trays in a well-ventilated area and avoid overcrowding.
3. pH Level
The ideal pH level for microgreens is around 6.0 to 7.0. Test your soil if you suspect pH imbalances, as this can affect seed germination and growth.
4. Fertilization
While most microgreens can grow without added nutrients, a light feeding with a diluted liquid fertilizer can enhance growth and flavor. Fertilize sparingly, as excessive nutrients can alter taste.
5. Pest Management
Microgreens are susceptible to pests like aphids and fungus gnats. Use natural pest control methods, such as introducing beneficial insects or using insecticidal soap, as necessary.
6. Experiment and Rotate Crops
Rotate between different seed varieties to prevent soil depletion and increase diversity in flavor and nutrition. Keep a journal of your successes and failures to improve your methods over time.
Troubleshooting Common Issues
Yellowing Leaves
- Causes: Lack of light or nutrients.
- Solution: Ensure adequate light and consider a mild fertilizer.
Mold Growth
- Causes: Excess humidity or poor air circulation.
- Solution: Reduce watering and improve airflow.
Small or Sparse Growth
- Causes: Poor seed quality or inadequate germination conditions.
- Solution: Ensure high-quality seeds and ideal germination conditions (moisture, light, temperature).
Conclusion
Growing microgreens in trays is not only a rewarding endeavor but also a step towards healthier eating habits. With minimal investment and effort, anyone can cultivate these nutrient-rich greens right at home. Follow the guidelines outlined in this article, and you’ll be well on your way to producing beautiful, delicious microgreens.
Final Thoughts
Whether you’re growing for personal consumption or considering a small business, microgreens can provide fresh flavors and nutritional benefits right at your fingertips. Embrace the process, experiment with different varieties, and enjoy the myriad flavors microgreens bring to your meals. Happy growing!