Microgreens have surged in popularity in recent years, not just for their vibrant colors and bold flavors, but also for the nutritional benefits they pack into such tiny packages. These little greens can easily be grown at home, making them an excellent option for anyone looking to add fresh produce to their diet while cultivating a rewarding hobby. Here’s a comprehensive guide on how to grow fast-growing microgreens at home, ensuring a healthy and flavorful harvest.
What Are Microgreens?
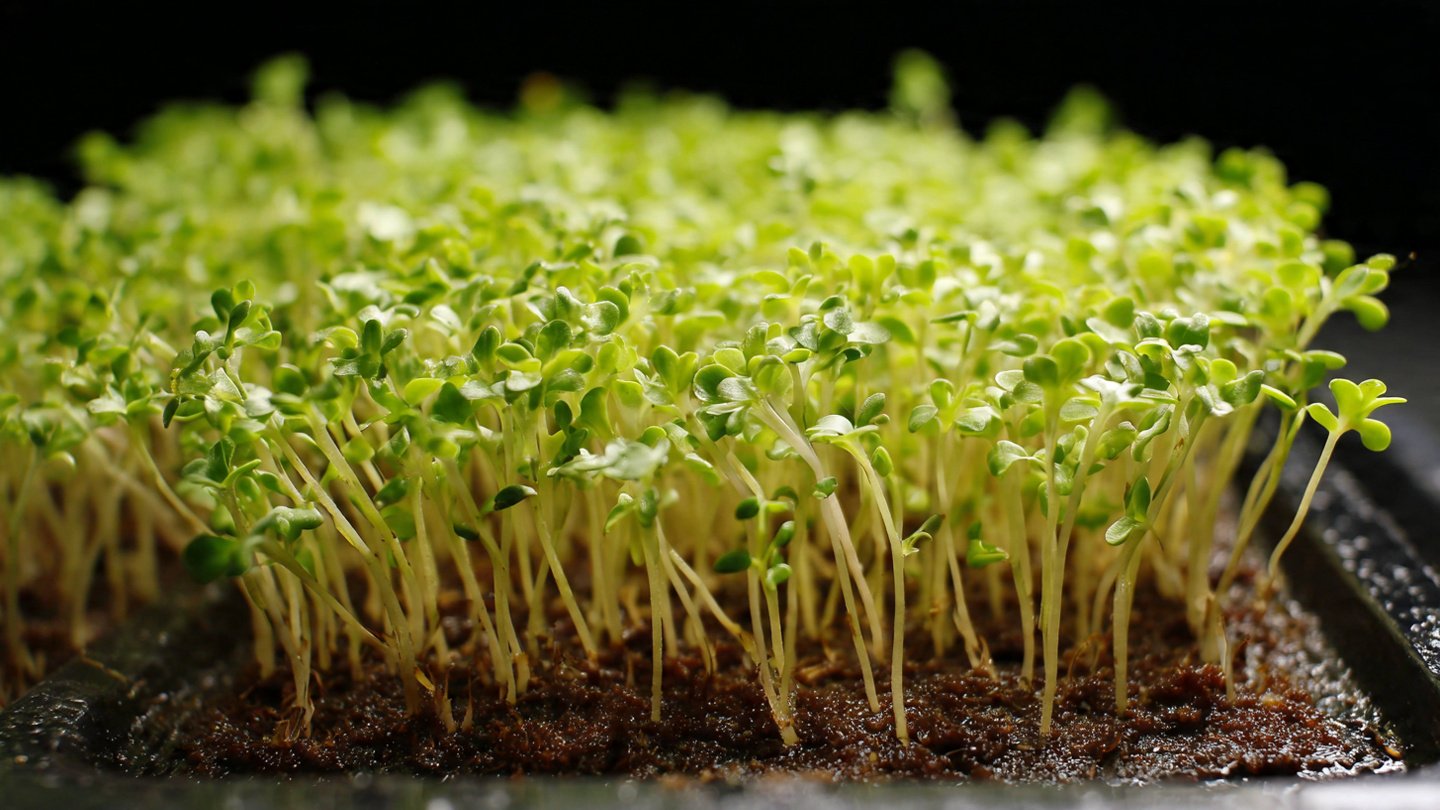
Microgreens are young plants that are harvested just after the first true leaves have developed, typically within 7 to 21 days of germination. They are harvested at a stage where they have the most intense flavors and nutrients. Common varieties include radish, broccoli, sunflower, and pea shoots.
Latest Posts
- OnePlus 15T Smartphone Unveiled – Featuring 200MP Camera, Snapdragon 8 Elite Gen 5 and Massive Battery
- Lava Yuva 5G Unveiled – 120Hz Display and Strong Performance for Everyday Use
- Nokia 1100 Launched – Premium Keypad Phone Returns at Budget Price ₹2,500
- Motorola G96 5G Unveiled – Featuring Stylish Design, Strong Performance and Advanced Camera Tech
- Vivo Y21d Unveiled – Massive 6000mAh Battery for All-Day Everyday Use
- Nothing Phone 4 Ultra 5G Launched – 16GB RAM, AI-Powered 50MP Camera and Flagship Performance
- OnePlus 5G Smartphone Launched – 300MP AI Camera, 7000mAh Battery & 100W Fast Charging
- Nothing Phone 3a Pro – High processor smartphone for gaming lovers – battery is 5000mAH
- Realme 15 Pro – 3 days battery backup smartphone with 50MP front camera under ₹28,000
- Vivo X200 FE – 12GB RAM + 256GB Storage smartphone with HD quality camera
Nutritional Benefits
Microgreens are renowned for their health benefits. They often contain higher concentrations of vitamins, minerals, and antioxidants compared to their mature counterparts. For instance:
- Broccoli Microgreens: Rich in vitamins A, C, E, and K, as well as sulforaphane, which may have cancer-fighting properties.
- Radish Microgreens: High in vitamin C and beneficial for digestion.
- Sunflower Microgreens: A good source of protein and healthy fats.
Getting Started: What You’ll Need
Before diving into the growing process, gather your supplies. Here’s what you’ll need:
1. Seeds
Most seeds are suitable for microgreens, but some of the fastest-growing and healthiest options include:
- Arugula
- Radish
- Broccoli
- Mustard greens
- Pea shoots
- Sunflower
Choose high-quality seeds that are specifically labeled for microgreens or culinary purposes.
2. Growing Medium
Microgreens can thrive in various growing media, including:
- Soil: A lightweight, organic potting mix works best.
- Coconut Coir: A sustainable option that provides good water retention.
- Hydroponic Mats: Materials like felt or sponge can be used for soil-free growing.
3. Containers
You can use almost any shallow container that drains well. Here are some ideas:
- Seed trays with drainage holes
- Shallow plastic containers
- Wooden flats
4. Light
Microgreens require plenty of light to thrive. Ideally, you’ll want:
- Natural Light: Place your containers near a south-facing window.
- Grow Lights: If you lack sufficient sunlight, use LED grow lights or fluorescent lights positioned 2-4 inches above the seedlings.
5. Watering Can or Spray Bottle
A fine-mist spray bottle or a watering can with a small spout will help you moisten your growing medium without over-saturating it.
Step-by-Step Guide to Growing Microgreens
Step 1: Prepare Your Containers
- Cleanliness: Ensure your containers are clean and free from any residues or contaminants.
- Fill with Medium: Fill your containers with your chosen medium, leaving about half an inch from the top. Lightly press it down to level it out.
Step 2: Sow the Seeds
- Seed Density: Scatter your seeds evenly across the surface of the medium. A good rule of thumb is to cover the surface, but avoid overcrowding.
- Gentle Press: Lightly press the seeds into the soil to ensure good contact.
Step 3: Watering
- Initial Watering: Using your spray bottle, gently mist the seeds and medium until moist but not soaking.
- Cover Your Seeds: To create a humid environment, loosely cover the seeds with a lid, plastic wrap, or another container. This step is crucial for germination.
Step 4: Provide Light and Heat
Place your containers in a warm area (ideally 65-75°F or 18-24°C). After a few days, check for sprouts. Once you see them, remove the cover and move the containers to a location with bright light or under grow lights.
Step 5: Maintain Moisture
Water your microgreens regularly, keeping the soil moist but not waterlogged. Use the spray bottle for gentle watering, targeting the soil rather than the leaves to prevent mold growth.
Caring for Your Microgreens
Light Requirements
Microgreens need approximately 12-16 hours of light per day. If using artificial lights, consider setting them on a timer to automate the process.
Air Circulation
Good air circulation helps prevent mold and diseases. Using a small fan can help, especially in a warm environment.
Harvesting Microgreens
Microgreens are typically ready to harvest in 7 to 21 days, depending on the type. Here’s how to know when to harvest:
- Leaf Development: Wait until the first true leaves appear; they are usually more vibrant than the seed leaves.
- Height: Most microgreens should be around 1-3 inches in height at harvest.
Harvesting Method
- Use Clean Scissors: Using sharp scissors ensures a clean cut.
- Cut Just Above the Soil Line: Snip the microgreens just above the soil level, avoiding any rooting material.
Post-Harvest Storage
- Rinse and Dry: Rinse the harvested microgreens gently under cool water to remove any soil, followed by a gentle drying using a salad spinner or paper towels.
- Storage: Store your microgreens in a sealed container in the refrigerator. They are best consumed within a week.
Troubleshooting Common Issues
Mold Growth
If you notice mold while growing microgreens, it generally indicates excess moisture or poor air circulation. Ensure you’re not over-watering and consider placing a small fan nearby.
Leggy Growth
If your microgreens become leggy (tall and weak), it likely means they are not receiving enough light. Move them closer to your light source or increase the exposure time.
Pests
While microgreens are typically less susceptible to pests, they can sometimes attract aphids or fungus gnats. Use insecticidal soap for minor infestations and ensure good hygiene in your growing area.
Tips for Successful Microgreen Cultivation
- Experiment with Varieties: Don’t hesitate to try different microgreens. Each variety has unique flavors and nutritional profiles.
- Maintain a Regular Schedule: Keeping a consistent watering and light schedule helps ensure healthy growth.
- Monitor Temperature: Keep your growing environment at optimal temperatures; sudden chills can slow growth.
Conclusion
Growing microgreens at home is a rewarding endeavor, providing fresh, nutritious greens right at your fingertips. With minimal investment and effort, you can cultivate a healthy harvest in your own kitchen. By following the steps outlined in this guide, you’ll be well on your way to enjoying the vibrant flavors and health benefits that microgreens have to offer. Happy growing!