In recent years, the trend of growing microgreens has gained immense popularity among home gardeners, culinary enthusiasts, and health-conscious individuals alike. Not only do microgreens provide vibrant colors and rich flavors to your dishes, but they are also packed with nutrients, making them a perfect addition to salads, smoothies, and sandwiches. If you’re looking to grow your own microgreens effortlessly right in your kitchen window, this guide will walk you through the entire process, from selecting the right seeds to harvesting and utilizing your greens.
What Are Microgreens?
Microgreens are young seedlings of edible vegetables and herbs. They are harvested shortly after the first true leaves have developed, typically within 7 to 21 days after germination. The most common types of microgreens include radish, beet, basil, cilantro, and mustard, but the variety is virtually endless. Microgreens not only boast unique flavors but also provide high concentrations of vitamins, minerals, and antioxidants, making them a superfood in a small package.
Latest Posts
- OnePlus 15T Smartphone Unveiled – Featuring 200MP Camera, Snapdragon 8 Elite Gen 5 and Massive Battery
- Lava Yuva 5G Unveiled – 120Hz Display and Strong Performance for Everyday Use
- Nokia 1100 Launched – Premium Keypad Phone Returns at Budget Price ₹2,500
- Motorola G96 5G Unveiled – Featuring Stylish Design, Strong Performance and Advanced Camera Tech
- Vivo Y21d Unveiled – Massive 6000mAh Battery for All-Day Everyday Use
- Nothing Phone 4 Ultra 5G Launched – 16GB RAM, AI-Powered 50MP Camera and Flagship Performance
- OnePlus 5G Smartphone Launched – 300MP AI Camera, 7000mAh Battery & 100W Fast Charging
- Nothing Phone 3a Pro – High processor smartphone for gaming lovers – battery is 5000mAH
- Realme 15 Pro – 3 days battery backup smartphone with 50MP front camera under ₹28,000
- Vivo X200 FE – 12GB RAM + 256GB Storage smartphone with HD quality camera
Benefits of Growing Microgreens
1. Nutritional Value
Microgreens are considered nutrient powerhouses. Research shows that many varieties contain several times more nutrients than their mature counterparts. They are high in vitamins C, E, and K, as well as essential minerals like calcium and magnesium.
2. Space Efficiency
Microgreens can be grown in small spaces and require minimal equipment. A sunny windowsill, a countertop, or even a small balcony can serve as your microgreen garden.
3. Quick Growth
One of the most appealing aspects of microgreens is their rapid growth cycle. Most microgreens are ready to harvest within two weeks, allowing you to enjoy fresh greens without waiting long.
4. Versatility
Microgreens can enhance the flavor, texture, and color of a wide range of dishes. They can be used in salads, sandwiches, smoothies, soups, and as garnishes.
5. Cost-Effectiveness
Growing your own microgreens can save money compared to buying them from grocery stores, especially since they can be cultivated year-round.
Essential Supplies
Before you begin your microgreens gardening journey, gather the following supplies:
- Microgreen Seeds: Choose seeds that are specifically labeled for microgreens. Some reliable options include peas, sunflowers, radish, and arugula.
- Containers: Shallow trays or pots with drainage holes work well. You can repurpose old containers as long as they have drainage.
- Growing Medium: You can use potting soil, coconut coir, or a special microgreen soil mix. Avoid regular garden soil as it may contain pests or pathogens.
- Watering Can or Spray Bottle: For maintaining moisture without overwatering.
- Light Source: Ideally, a south-facing window, but if natural light is insufficient, consider grow lights.
- Plastic Dome or Cover: To help retain moisture during germination.
Step-by-Step Guide to Growing Microgreens
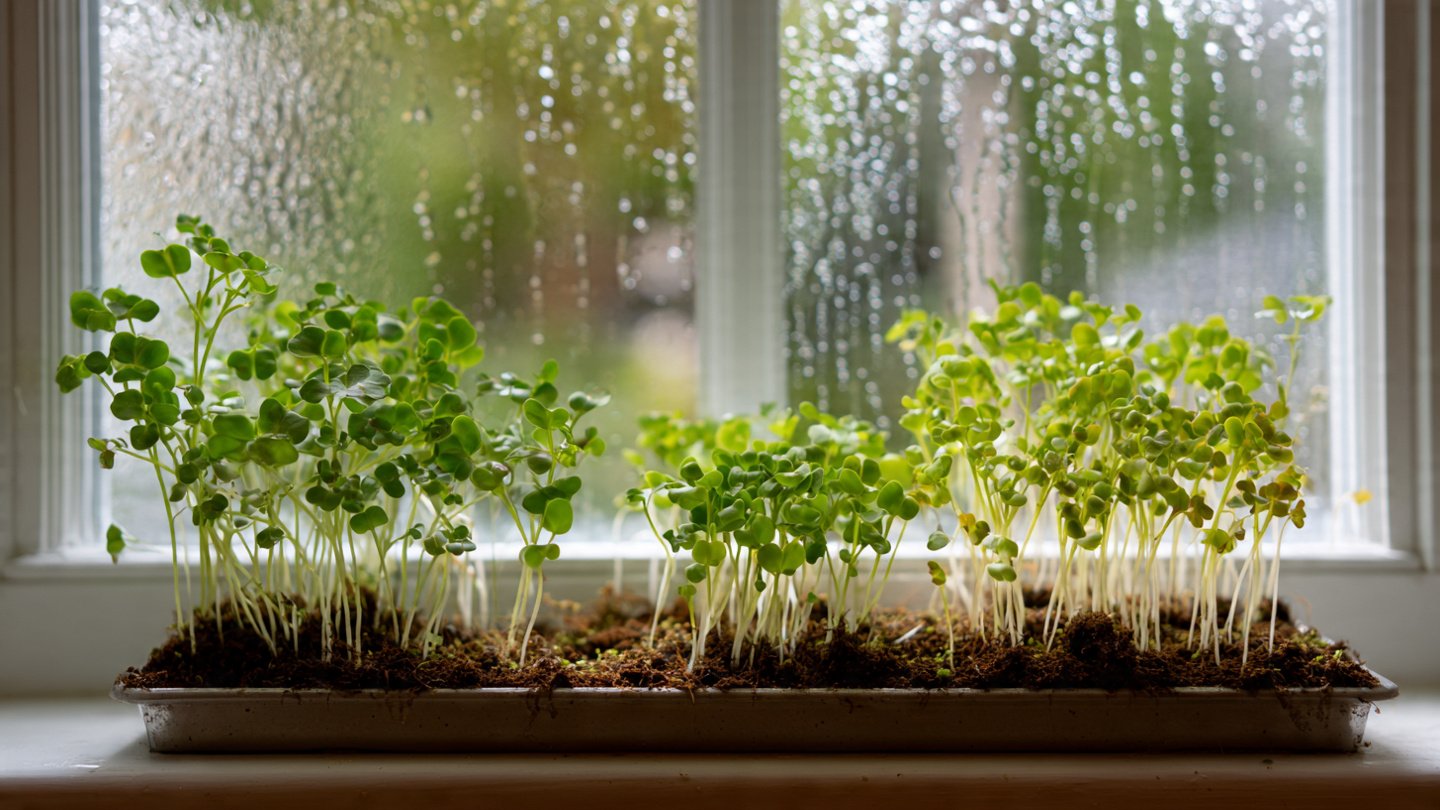
Step 1: Choosing the Right Location
Select a spot in your home that receives plenty of sunlight. A south- or west-facing window is ideal, providing at least 6 hours of light each day. If natural light is limited, investing in LED grow lights can be a game-changer, allowing you to customize the light duration for optimal growth.
Step 2: Select and Prepare the Container
Choose shallow trays or containers, ideally 1-2 inches deep, to allow sufficient root growth. Clean your containers with soap and water to eliminate any potential contaminants. Rinse thoroughly to avoid residual soap.
Step 3: Choosing Your Seeds
Opt for seeds that are easy to germinate and grow quickly. Some popular choices include:
- Pea Shoots: Sweet flavor and crunchy texture.
- Sunflower: Nutty flavor and a great source of healthy fats.
- Radish: Spicy kick and vibrant colors.
- Basil: Aromatic and perfect for culinary uses.
Step 4: Planting Seeds
-
Prep the Growing Medium: Fill your container with the growing medium to about one inch from the top. Level it off and gently press down to eliminate air pockets.
-
Sow the Seeds: Evenly sprinkle the seeds over the surface. For smaller seeds like basil, use a light hand; larger seeds like sunflowers can be spaced further apart. Aim for around 10-20 seeds per square inch for a dense, lush crop.
-
Cover the Seeds: Lightly cover the seeds with a thin layer of the growing medium or gently press them into the surface without burying them too deeply. Most seeds require light to germinate.
Step 5: Watering
Use a spray bottle to moisten the soil. Avoid waterlogging, as this can lead to mold growth. Ensure the soil remains consistently moist but not soggy. Cover the container with a plastic dome or another tray to create a greenhouse effect, retaining moisture while the seeds germinate.
Step 6: Germination and Light
After a few days, once you see sprouts, remove the cover to enable air circulation and prevent mold. Place the containers in direct sunlight. If a window can’t provide enough light, switch on your grow lights for 12-16 hours a day.
Step 7: Watering and Care
Water regularly using a spray bottle, keeping the soil moist. Monitor for signs of mold or pests. If water pooling occurs, adjust your watering technique. Keep an eye on your microgreens as they grow—within 7 to 21 days, you should see significant growth!
Step 8: Harvesting
When your microgreens have developed their first true leaves (in most cases, the size is roughly 1-3 inches), it’s time to harvest. Use clean scissors to cut the greens just above the soil line. Rinse them gently with cool water and pat them dry or use a salad spinner.
Utilizing Your Microgreens
Now that your microgreens are ready, explore the countless ways to enjoy them in your meals:
- Salads: Toss fresh microgreens into garden salads for a nutrient boost.
- Sandwiches: Layer them on sandwiches or wraps for added flavor and crunch.
- Smoothies: Blend them into smoothies for an extra health kick without altering the taste significantly.
- Garnishes: Use them to garnish soups, omelets, or grilled dishes for added color and taste.
Troubleshooting Common Issues
Mold Growth
Condensation can lead to mold development. To prevent this, ensure good airflow, avoid overwatering, and keep humidity levels in check.
Leggy Greens
If your microgreens become tall and spindly, it typically indicates they are reaching for light. Ensure they receive enough sunlight or adjust your grow lights closer.
Pests
If you notice small pests, remove affected plants immediately and use a diluted soap spray to help manage infestations.
Conclusion
Growing microgreens in your window requires minimal effort and provides substantial rewards. With just a few supplies and some patience, you can cultivate your own nutrient-dense greens year-round. Enjoy the flavors and health benefits while adding a fresh touch to your culinary repertoire. So grab your seeds, get a little dirt under your nails, and transform your windowsill into a thriving microgreen garden!