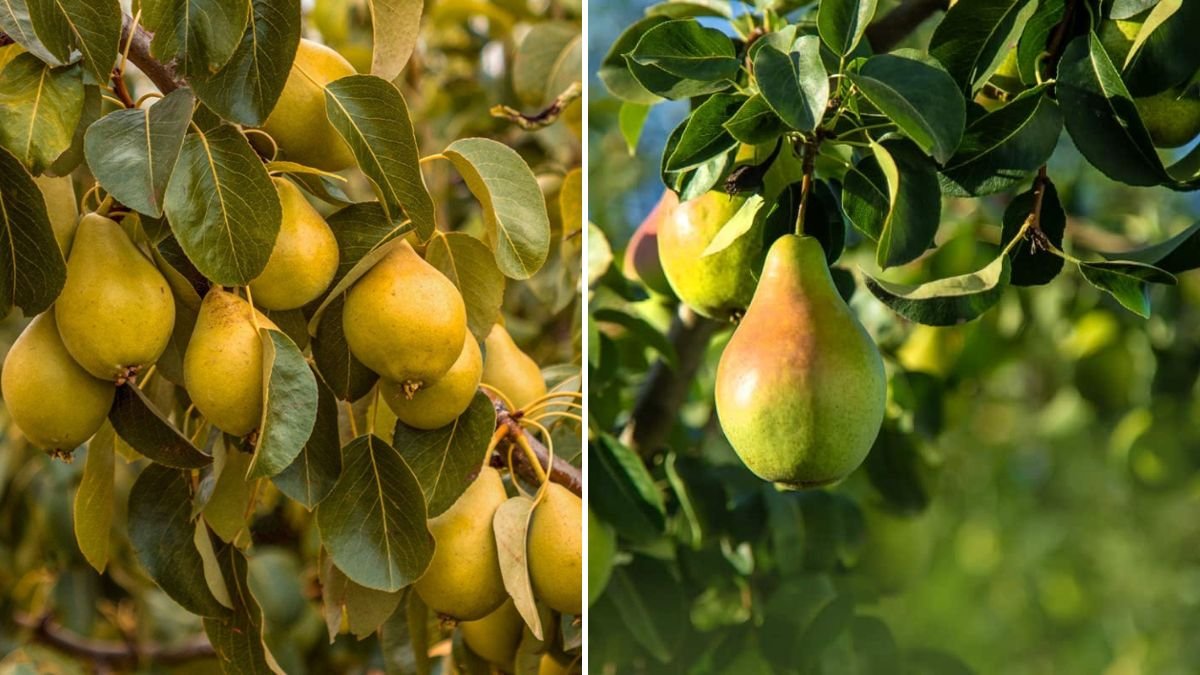
Growing a pear tree from an actual pear fruit may sound unbelievable, but with the right technique, patience, and a bit of nature’s magic, you can transform a store-bought or homegrown pear into a beautiful pear tree. While growing pears from seed won’t produce identical fruit to the parent tree, it will allow you to raise a hardy, unique, and long-living pear tree right from your home.
This detailed guide walks you through step-by-step techniques, best practices, and pro tips for growing pear trees from pear seeds successfully.
Why Grow Pear Trees From Pear Fruit?
Most people propagate pears using grafting, but starting a tree from seed has its own charm. Here’s why many gardeners love it:
✔ Low-cost and accessible
You only need a ripe pear—no special tools required.
✔ Naturally disease-resistant trees
Seed-grown trees are genetically diverse and often more tolerant of weather and pests.
Latest Posts
- OnePlus 15T Smartphone Unveiled – Featuring 200MP Camera, Snapdragon 8 Elite Gen 5 and Massive Battery
- Lava Yuva 5G Unveiled – 120Hz Display and Strong Performance for Everyday Use
- Nokia 1100 Launched – Premium Keypad Phone Returns at Budget Price ₹2,500
- Motorola G96 5G Unveiled – Featuring Stylish Design, Strong Performance and Advanced Camera Tech
- Vivo Y21d Unveiled – Massive 6000mAh Battery for All-Day Everyday Use
- Nothing Phone 4 Ultra 5G Launched – 16GB RAM, AI-Powered 50MP Camera and Flagship Performance
- OnePlus 5G Smartphone Launched – 300MP AI Camera, 7000mAh Battery & 100W Fast Charging
- Nothing Phone 3a Pro – High processor smartphone for gaming lovers – battery is 5000mAH
- Realme 15 Pro – 3 days battery backup smartphone with 50MP front camera under ₹28,000
- Vivo X200 FE – 12GB RAM + 256GB Storage smartphone with HD quality camera
✔ Perfect for hobby gardeners
Watching a seed become a towering fruit tree is deeply rewarding.
✔ Great for large orchards
Even though the fruit quality varies, seed-grown trees make excellent rootstocks.
Step 1: Choose the Right Pear Fruit
Not all pears are suitable for seed propagation. You need seeds from a fruit that is:
- Fully ripe or even overripe
- Healthy with no signs of rot
- Preferably organic
Why organic?
Many commercial pears are treated with growth inhibitors that can cause poor seed germination.
Best pear varieties for seed growing:
- Bartlett
- Anjou
- Bosc
- Asian pear (high germination rate)
Step 2: Extract and Clean the Seeds
- Slice the pear gently.
- Remove 4–8 seeds from the center.
- Rinse them under clean water.
- Remove any fruit pulp completely.
- Let the seeds air-dry for 24 hours to prevent fungal growth.
Tip: Dark brown seeds = fully mature. Pale seeds may not sprout.
Step 3: Cold Stratification — The Secret to Success
Pears belong to cold regions, and their seeds naturally sprout after winter.
To mimic this, the seeds need 6–10 weeks of cold stratification.
How to stratify pear seeds:
Method 1: Refrigerator Method (Most Reliable)
- Mix seeds with moist (not wet) peat moss, coco peat, or paper towel.
- Place the mixture in a zip-lock bag.
- Label it with a date.
- Keep it in the refrigerator at 4°C (never the freezer).
- Check weekly for mold or sprouting.
By the end of the period, the seeds will start to crack open with a tiny white root.
Method 2: Outdoor Winter Method
If you live in a cold region, bury the seeds in a pot outdoors during winter.
Spring warmth will naturally trigger germination.
Step 4: Planting the Sprouted Seeds
Once sprouted, it’s time to plant.
Soil Requirements:
- Light
- Well-drained
- Slightly acidic (pH 6.0–6.5)
- Rich in organic matter
How to plant:
- Fill small pots or seed trays with potting mix.
- Make a 1-inch deep hole.
- Insert the sprouted seed root-down.
- Cover lightly with soil.
- Water gently.
Ideal Conditions:
- Bright, indirect sunlight
- Temperature: 18–26°C
- Keep soil moist, not soggy
Within 2–4 weeks, you will see the first set of leaves.
Step 5: Transplanting to Larger Pots or Ground
Once your pear seedlings reach 15–20 cm (6–8 inches), they are ready for transplanting.
Transplanting Tips:
- Harden seedlings outdoors for 5–7 days before planting.
- Choose a sunny location—pear trees need 6+ hours of direct sunlight daily.
- Plant during early spring or late monsoon.
Spacing:
- Standard pear trees: 15–20 feet apart
- Dwarf pear trees: 10–12 feet apart
Step 6: Caring for Your Young Pear Tree
Watering
- Water deeply once or twice a week.
- Avoid waterlogging—roots rot easily.
Fertilizing
Use a balanced fertilizer (10-10-10 NPK) every 2–3 months during the growing season.
Organic options:
- Compost
- Vermicompost
- Cow dung manure
Mulching
Mulch with grass or dry leaves to retain moisture and prevent weeds.
Pruning
Start early:
- Remove weak or crossing branches
- Encourage a central leader
- Maintain an open canopy for sunlight
Step 7: When Will It Start Fruiting?
Growing pears from seed requires patience.
Expected timeline:
- Seedling stage: 1–2 years
- Young tree stage: 3–5 years
- First flowers and fruits: 5–8 years
Seed-grown trees often take slightly longer than grafted trees but become strong, long-living trees.
Common Problems and Solutions

Seeds not germinating
✔ Ensure 6–10 weeks of cold stratification
✔ Use mature brown seeds
Seedlings dying after sprouting
✔ Avoid overwatering
✔ Keep in bright indirect light
Slow growth
✔ Add compost
✔ Ensure 6 hours of sunlight
Leaf yellowing
✔ Indicates poor drainage or nutrient deficiency
Extra Tip: Improve Your Chances With Multiple Seeds
Not every seed will turn into a tree. Plant 6–10 seeds to guarantee success.
You can keep the best sapling and give away the rest!
Final Thoughts: Turning a Simple Pear Into a Lifetime Tree
Growing pear trees from pear fruit is a slow but rewarding journey. For gardeners who love natural methods, experimenting with seeds is exciting and educational. With the right stratification process, proper soil mix, sunlight, and care, your tiny seed can become a beautiful fruit-bearing tree in your home garden.